Would you like to know how to keep solar lights from falling over quickly and easily? Well, we have researched this topic and have answers for you. It's essential to know how to keep solar lights from falling over so you can fix the problem.
There are several quick and easy solutions to keep solar lights from falling over, including attaching them to copper pipes or wooden dowels. You can also use expanding foam to hold solar lights in place.
This article will teach you how to keep solar lights from falling over. We will also learn the answers to other interesting related questions, such as why are my solar lights not turning on, and where should I place solar lights? Keep reading to learn more.
![Decorative small solar garden lanterns in green foliage, How To Keep Solar Lights From Falling Over [Quickly And Easily]](https://gardentabs.com/wp-content/uploads/2022/11/Decorative-Small-Solar-Garden-Light-Lanterns-In-Flower-Bed-In-Green-Foliage.-Garden-Design.-Solar-Powered-Lamp.png)
How To Keep Solar Lights From Falling Over
There are several ways to quickly and easily keep solar lights from falling over. Let's look at three of the best methods and learn how they work.
Copper Pipe
One way to keep a solar light from falling over is to replace its plastic stake with a 3/4-inch copper pipe about 18 inches long. A 3/4-inch copper pipe is the correct diameter to fit most solar lights and is sturdy enough to avoid being kicked over.
Start by using a rubber mallet to hammer the copper pipe into the ground. It's best to avoid hitting the copper pipe with metal tools to avoid misshaping the pipe. If the pipe is bent, the solar light may not attach properly to it. So, place something on top of the pipe while hammering to avoid damaging it.
Keep the pipe as level as possible to ensure the light is level. Once the copper pipe sticks out of the ground at the desired height, attach the solar light, and you're finished.
Expanding Foam
Another way to keep your solar lights from falling is to reinforce their stakes with expanding foam. The foam can create a waterproof plug that will hold the light upright for years.
Start by removing the light's stake from the ground and, use a trow to dig a four- to six-inch wide hole where it was. The hole should be as deep as you want the light to sit in the ground.
Take the solar light and insert it into the hole while maintaining a firm grip. Now, take a can of expanding foam and spray it into the hole in a circular motion around the hole. Be sure to direct the foam to the bottom of the hole first.
Once the foam is near the top of the hole, stop spraying and allow the foam to expand and fill the gap. If you use too much foam, you can use a saw to cut away the excess after 30 minutes.
If you would like to try some expanding foam to keep your solar lights from falling over, here are two of the best options available on Amazon.
Great Stuff Outdoor
You can find this product here on Amazon.
Red Devil Foam And Fill
You can find this product here on Amazon.
Wooden Dowels

You can keep solar lights from falling over by replacing their plastic stakes with wooden stakes. Take a 3/4-inch wooden dowel around 18 inches long and drive it into the ground where you want your solar lights.
If the ground is particularly hard, you can soak it with water to help make inserting the dowel easier. It can also be helpful to sharpen one end of the dowel with a knife.
Once the dowel is in place, you can secure your solar lights. If the dowel is slightly off center, you can pull it partially out of its hole and realign it. Once it's realigned, drive it back into the ground straighter.
Why Are My Solar Lights Not Turning On?
There are a few reasons your solar lights may not be turning on. Let's look at the most common reasons your solar lights aren't turning on and how to remedy them.
Battery Needs Replacing
Your solar lights may not work because the battery needs to be replaced. The rechargeable batteries in solar lights function for three to five years before they fail. If your solar light's battery is failing, its lights won't be as bright and may not turn on.
If the battery fails, replacing it will return your solar light to its original condition. Take the top of the solar light off and look for an access panel. Open the panel and replace the battery to fix your solar light.
Low Sunlight
Another reason your solar light may not be working is low sunlight. If your solar light can't get enough sunlight during the day, then it won't be able to shine at night. There are a few things that could be causing low sunlight.
One thing that could be causing low sunlight is an inadequate angle. Your solar panel won't absorb enough power if it's at an indirect angle to the sun's arch across the sky. To fix this issue, reposition your solar light so that it is at a more direct angle with the sun.
Another reason your solar light may be experiencing low sunlight is a dirty solar panel. If there is a significant amount of dust on your solar panel, it won't charge correctly. You can remedy a dirty solar panel by taking a wet washcloth and cleaning it.
Not Turned On
If your solar lights are new, then it's possible that you didn't turn them on. Some solar lights have on and off buttons that need to be engaged to turn them on for the first time.
There is also a plastic pull tab on many solar lights to prevent them from losing charge before you purchase them. If either the solar lights are turned off or have a plastic pull tab, they won't turn on.
Where Should I Place Solar Lights?
There are many areas around your home where you can place solar lights. Let's look at some of the most popular sites to put solar lights and learn how to do so.
Along A Walkway

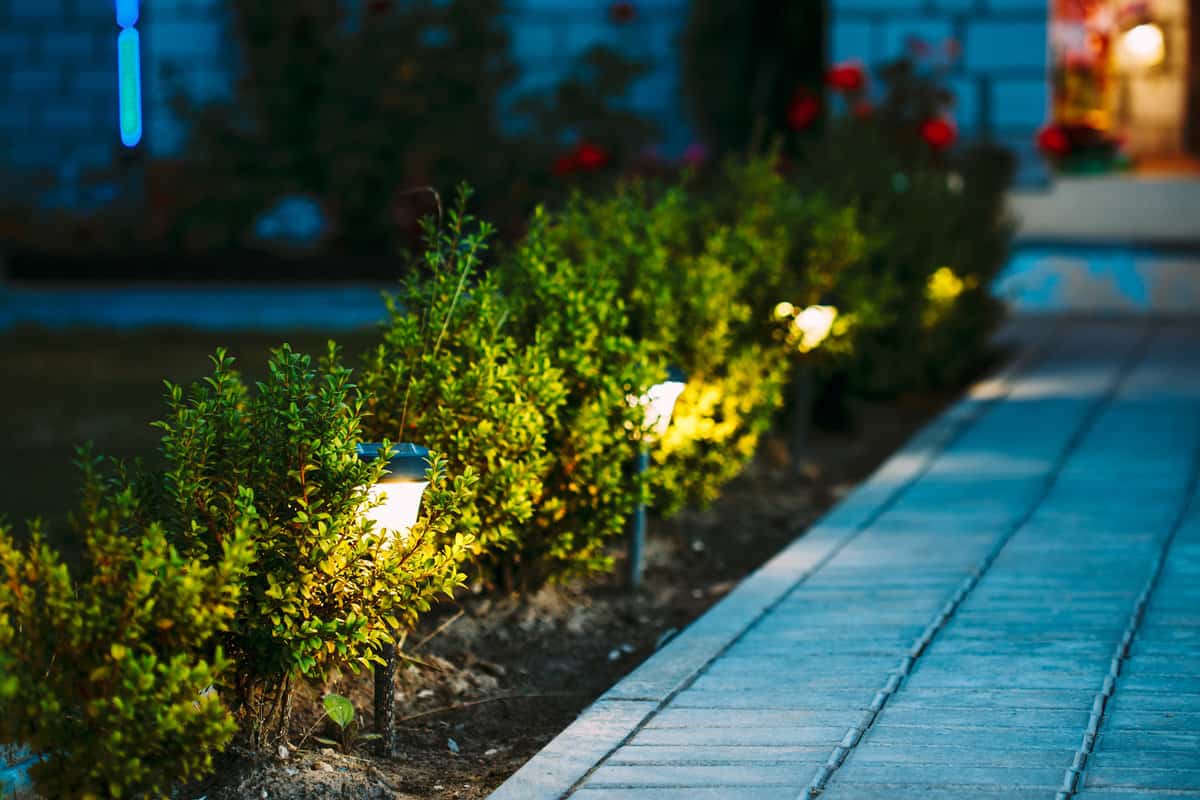
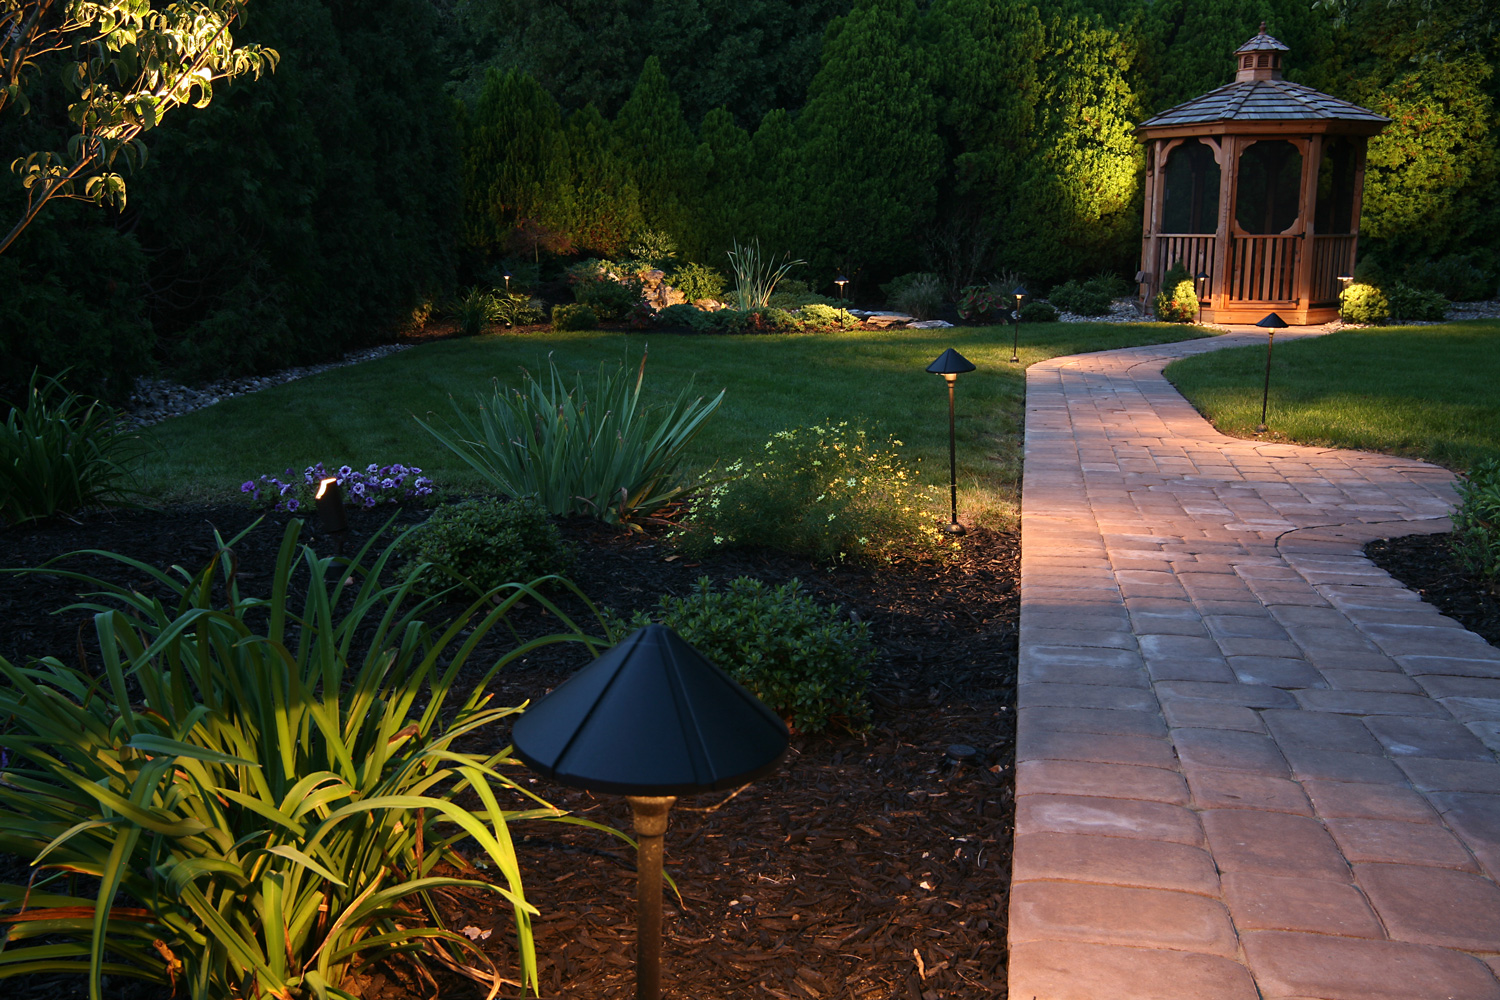
One of the most popular locations for solar lights is along a walkway. It's vital when placing solar lights along a walkway that you do so in a way to maximize the use of your lights.
The most efficient way to place solar lights along a walkway is alternate them left and right so that each side fits into the gap of the other side. Doing this will ensure more even lighting than placing the solar lights along one side.
The solar lights along one side of the walkway should be placed every six to eight feet. Placing the solar lights in this manner will give you alternating lights every three to four feet, providing exceptional lighting.
Beside The House

Another place for solar lights is along the side of your house. When solar lights are placed along the edge of your home, they dramatically affect your house at night. While you can put any solar light along your house, solar spotlights provide a more dramatic look.
The solar lights along the side of your home should be placed every eight to 10 feet depending on the exact effect you want. You can also vary how close the lights are to the house to provide a soft or sharp lighting effect. Place the lights closer to the home for sharper lighting and further away for softer lighting.
In A Flowerbed

Solar lights can also be used to accent a flowerbed at night. For solar lights in flowerbeds, you should place the lights in the center of the bed for optimal lighting.
If the flower bed is wide, place two rows of lights so they bisect the flowerbed into thirds. Alternate between each row when setting lights, just like with the walkway.
Near The Base Of Trees

Another excellent place for solar lights is near the base of trees. Solar lights can be placed near the base of trees to provide stunning accents at night. There are a few ways to set solar lights near a tree, so let's discuss the most popular methods.
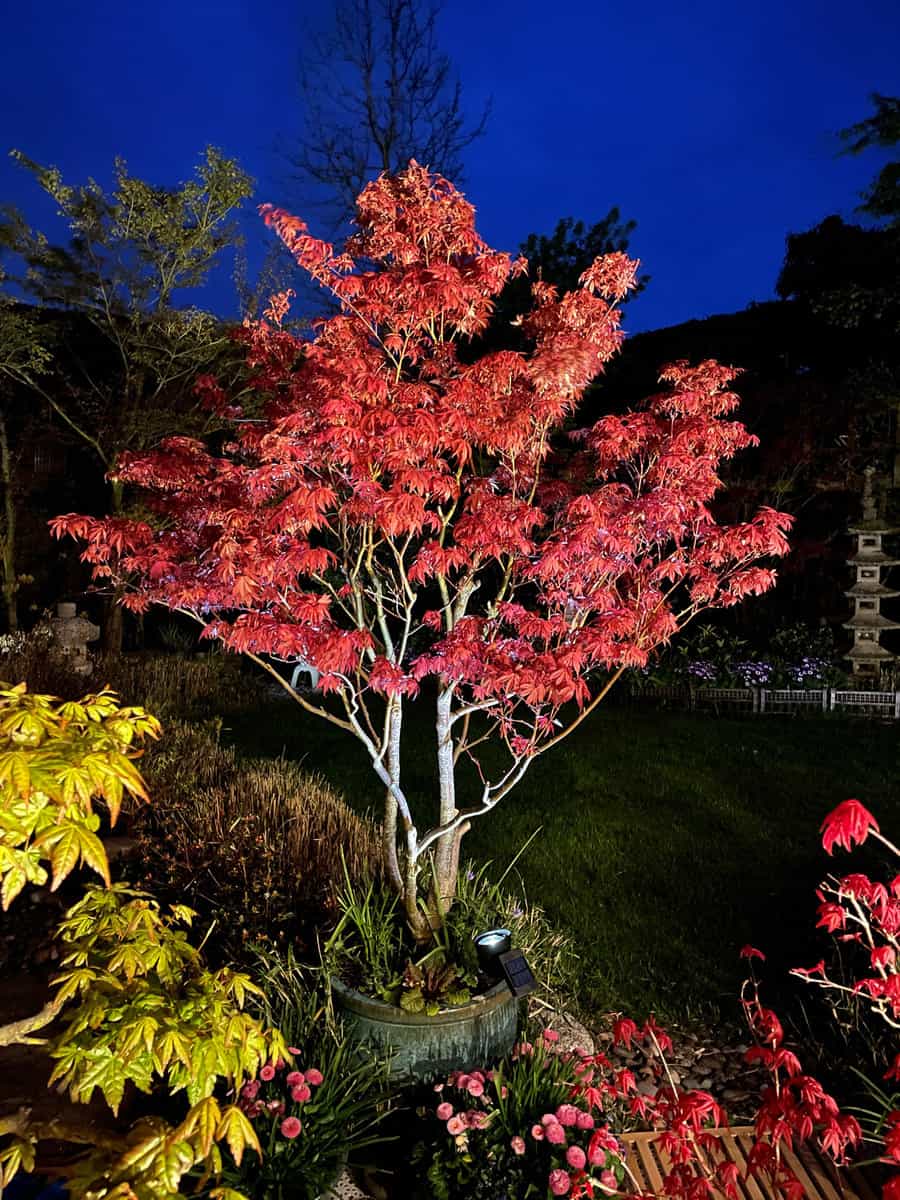
One way to accent your tree with solar lights is to place a single solar spotlight pointing up at the trunk. Placing a solar light like this will illuminate the whole tree's trunk and provide a sharp accent.
You can also have three standard solar lights around the tree's base to provide a softer lighting effect. Whether you want a sharp accent or softer lighting, solar lights near the base of a tree are the perfect option.
Final Thoughts
This article taught us how to keep solar lights from falling over. We also learned how to fix your solar lights not turning on. Remember, solar lights can be used to illuminate not just walkways but many parts of your yard.
We hope you enjoyed this article. If you want to learn more, check out some of these other posts:


