Is your Craftsman riding mower not cutting through the grass like it used to? It might be time to install mulching blades. Good thing that we've researched the details you'll need for changing mulching blades on a Craftsman riding mower.
Mulching blades are designed for chopping up the clippings and leaving them on the ground to decompose and provide nutrients back into the soil. You need to know a few things before installing mulching blades.
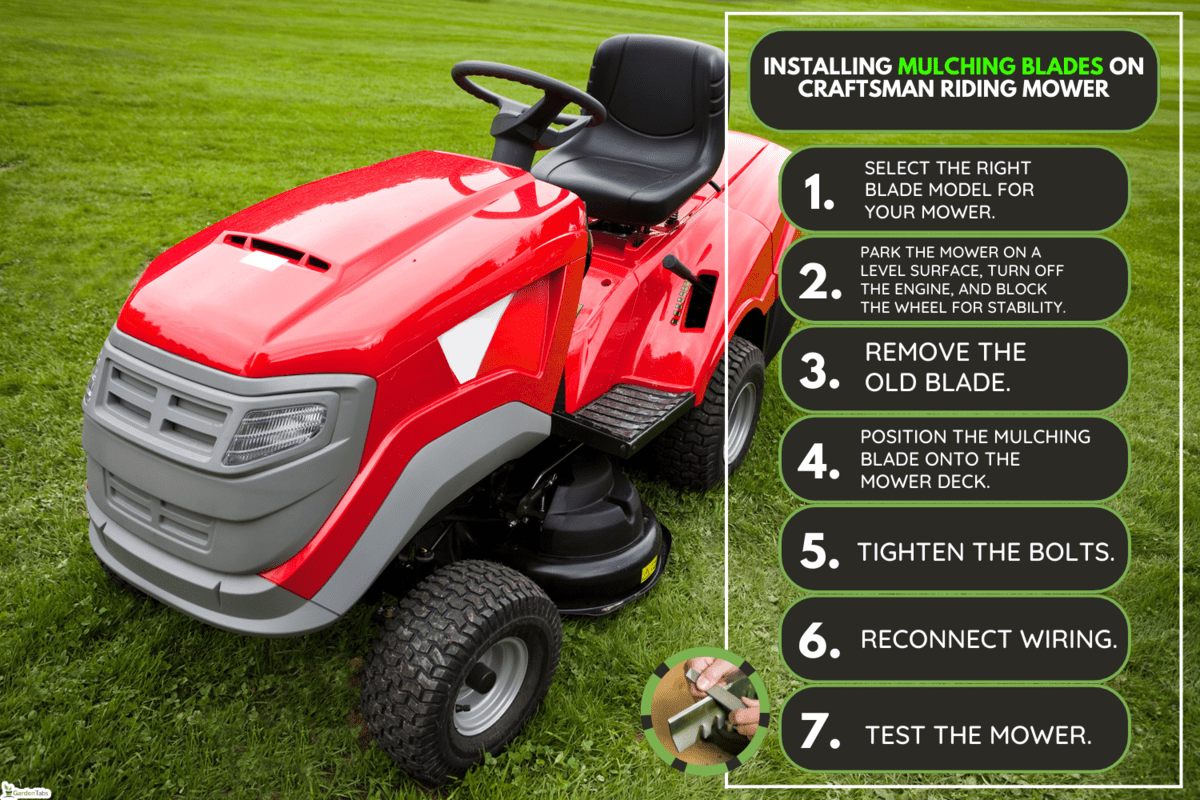
- Select the right blade model for your mower.
- Park the mower on a level surface, turn off the engine, and block the wheel for stability.
- Remove the old blade.
- Position the mulching blade onto the mower deck.
- Tighten the bolts.
- Reconnect wiring.
- Test the mower.
Keep reading to determine when to change, how to install, and what you can do to prolong mulching blades on a Craftsman riding mower.
Mulching Blades Keep Your Lawn Healthy
Most riding lawnmowers come with standard blades that are designed for general-purpose cutting. However, if you have a lot of leaves or other organic debris on your lawn, then you may want to consider installing mulching blades.
Mulching blades are also called 3-in-1 blades. There are several benefits to installing mulching blades on your Craftsman riding mower.
Mulching blades break down clippings into tiny pieces to prevent thatch build-up. Thatch is the layer of dead and living grass stems, roots, and other organic matter that accumulate on your lawn over time.
A thick layer of thatch can block out sunlight and prevent water and nutrients from reaching the roots of your grass. In addition, thatch provides a perfect environment for pests and diseases to thrive. As a result, it's important to remove excess thatch from your lawn regularly.
The tiny clippings, instead, quickly decompose and release nutrients back into the soil. This helps to fertilize your lawn and promotes healthy growth by preventing thatch build-up by breaking down clippings into tiny pieces.
How to Remove the Old Mulching Blades?
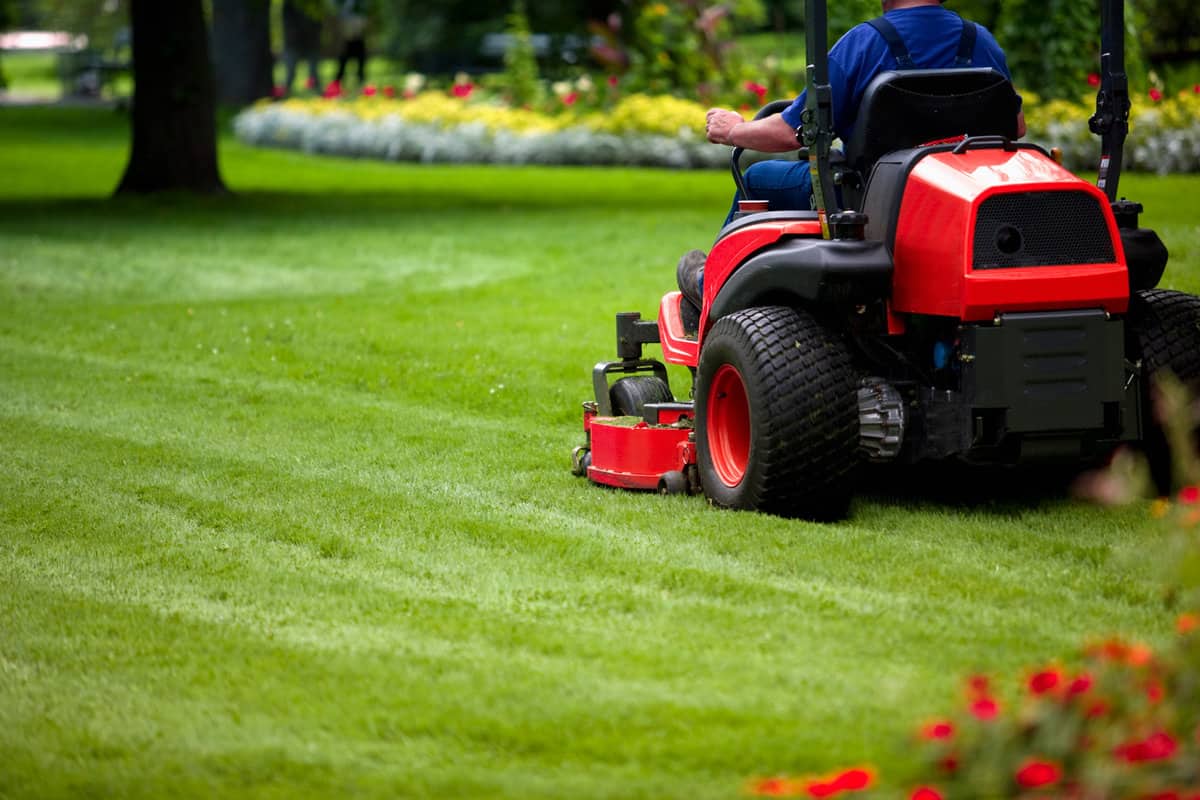
Any gardener knows that a sharp blade is essential for clean cuts and healthy plants. However, over time, even the best mulching blades can become ineffective and need replacement. As a result, it is important to remove old blades and replace them with new ones regularly.
There are a few different ways to remove old mulching blades, but for most Craftsman riding mowers, the mulching blade is underneath the deck on the right side. Follow these steps to safely remove the mulching blade.
- Park the mower on a level surface, turn off the engine
- Block the rear wheel to prevent the mower from rolling.
- Disconnect the spark plug wire to prevent the engine from accidentally starting while you're working on it.
- Raise the deck to its highest position so you can easily access the blade.
- Use a wrench to loosen and remove the blade bolts. Be careful not to drop the bolts, as they can be difficult to find if they fall into the tall grass.
- Inspect the underside of the deck for any debris or build-up that could be causing friction and making it difficult to remove the blade. Clean off any debris with a putty knife or other scraper tool.
- If the blade is still stuck, try using a pry bar to gently loosen it from the deck. Be careful not to damage the deck surface.
- Once the blade is loosened, carefully remove it from underneath the deck and set it aside in a safe place until you're ready to reinstall it. Make sure to keep track of which way the blade is facing so you can put it back on correctly.
How to Install the New Mulching Blades?
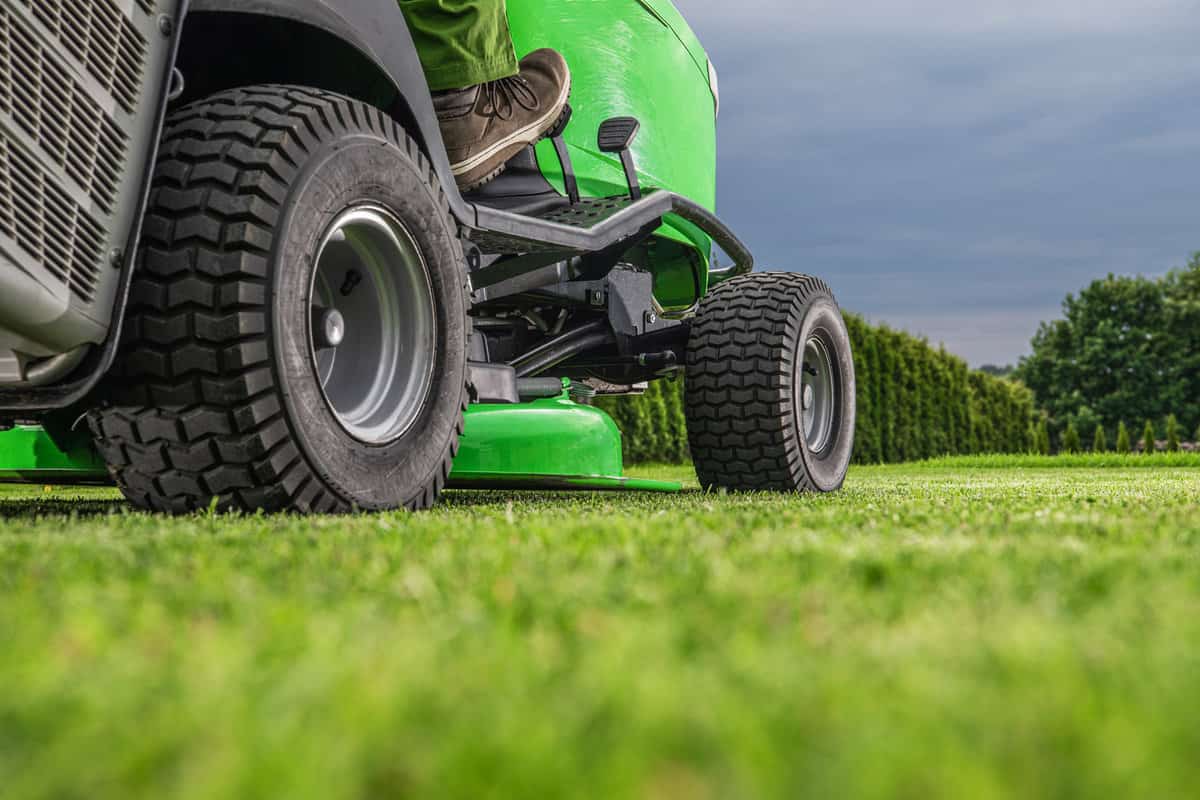
Once you carefully remove the old blade, set it aside and continue working on installing the new ones.
1. Select the Right Blade Model for Your Mower
The type of blade on your mower can greatly impact lawn quality. The wrong blade could:
- Make the lawn susceptible to disease and pests
- Leave bare patches
- Tear grass
Most riding lawnmowers have cutting blades that are about 46 inches wide. This is the ideal size for most yards, as it allows you to cover a lot of ground quickly. Ultimately, the best size for your riding lawnmower's cutting blade depends on the size of your yard.
For larger yards, you may want to consider a wider blade to cover even more ground in a shorter amount of time. If you have a small yard, consider a lawnmower with a narrower blade. It will be easier to maneuver in tight spaces.
2. Position the Mulching Blade onto the Mower Deck
Place the new mulching blade onto the mower deck, making sure that it is positioned correctly according to the manufacturer's instructions.
The most common blade angle is 30-35 degrees, but some mowers have blades that can be set at a range of different angles. The angle of the blade affects how the grass is cut, with a lower angle producing a shorter cut and a higher angle producing a longer cut.
Always make sure that the blade on your lawn mower is up and ready to go before starting it up. Otherwise, it causes the grass to be uneven and can make it difficult to get a clean cut. It is also more likely to cause clumps of grass to be left behind.
3. Tighten the Bolts
Use the socket wrench to tighten the attachment bolts, again consulting the owner's manual for torque specifications.
4. Reconnect Wiring
Check the wiring you uninstalled earlier, and make sure all the connections are linked and secure. With sharp new blades and properly functioning wiring, you'll be able to keep your lawn looking its best all summer long.
5. Test the Mower
Remove the block of wood from behind the wheel and lower the deck back down to its normal operating position. Wait for at least 30 to 60 minutes before starting the engine and test-drive the mower to make sure that the blade is installed correctly and operating as desired.
Remember, never tilt, lift, or adjust the mower when it is in operation. Doing this can cause leaking, damaging the fuel system. So, simply check how it works while keeping the same position in the ground.
Get Craftsman mulching blades on Amazon.
Safety Tip
Always wear gloves and safety glasses. Gloves will protect your hands from sharp edges, and safety glasses will prevent flying debris from hitting your eyes. In addition, it’s important to be aware of your surroundings and make sure that there are no children or pets nearby when you start the lawnmower.
How to Identify If You Need New Mulching Blades?
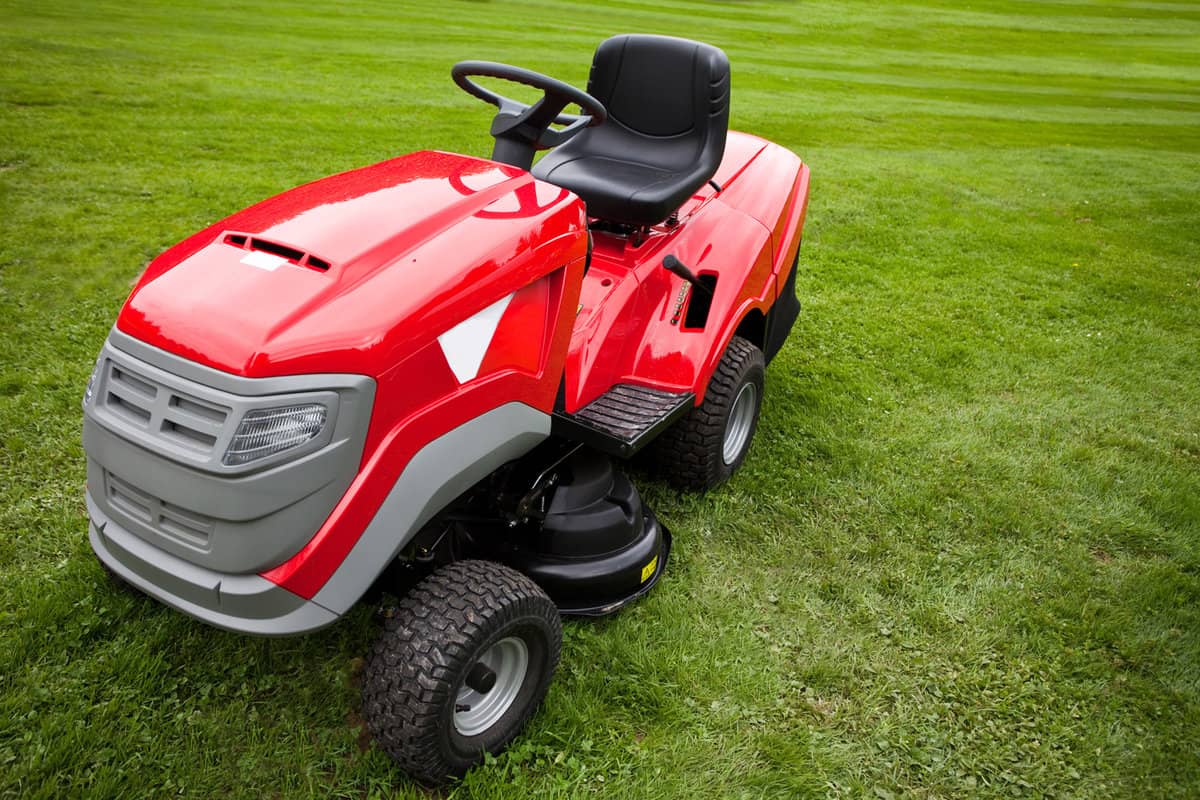
Over time, mower blades become thin, dull, and damaged, affecting the quality of the cut. Here are signs to look for to determine whether it's time to sharpen or replace your mulching blades.
If you notice that your lawn is looking frayed or uneven, it might be time to replace the blade. Dull blades rip grass rather than cut it. Dull blades can also cause your lawnmower to use more fuel, as the engine has to work harder to push through the grass.
Sometimes, the blade only needs sharpening rather than a replacement. It needs sharpening when you notice blades becoming dull. Sharpen your blades at least once per season or more often. You can either do this yourself with a sharpening kit or take them to a professional for sharpening.
To be safe, it is best to consult your mower's manual to see how often you should replace the blade.
What Are the Ways to Keep Your Mulching blades In Good Condition?

Get a Good Sharpening Stone
You'll need a good quality sharpening stone to keep your blades in top condition. If possible, read the manufacturer's instructions to know the specific sharpening tool you'll need. But a stone that is at least two inches wide and three inches long is a common choice to sharpen mulching blades.
Use the Right Type of Oil
When you're ready to sharpen your blades, choose an oil that is designed for use with sharpening stones. When you're sharpening your blades, be careful not to apply too much pressure. This can damage the blade and reduce its lifespan.
Inspect Your Blades Regularly
It's a good idea to inspect your mulching blades regularly, looking for signs of wear or damage. If you notice any problems, be sure to have them repaired or replaced as soon as possible.
Sharpen Your Blades Regularly
It's also important to sharpen your blades regularly, typically about once per month. Keep your blades dry. After each use, make sure to wipe your blades down with a clean, dry cloth.
Store Your Blades Properly
When you're not using mulching blades, be sure to store them in a cool, dry place. This will help to prevent rust and corrosion.
Keep Your Mower Clean
In addition to keeping your blades sharp, it's also important to keep your mower clean. This will help to prevent the build-up of dirt and debris, which can damage the mower and shorten its lifespan.
Final Words
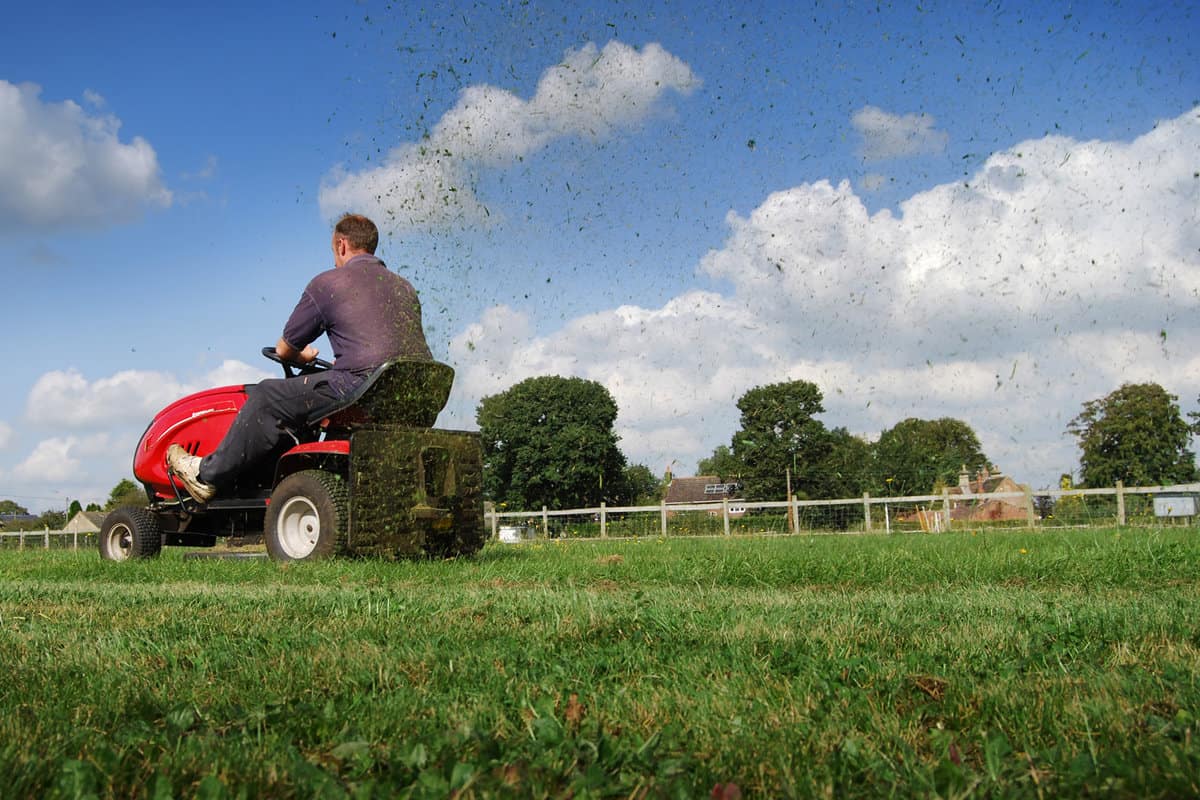
If you have a Craftsman riding mower, it is important to know how to install mulching blades. Installing mulching blades on your Craftsman riding mower is an easy process that can be completed in just a few minutes. All you need to do is follow the step-by-step instructions, and you will be able to install your mulching blades in no time at all.
To know more about garden maintenance kindly read this article by clicking the link below:


