
Bee balm is an edible plant used to treat all kinds of ailments, from colds to stomachaches, which makes it a valuable asset for any garden. For this reason, you'd probably like to know how to harvest bee balm seeds so you can continue growing this useful plant for years to come! Well, we’ve done the research to help you learn this valuable skill, and we're sharing it with you in this article.
To harvest bee balm seeds, you’ll need to remove the seed heads, let them dry for about a week, and then carefully store them in an envelope or bag. Here are the detailed steps:
- After the petals have fallen off your bee balm plants, snip the seed heads, being careful not to dislodge the seeds yet.
- Put the seed heads in a paper bag and let them dry for about one week.
- When the seed heads are completely dry, shake the bag firmly to knock the seeds out of the heads.
- Use a sieve or piece of window screen to separate the seeds from other natural materials.
- Transfer the seeds to a Ziploc bag or paper envelope and store them in the refrigerator or a cool, dry place out of direct sunlight.
As you can see, harvesting bee balm seeds is a simple process. However, it requires a lot of attention and care, so we’ll explain each step in greater detail in the rest of this article. Let’s get started!
![macro-closeup-frost-crystals-on-dry, How To Harvest Bee Balm Seeds? [Step By Step Guide]](https://gardentabs.com/wp-content/uploads/2022/10/How-To-Harvest-Bee-Balm-Seeds-Step-By-Step-Guide.jpg)
Harvesting Bee Balm Seeds
What You'll Need
- Sharp scissors or garden shears
- Plastic or metal container
- Brown paper bag (optional)
- Sieve or piece of window screen
- Plate
- Ziploc bags or paper envelopes
Collect The Seed Heads
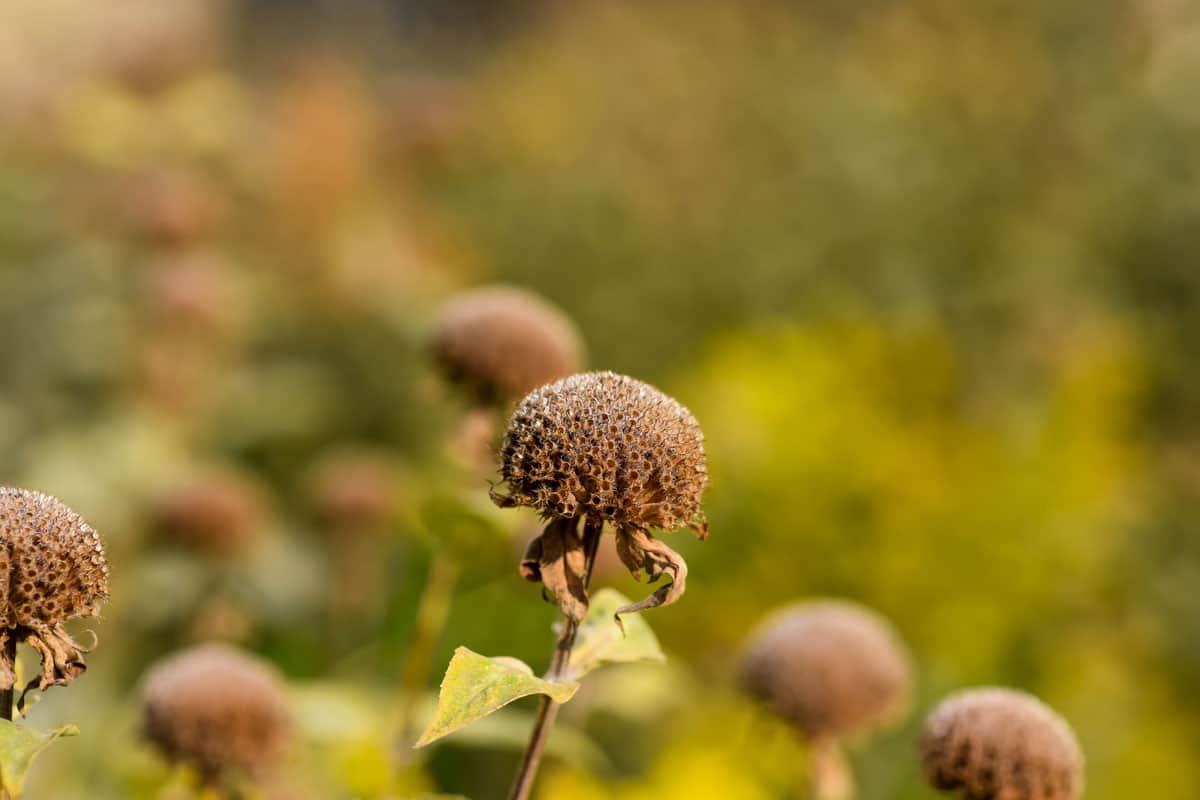
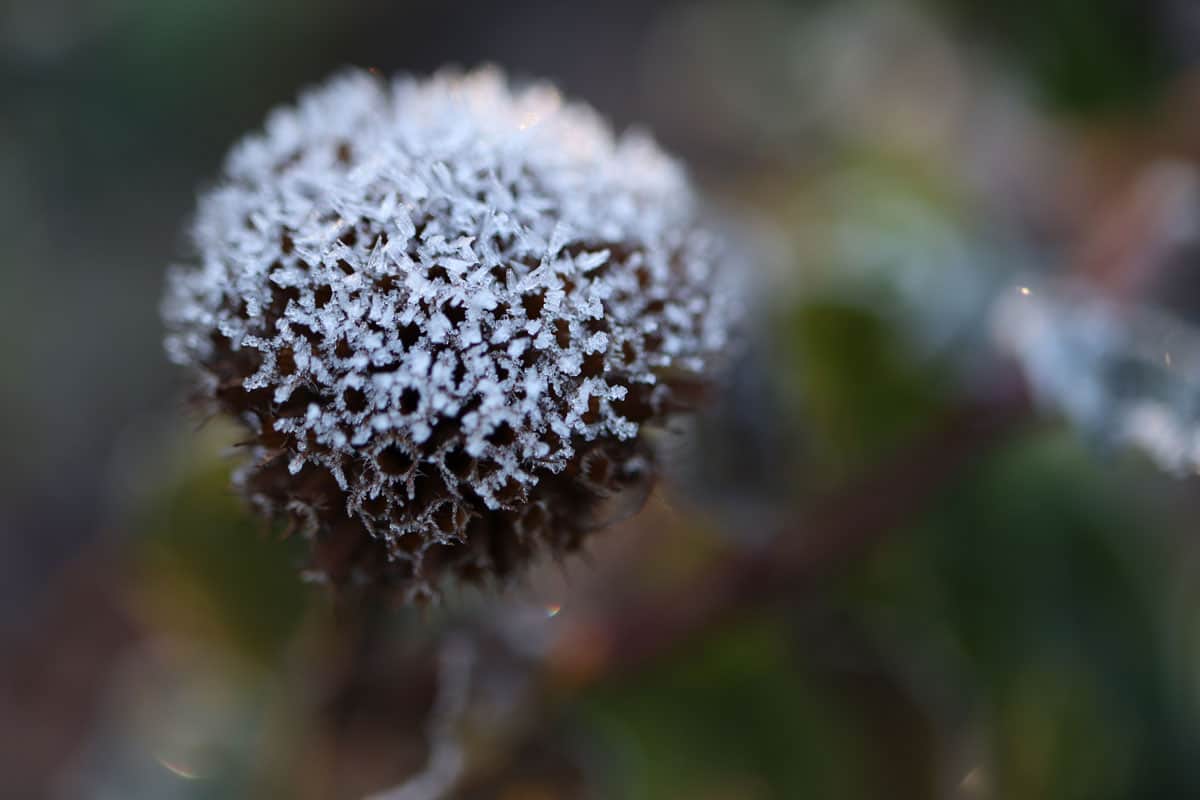
Bee balm’s growing season typically lasts from mid-July to early September, which makes collecting the seed heads a great early autumn activity.
When you start noticing the seed heads losing their petals and turning brown, check to see if the seeds are ready to be harvested. Hold a paper bag or your hand beneath the seed head and give it a little shake. If you observe seeds falling, it’s time to harvest!
To ensure that you’re harvesting the maximum amount of seeds, you’ll need to be vigilant as the growing season draws to a close.
Bee balm seed heads are very delicate, and high winds can easily blow away all of the seeds. Or, they can simply fall out as time passes. Plus, birds love to snack on bee balm seeds, so keep an eye on your plants to make sure you (and not the birds!) are collecting most of the seeds.
If you’ve confirmed that the seeds are ready for harvesting, get a pair of sharp scissors or garden shears. Hold the plant just below the seed head, and snip the stalk beneath your fingers. Make sure to keep the seed head upright so none of the seeds fall out as you carefully transfer it to a plastic or metal container.
Dry The Seed Heads
When you’ve collected all of your seed heads, bring them home so you can dry them. Drying the seed heads makes it easier to remove the seeds and also reduces the chance of harmful fungi growing in your seeds after they have been stored.
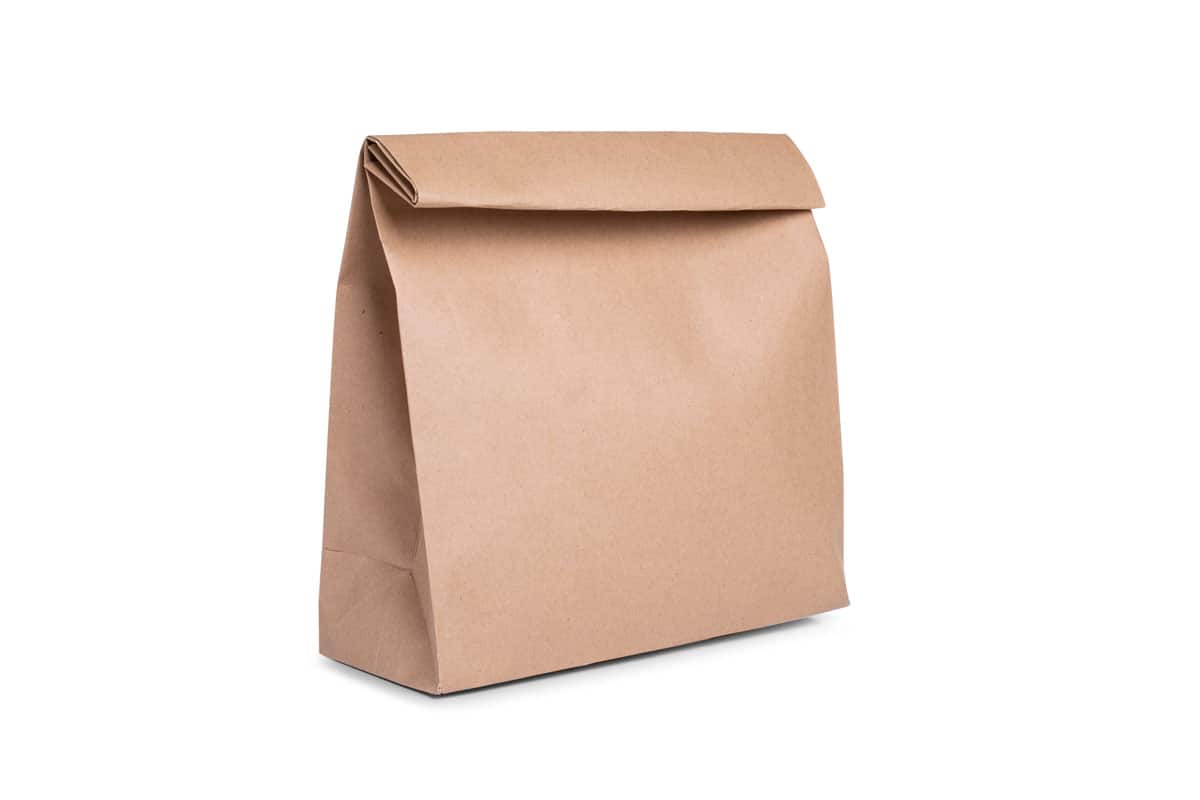
To dry the seeds, put the seed heads and any seeds that already escaped into a paper bag with the top loosely folded closed.
You can also leave them in the container you used to collect them—just leave the lid off and put the container in a safe place where it won’t be spilled. Let the seed heads dry for at least one week.
After one week, check your seed heads and see if they’re completely dried. If they feel dry and brittle to the touch, you can move on to the next step, but if you still feel some moisture, let them dry for a few more days.
Remove The Seeds
If your seed heads are completely dried, it’s time to remove the seeds. You can try a few different methods and pick whichever works best for you. First, simply shake the bag or container. This should dislodge most of the seeds.
Check the seed heads and if there are some stubborn seeds that haven’t fallen out yet, gently hit the heads on the side of the container or a bucket or bowl. If there are still seeds buried in the seed heads that refuse to come out, you can break the seed head apart with your fingers and pick them out.
Separate And Inspect The Seeds
Next, you’ll need to separate the seeds from any bits of dirt, seed heads, or anything else that might have gotten mixed in with them.
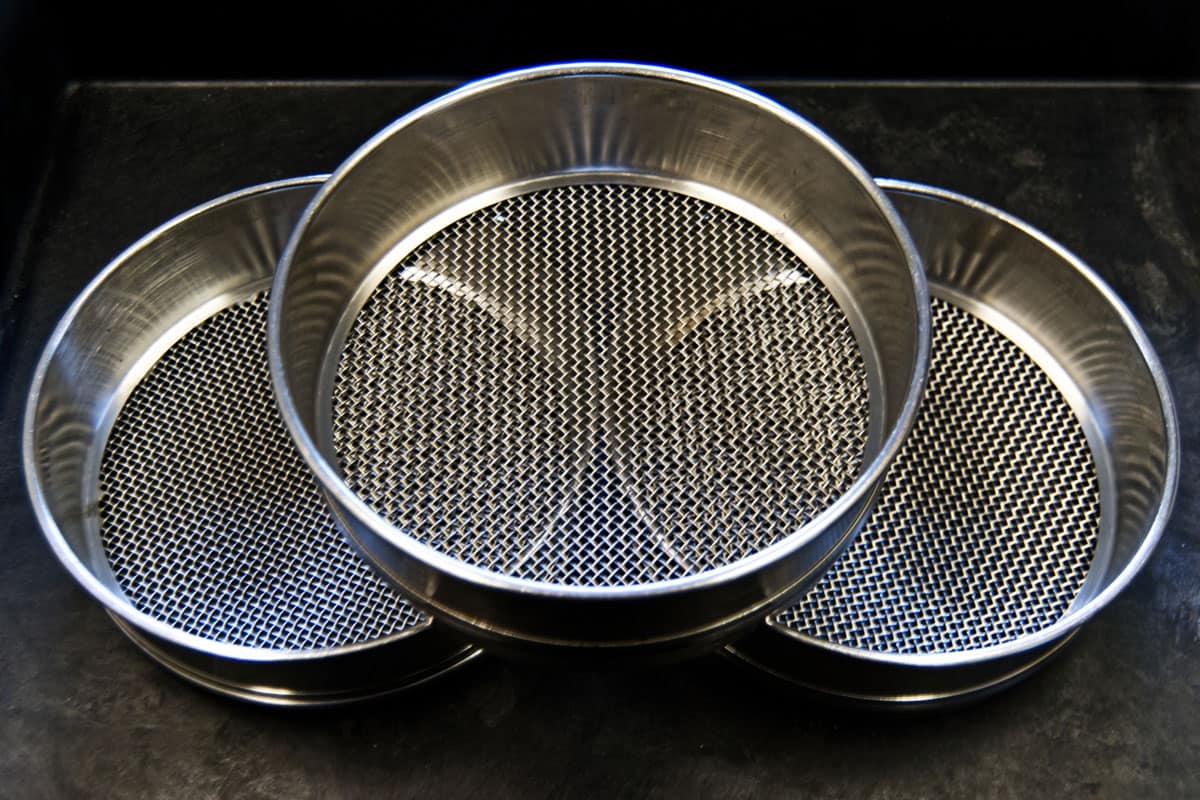
Arrange a kitchen sieve or piece of window screen over a plate, and pour the seed mixture over it. Lift the sieve or screen and gently shake it to encourage the seeds to fall through, while the dirt and other materials are caught.
After you have nothing but seeds on your plate, discard the excess materials and inspect the seeds to make sure they’re all viable.
A bee balm seed is medium brown, no more than 1/16-1/8 of an inch long, and shaped like a teardrop. However, you might find seeds that are black and even smaller than this. These are unformed seeds that most likely will not grow, so you can remove and discard them.
Store The Seeds
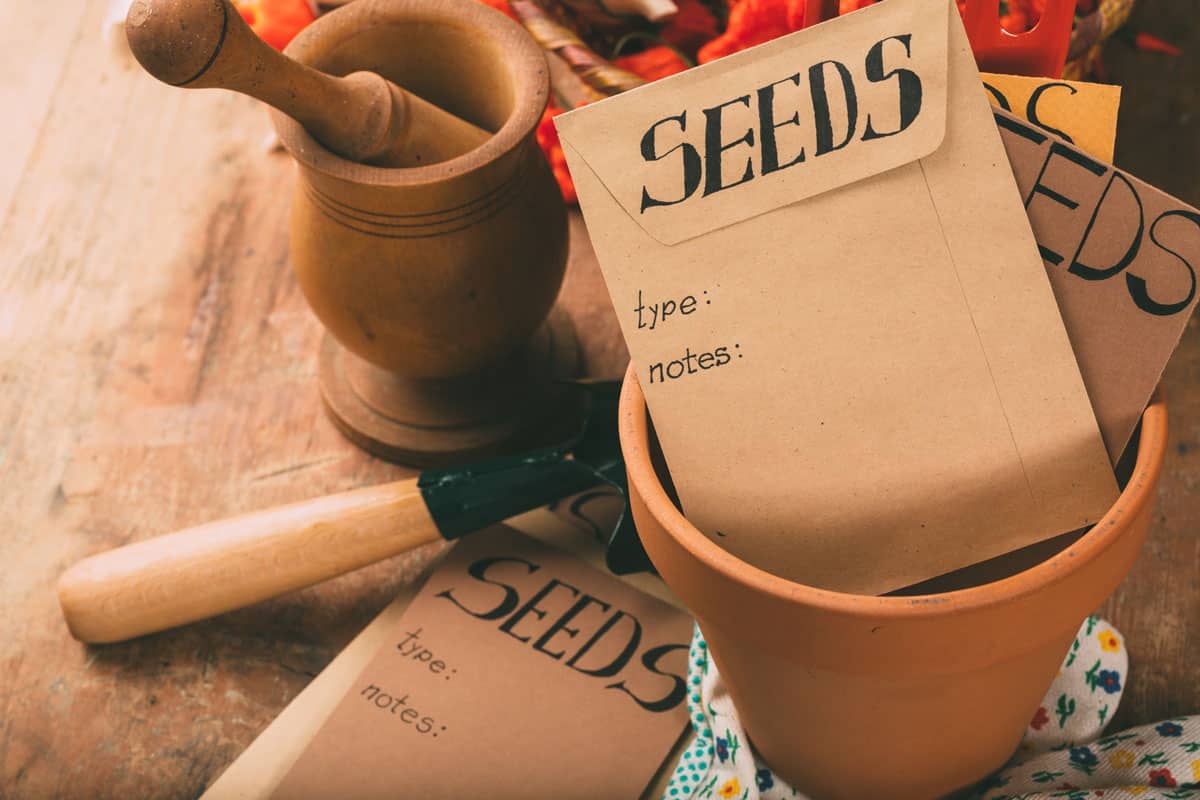
When you’re satisfied that you have nothing but viable seeds left, it’s time to store them. Empty the seeds into a Ziploc bag or paper envelope and carefully seal it.
You can put all of the seeds in the same container, or divide them up if you’d like to share some with friends. Make sure to write the date on the container, because the seeds stay viable for only two years.
Store them in the refrigerator or a cool, dry place. Just keep them out of direct sunlight or humid places like a basement, because either environment could damage the seeds and make them less likely to grow.
How To Plant Bee Balm Seeds
Your seeds have been resting all winter, but now it’s spring and time to plant them! Wait until after the last frost—the soil should be at least 55 degrees Fahrenheit.
- About three months before planting, put the bee balm seeds in the refrigerator if they’re not stored there already. Bee balm benefits from stratification, or the practice of keeping seeds in an environment that mimics what they would experience in nature to encourage quick germination. In this case, cold stratification is necessary.
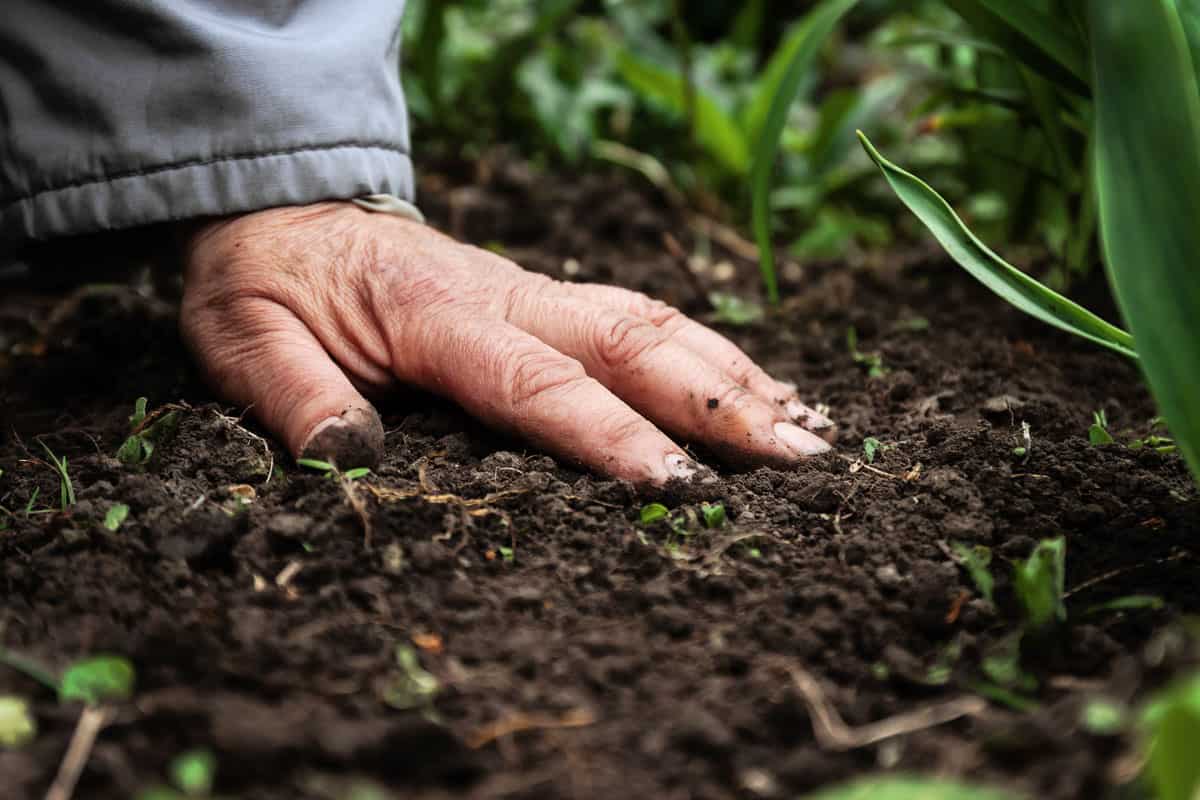
- Choose a spot in your garden that has rich soil and gets plenty of sunlight. Partial sun is preferred, but they’ll also tolerate full sun. Also keep in mind that bee balm is a perennial, so whatever location you choose should be their permanent home. Add about one inch of compost to the soil and blend it thoroughly.
- Plant the seeds 1/4 to 1/2 an inch deep. As the seedlings grow, thin them to about 12 inches apart because bee balm spreads quickly and needs plenty of room to grow.
- Until the seeds sprout, keep the ground moist. After sprouting, you can reduce watering to only whenever the ground starts feeling dry. Be sure to water right at the roots instead of from overhead to avoid developing powdery mildew.
- As the bee balm plants grow, deadhead frequently to encourage more growth.
How To Use Bee Balm
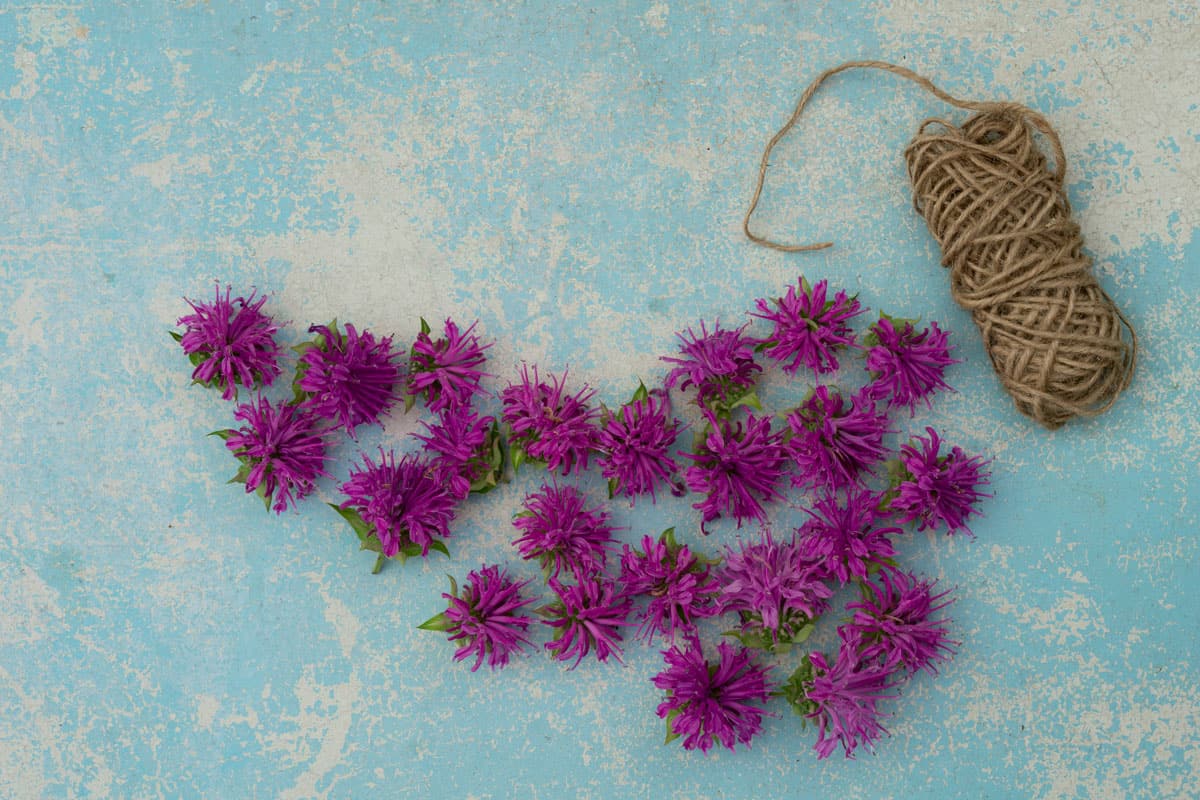
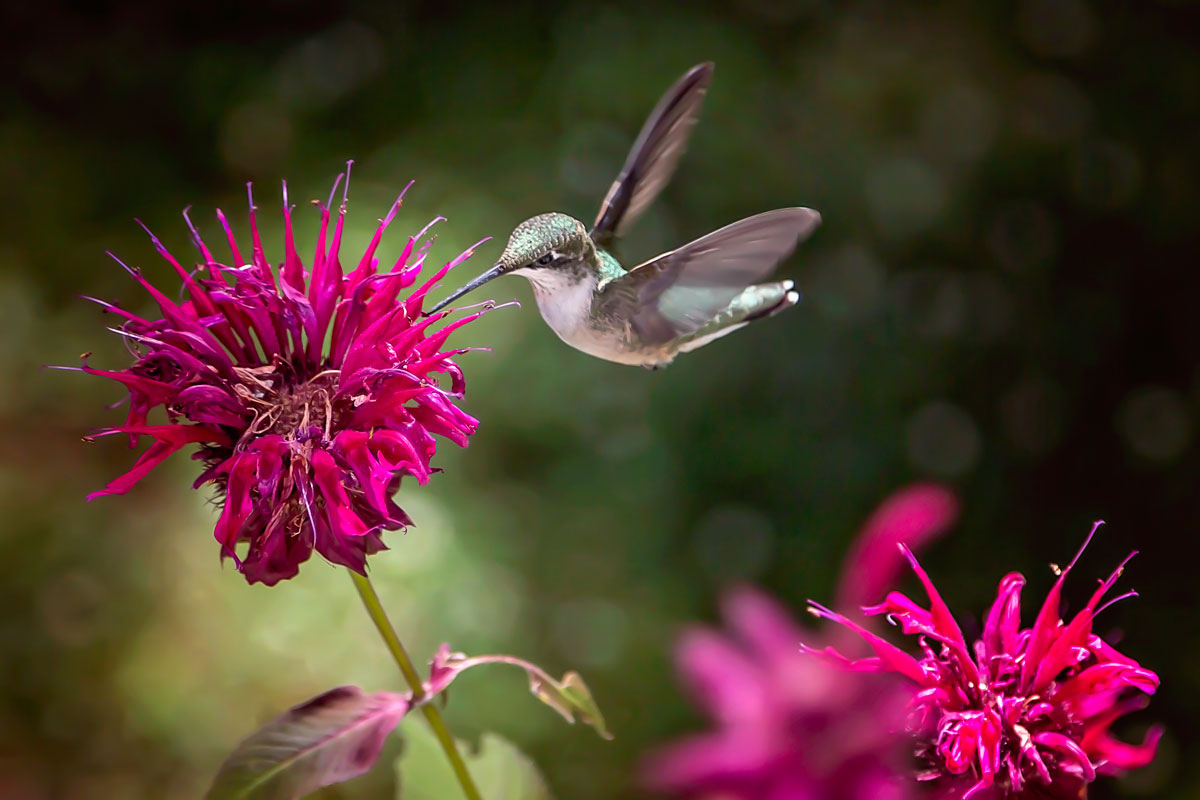
Bee balm is an incredibly versatile plant. The flowers and leaves are safe and delicious for human consumption and also have many medicinal uses. Plus, it’s well-loved by bees, butterflies, and hummingbirds, which will attract these beautiful pollinators to your garden.
Bee Balm Tea
Tea made from bee balm works double duty as a tasty beverage and medicinal aid. It has an earthy, herbal flavor with a hint of menthol, and can help relieve digestive problems like nausea, gas, and stomach discomfort.
To make bee balm tea, add one tablespoon of dried bee balm petals or two tablespoons of fresh to one cup of water heated to just below boiling. Let it steep for at least 15 minutes for maximum flavor and health benefits.
Bee Balm Salad
Bee Balm flowers are completely edible and can add a beautiful pop of color to your late-summer salads. Since it has a gentle, herbal taste, it’s best in salads made from mild-tasting lettuce like baby greens, microgreens, or butter lettuce.
To prepare, simply pull the petals off a few flower heads, rinse them in cold water, and add them to your salad. Not only will it look pretty but it will also add antiseptic, analgesic, antifungal, antibacterial, and antioxidant properties to your meal.
In Closing
Bee balm is such a useful plant that you’ll definitely want to grow in your garden for years to come. Luckily, that’s easy to do if you preserve its seeds, and now you know exactly how to do it!
Before you go, check out these other articles:
I planted a BeeBalm last spring and never got any flowers. What am I doing wrong. Thanks