
This article was reviewed by Steve Snedeker, professional landscaper.
Whether it's store-bought or homegrown, compost is one of the easiest ways you can pamper your plants. However, harvesting and storing compost is another story. The process is relatively simple, but there are things you should remember, especially if you're new to the hobby. We've done research on the topic and rounded up the information you need to make sure your compost is always ready for use.
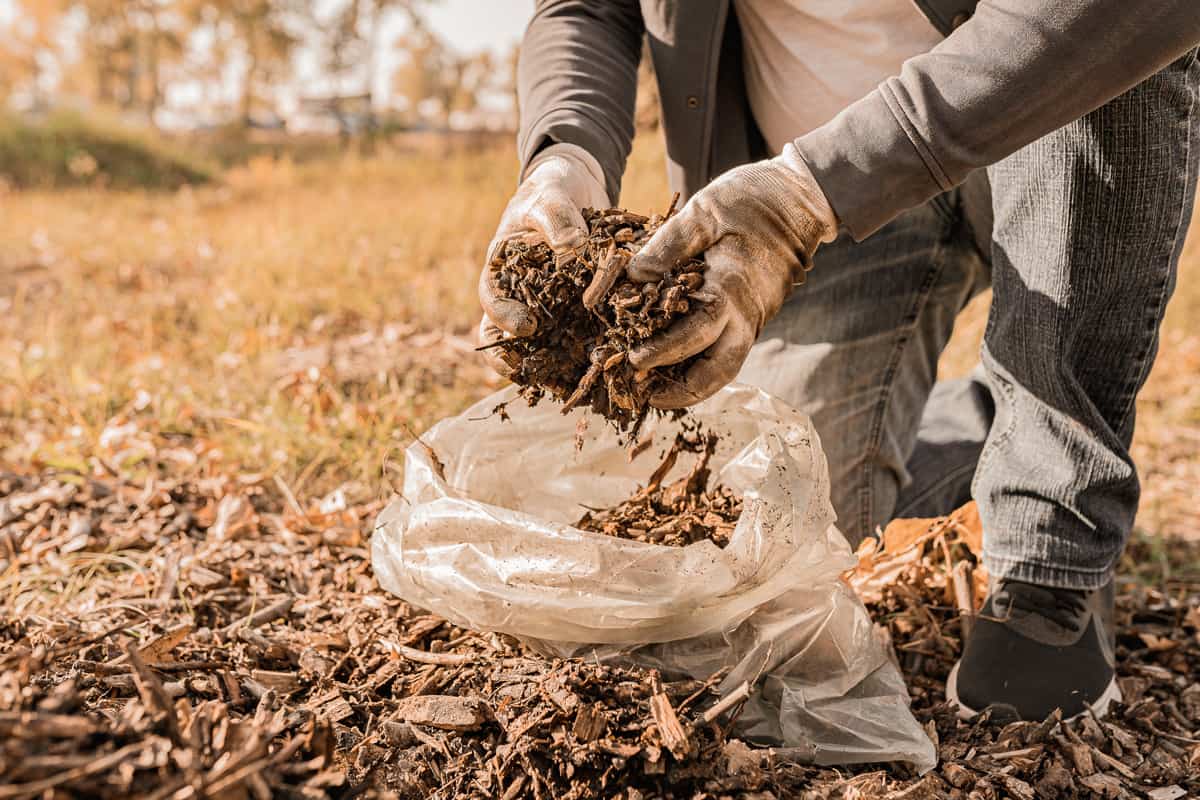
To harvest your compost, transfer the pile to a plastic bag or your compost bin. Then section out the pile, ensuring that the pile filled with compost worms is separated from the other piles.
Once you're done harvesting, you can store your compost in a pile covered with a tarp, newspaper, plastic bags, or in the same compost bin you've been using. Make sure to store your compost in a dry place outdoors with a temperature that's neither too cold nor too warm.
Sounds easy, doesn't it? Well, there are still a few key points you can use to your advantage. Keep reading, as we'll elaborate on some of the information that we believe can be useful for your composting journey.
Harvesting Your Compost

When it comes to harvesting compost, there are a few things to remember. We've broken them down for you in this section.
1. Check if your compost is ready for harvesting.
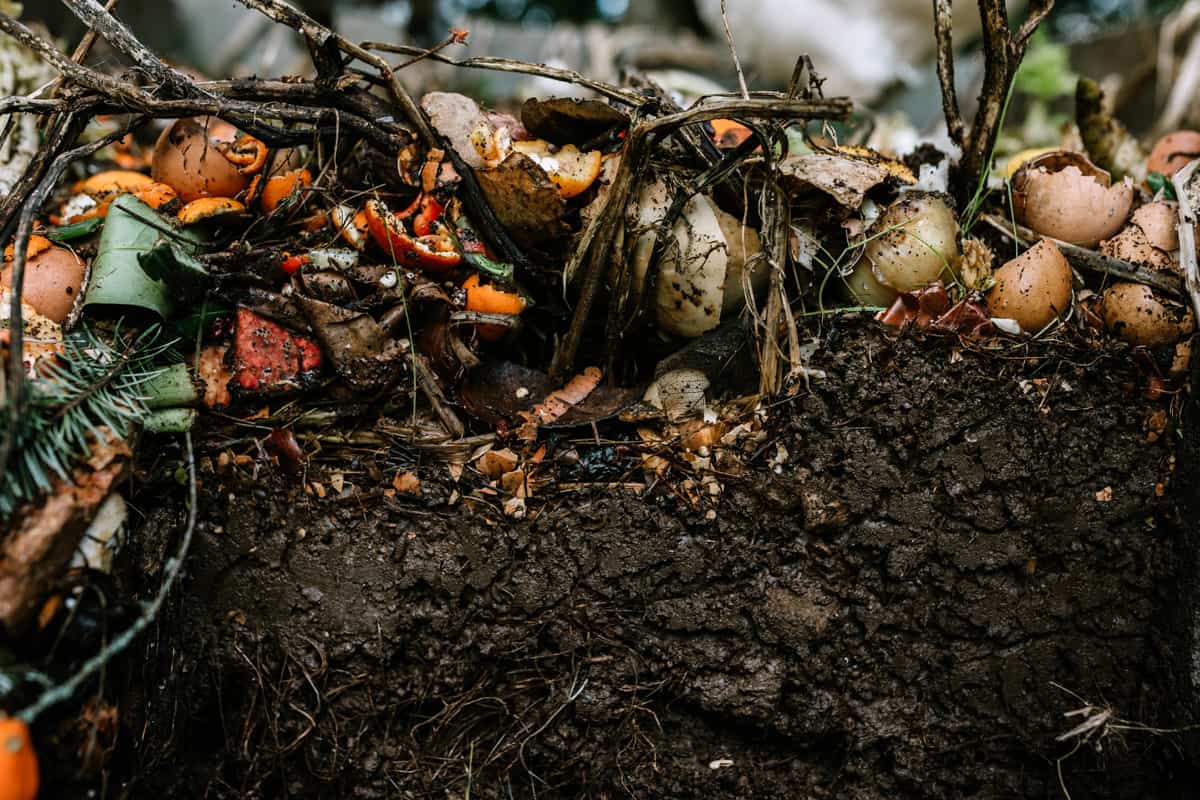
As we've previously mentioned, you have to transfer compost to a container for storing. However, you should check first if the compost is all set and ready for harvest before you make the big transfer. You can determine if your compost is ready by inspecting for these indicators:
- The compost pile is crumbly with a medium-brown color.
- The size of the pile has been reduced to approximately half of its original size.
- An earthy smell is very evident and strong.
- The compost is cool to touch and has no signs of warmth.
- Every bit of scrap that was put into it has broken down and is no longer visible.
If these factors are present upon checking, then that means your compost is all ready to be harvested!

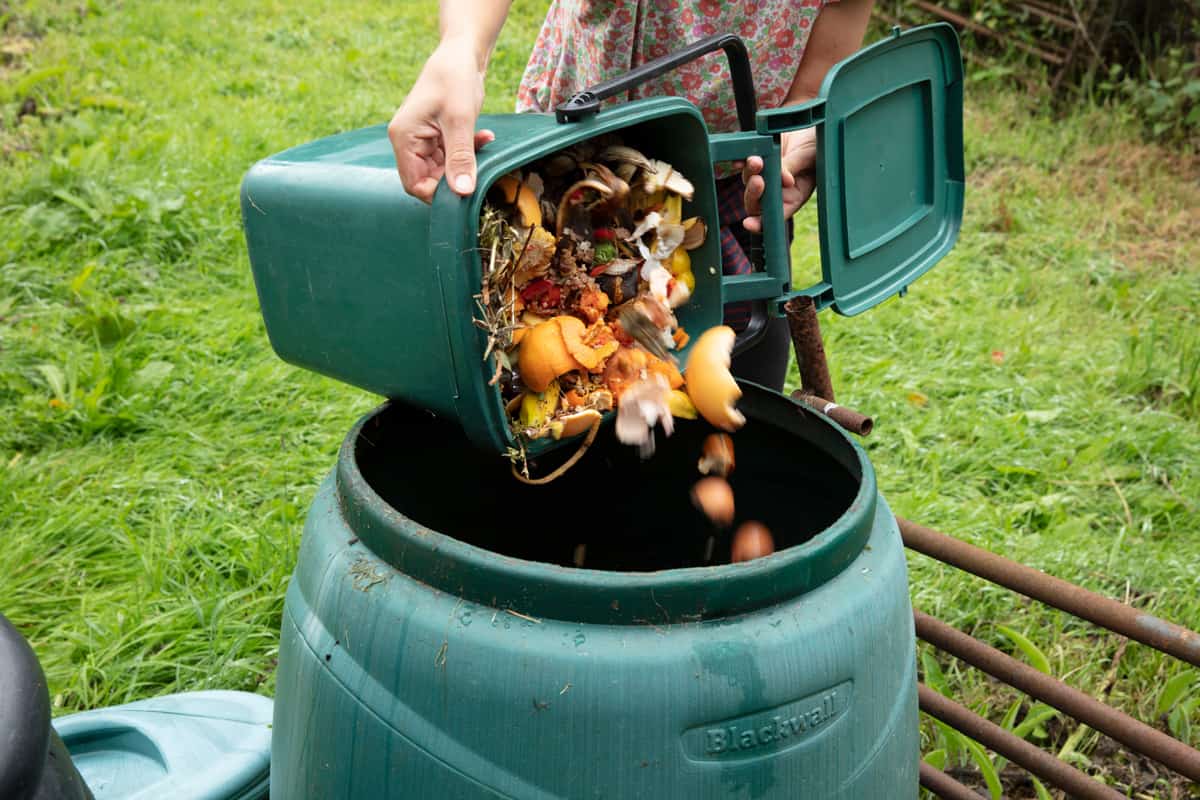
2. Transfer the contents to a separate container.
You can use a large plastic bag or sack when transferring harvested compost. If possible, try to get a compost bin with bottom opening panels. This is ideal because it will allow you to collect the bottom layer of the compost, which is often of the best quality.
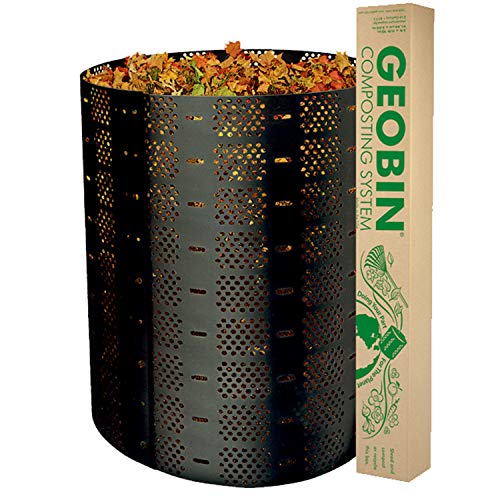
Check out this adjustable compost bin on Amazon.
3. Sort and harvest the vermicompost.
Vermicompost is the result of scraps that were decomposed using a variety of composting earthworms. This is usually at the bottom layer and must be separated from the others.
You can sort the layers accordingly by separating the compost into a layers that's compost ready for harvest, a layer that is almost ready, and a layer that needs more time to mature.
It's also essential for you to check for any unprocessed scraps and toss them into the layer that needs more time to decompose.
4. Screen your compost.
This process is totally optional, but it can help you use your compost more easily because it helps in sorting and breaking down any chunky bits in your compost.
To do this, place a substantial amount of compost on the screen and shake it thoroughly. You can also use this process to find any unprocessed waste that you can toss into the sorting.
5. Keep the set compost in a bag.
For the "ready for harvest" pile, transfer it into compost bags for easier mobility around your garden. You can use commercially available bags or any available sack that isn't too big or too small.
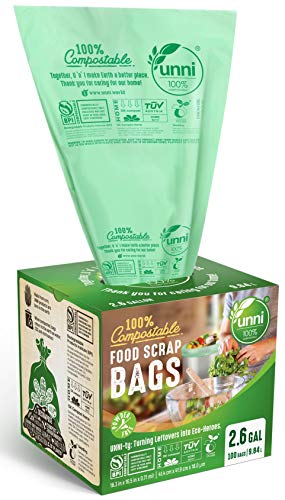
You can purchase a pack of compost bags on Amazon.
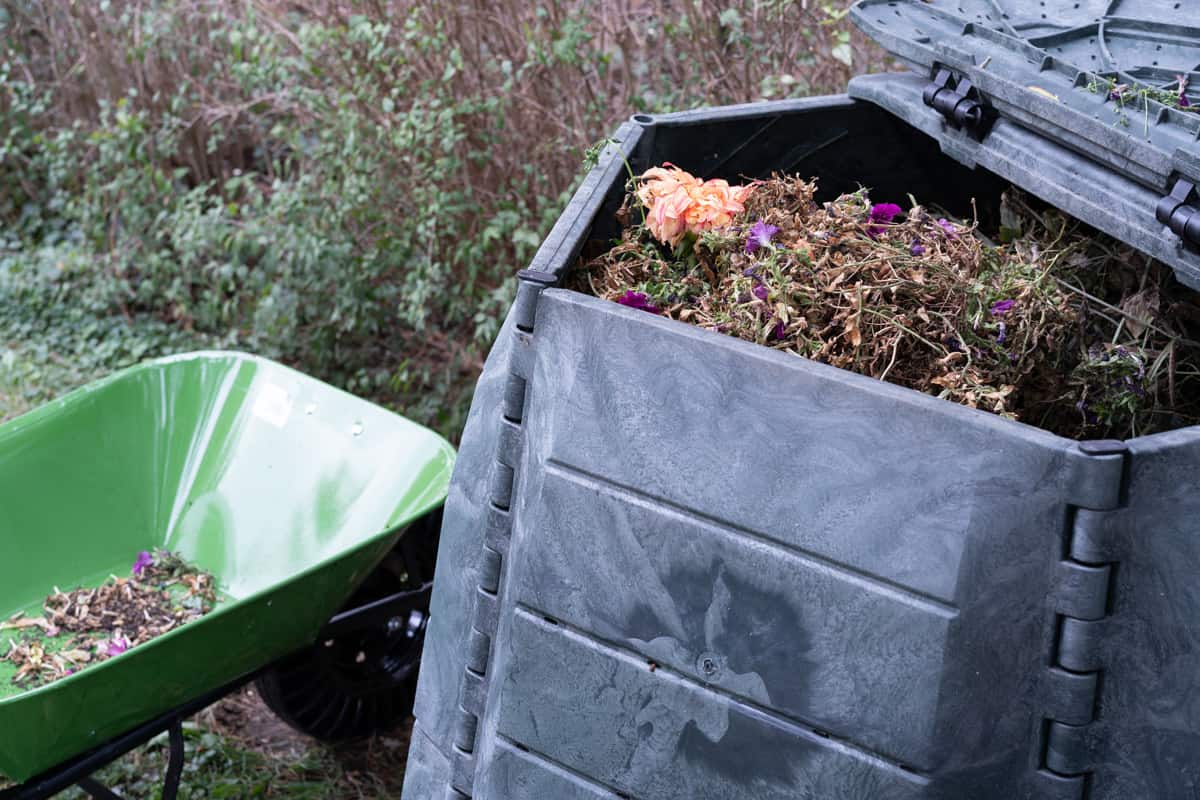
How to compost dead plants
A dying plant is inevitable and one of the most unfortunate incidents in gardening. However, you can turn this unfortunate incident around by using the dead plants as compost to nourishing your other plants.
You can compost your dead plants by extracting them from the soil and washing off the roots and leaves. Once you're done cleansing, trim or cut them off into smaller pieces and toss them into your pile of scraps.
How to compost old soil
Keeping old soil is an unhealthy practice as there are high chances that it'll contaminate your plants. But don't worry! You can recycle the soil by adding it to your compost.
To do so, sterilize your soil first by drying it under the sun for weeks or by baking it in the oven if you don't have much time. This helps in getting rid of pathogens and any leftover seeds from invasive plants.
When you've finished the process, add the sterilized soil to your existing compost pile, but be sure to also add an equal amount of green matter, such as manure or grass clippings.
Storing Your Compost
One technique to keep your compost for later use is to store it. This can be challenging because the process is crucial to maintaining the quality of your compost, which is why it should be done with utmost care and patience.
You have options for short-term and long-term storage, and here are some ways you can store it.
For Short-Term Storage
1. Using a tarp as a cover
When you choose to leave your compost in the ground, you can use a piece of tarp enforced by stakes to protect it. This gives your compost enough protection from moisture and heat while maintaining an excellent airflow.
2. Covering the compost with a lid
Should you find the tarp method a setback, you can make use of a sizable lid to cover the compost you left in the ground.
If you have the skills and resources to build a temporary roof, you can do so with the help of roofing sheets and some installation tools.
For Long-Term Storage
1. Compost bags
If you just harvested your compost and decided to transfer it to a compost bag for moving, you can save yourself time and effort by simply using it as a storing method for long-term use.
Just be sure to poke a few holes at the bottom for the compost to continue receiving airflow and for the bacteria to resume its work.
2. Storage bins
For this method, you can utilize your already existing garbage bin or any other durable plastic storage that you have on hand.
Be sure the container is something you won't be using again, as you will need to punch some holes in it to provide airflow. If your composting bin is is also designed for storing compost, you can use that as well.
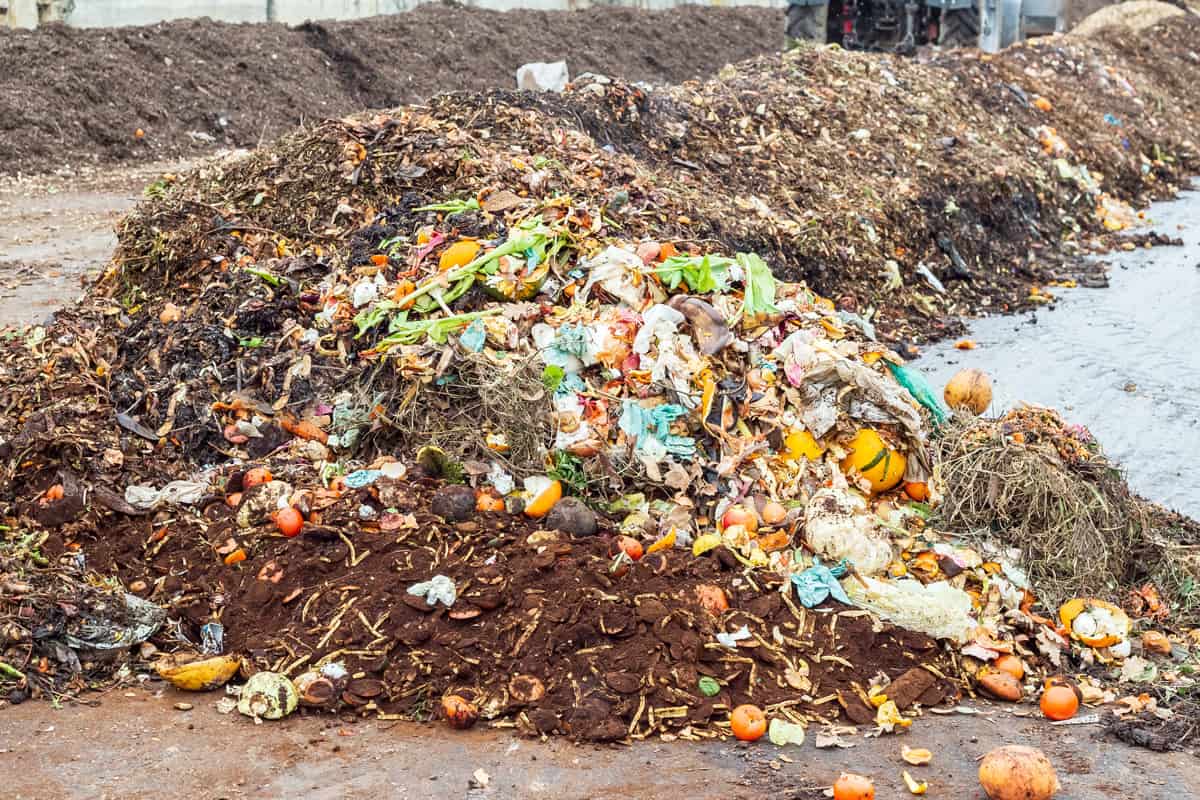
How long can you store homemade compost?
Since compost begins to decay once the decomposing process has reached its best, it shouldn't be kept for long periods of time. Compost that is ready should be used in three to six months.
Your compost must also be stored properly to preserve the mix's beneficial bacteria and nutrients. It should be stored in a most, cool area.
Why are there no worms in my compost?
If you are not seeing worms in your compost, chances are your compost is too hot. Worms can also drown in soil that's too wet. Make sure that the compost has the right amount of moisture.
In Closing
Harvesting and storing your compost can be challenging, especially when you're not armed with the right information. We hope this post will help address any issues you may encounter during the composting process.
When done right, you can expect your compost to be at its best in order to further provide your plants with all the right nutrients.
Enjoyed this post? Here are some related articles you might want to check out before you go.
Best Indoor Compost For Plants [And How To Apply]