
 If you have been to a farmer’s market, you have probably seen a stand or two where people were selling microgreens. After taking a look at the price tag you might have considered growing your own.
But how hard can it be? Growing microgreens is actually pretty easy! They can be grown in big and small spaces alike, and they only need water, light, and space.
There are four easy steps to growing microgreens:
- Choose a medium, space, and varieties for your microgreens operation.
- Plant your microgreens.
- Water and manage your microgreens and watch for mold and other pesky diseases.
- Enjoy your delicious and nutritious homegrown microgreens!
If you still have some more questions, don't worry. We'll take a closer look at these steps and how you can grow these easy and highly nutritious plants.
1. Choose the space
Choosing a medium, space, and seeds are particularly important.
Soil, coco coir flats, and water are most common. Coco coir flats and water are both considered hydroponic grow methods.
Many argue that soil is the best medium of the three because it is the easiest to get ahold of. Some may mix coco coir, perlite, and soil to help manage the soil moisture.
Seeds
The space you choose for your microgreens also helps determine the equipment you need.
The equipment for having microgreens in your windowsill would be very different from the equipment you would need for growing microgreens in your closet.
Seeds are the last and possibly most important choice. Easy microgreens to start with are radishes, broccoli, arugula, and mustard. Mixes are also a good option when starting to help get a taste of a wide variety of microgreens.
Starting small is a good option too, just in case you don’t like growing microgreens as much as you think you will. The flavor profile is one of the best things to look at when picking a variety to grow.
You want to pick something you will enjoy eating or could use to help flavor your food. Picking something that grows quickly is also a good option because you'll get the satisfaction of watching the plants grow and change each day.
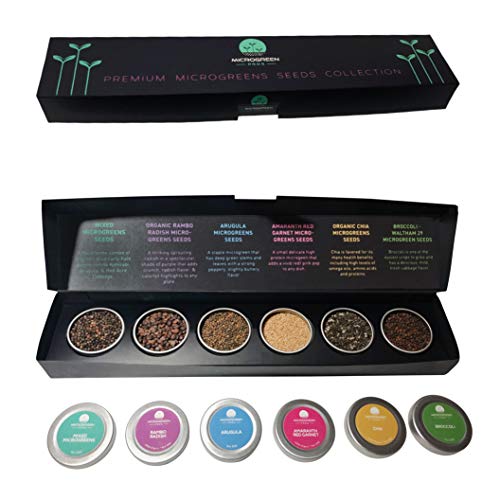
Click here to see this microgreen kit on Amazon.
Getting a variety pack or starter kit is another way to try various microgreens. This mix has enough seeds to use for a commercial-sized tray of the seed arrays. It includes common types of microgreens and some less common ones as well.
2. Plant the microgreens
Of the four steps, this is probably the easiest. Depending on the seeds you decided on, you may need to soak the seeds for a few hours.
Plants with larger seeds like peas usually germinate better after being soaked. Check the package for pre-soaking instructions; if it does not say anything, it's safe to assume that the seeds do not need it.
Planting microgreens is easy, as the seeds generally just need to be scattered on top of the wet growing medium. Do your research to find out how dense you should sow your particular seeds.
Large seeds like peas may require a thin layer of soil to cover them, but small seeds like arugula and kale do not usually need it. After sowing, cover the seeds with a blackout dome or lid. You can remove the cover after a few days.
3. Manage the microgreens
Water the seeds from the top with a spray bottle until after the seeds have sprouted.
After they have sprouted, water from the bottom if you are doing hydroponics and water normally or with a spray bottle if you are using soil. Watering once or twice a day is ideal.
Other than that, the main thing you need to look for is mold and other diseases. Microgreens are relatively easy to grow and do not need much other upkeep. Be sure not to fertilize them, as it may burn the young plants.
4. Enjoy!
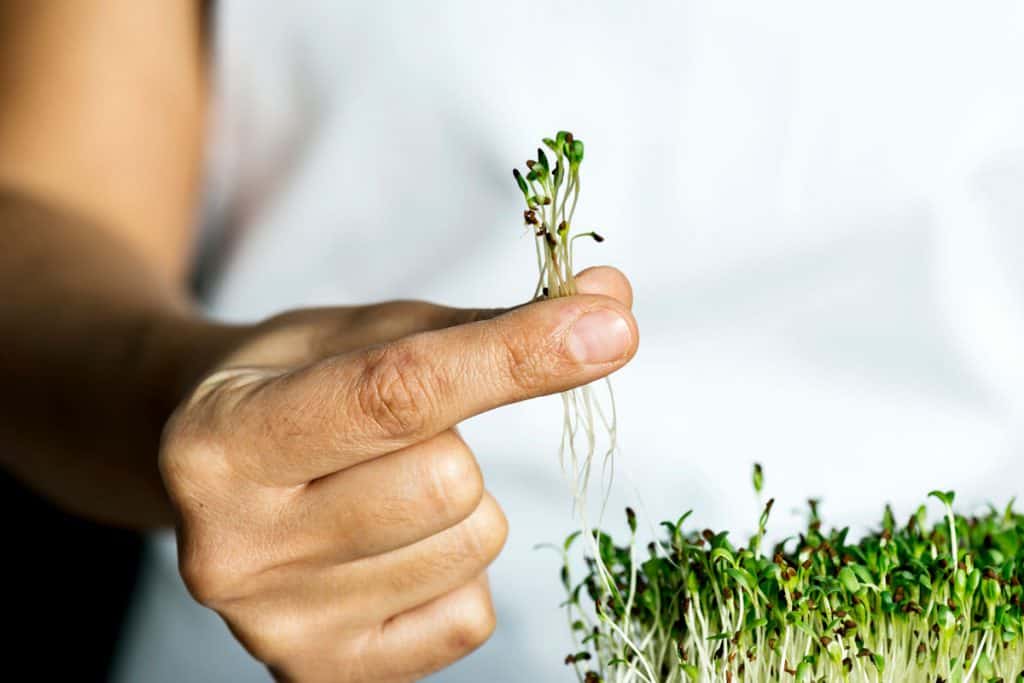
It is most common to harvest microgreens by using scissors to cut as close to the soil as possible. You can pull the plants out roots and all but make sure to wash them carefully.
They need to be washed carefully regardless, but cutting usually keeps the greens from getting as much soil on them.
There are tons of great ways to enjoy your microgreens! Salads are a really popular way to enjoy them, but they can also be used in lots of other ways. Just searching "microgreens recipes" will yield limitless results!
Check this list of microgreen recipes for some ideas!
Can You Grow Microgreens From Regular Seeds?
Yes! Microgreen seeds are no different than regular seeds, so you can grow microgreens from any seeds. Seeds marked as specifically for microgreens are generally no better than seeds not marked as specifically for microgreens.
The primary difference with “microgreen seeds” is they may have a special seed mix made specifically for being grown as microgreens. Microgreen salad mixes are especially common and are a pretty good spot to start if you would prefer a mix.
Once you choose the specific variety or mix you want to grow for microgreens, look for seeds that are high quality with good germination rates.
When Should I Expose Microgreens To Light?
It is recommended to keep microgreens covered for three to five days. If you have slow-growing microgreens, keep them covered for up to seven days. This allows the microgreens to grow stronger.
When they are uncovered, the young plants may be small and yellow, and this is because they have not been able to photosynthesize yet. After a day or two of being exposed to light, the plants will become green and grow taller.
If you have a container or a lid over your microgreens and notice the plants are “lifting” it, that is a good indicator the plants are ready to be exposed to light. Do not wait too long or it can stunt the plants’ growth.
Do Microgreens Regrow After Cutting?
No, most microgreens will not regrow after cutting. Pea microgreens like green peas, snap peas, and snow peas have a better chance to regrow. Regardless, unless they have a leaf left they likely will now grow back.
Having a leaf left allows the plants to continue photosynthesizing. Either way, it is generally not worth trying to get a second harvest. Harvesting one time then reseeding is generally the best way to get good yields and healthy crops.
Can You Reuse Microgreen Soil After Harvest?
In short: no, you cannot reuse soil or the coconut coir after you have harvested. Doing so will lead to a higher risk of mold and a bad smell.
You can reuse the soil if you break down the root and stem structure from the last harvest.
The process of breaking down the old roots is very long and tedious and is generally not worth it. Reusing soil without processing out the old roots could strangle the new plants or starve them of nutrients.
There is also a chance there may be diseases left in the soil. Mold is an especially common offender.
It is generally much better to just put the soil into your compost pile and recycle the nutrients. After properly disposing of the old soil it is best to start with fresh soil.
In Closing
Microgreens are easy, fun and rewarding to grow. Choosing the microgreen variety is an especially important part of successfully growing microgreens at home.
Planting and managing microgreens is easy and requires minimal work. Enjoying microgreens is one of the best parts, as microgreens can be eaten and used in many different ways.
Check out these links for more on plants you can grow indoors: