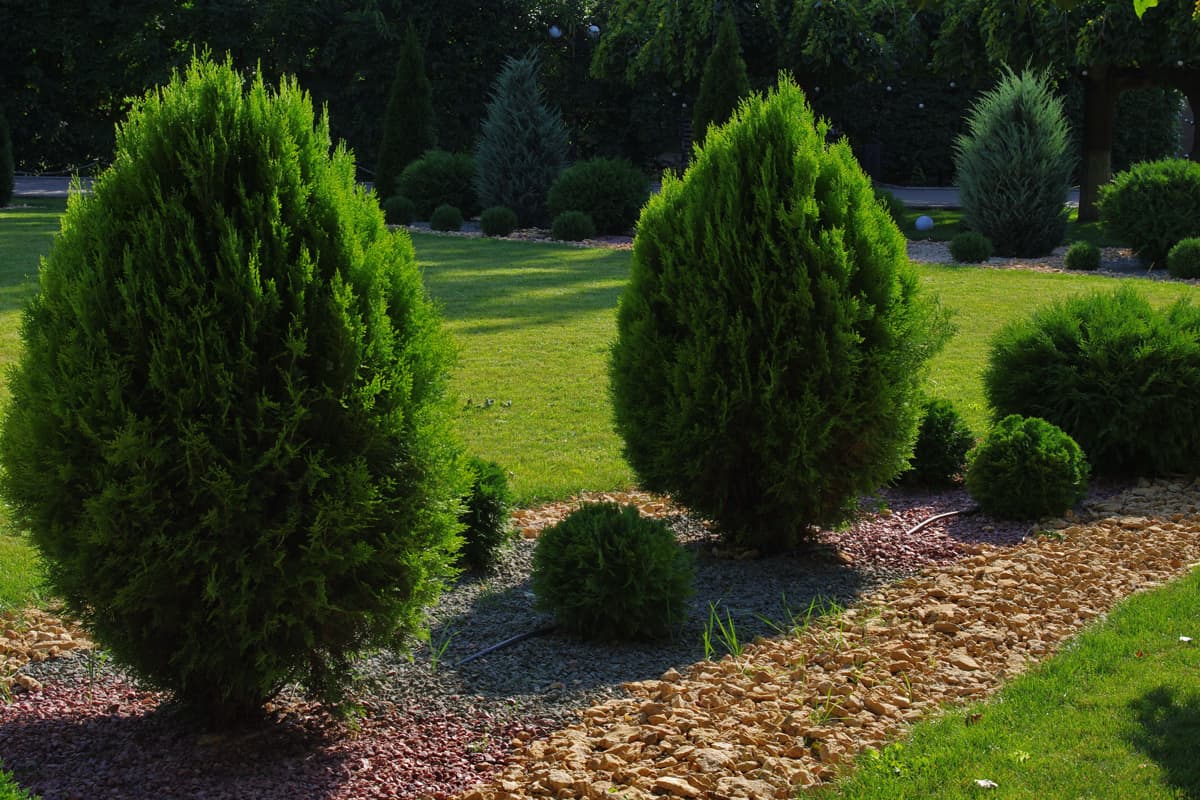
If you have an arborvitae hedge, you know how important it is to keep it looking full and lush, especially if it has been damaged after a storm.
We did some research and found several tips and techniques you can use to help your arborvitae fill in and regain its thick, lush leaves.
Whether you're dealing with a newly planted hedge or an established one that needs some attention, there are several strategies you can use to help your arborvitae look its best.
How to Get Arborvitae To Fill In
Give it full sun
Plant your arborvitae in an area that receives full sun. Arborvitae needs at least six hours of direct sunlight each day to grow properly.
Water regularly
Make sure your arborvitae is getting enough water.
During the first season, water your newly planted arborvitae trees each day for 10 minutes, especially during hot weather.
As the season changes and cooler weather comes in, keep the soil moist but not soaked.
Read here for more watering tips: How Much Water Do Arborvitae Need? [With Regards To Its Life Stage]
Use nitrogen-rich fertilizer
Fertilize your arborvitae annually with a nitrogen-rich fertilizer. This encourages thicker growth.
However, do not apply it to young foliage. Use it only if the plant is more than two years old. Use one with a higher nitrogen content such as an 18-6-12 or a 20-15-15.
Read here for more information on fertilizers: Should You Fertilize Arborvitae?
Prune regularly
Prune your arborvitae regularly to remove any dead or damaged branches. This will help stimulate new growth and keep your hedge looking full and healthy.
If your arborvitae is weak and spindly, you may need to remove a large amount of wood to stimulate growth.
Cut about two feet of the arborvitae at a 45-degree angle just above a horizontal branch.
At the other end of the cut, you should have an upward angle of about 20 degrees from the horizontal.
This will encourage new growth and help your arborvitae fill in properly.
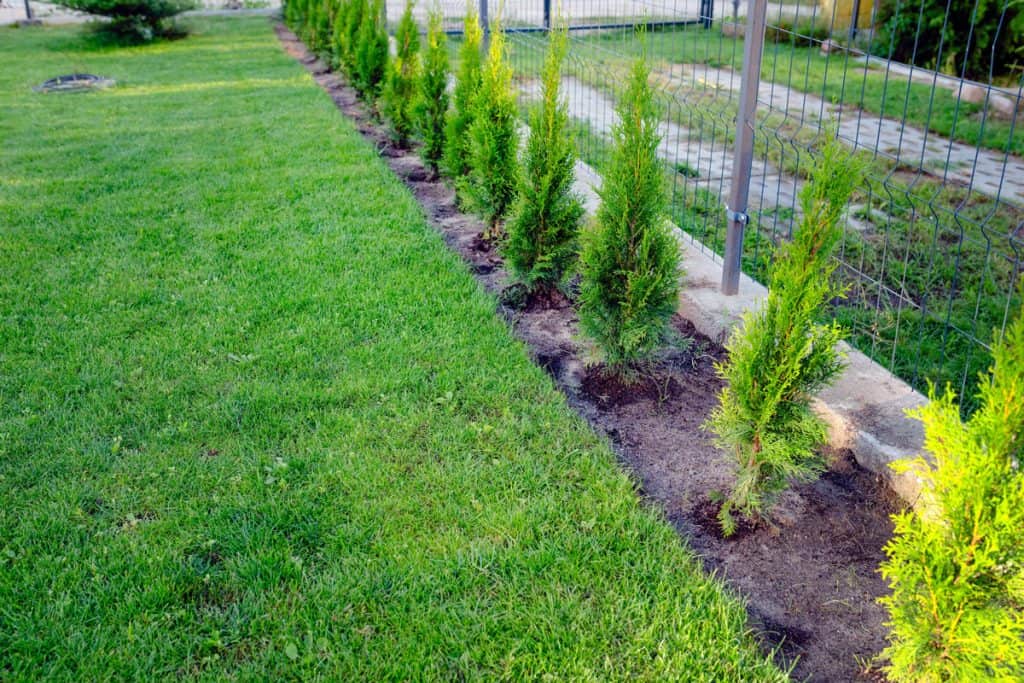
Planting Techniques For Faster Growth
Proper spacing
When planting arborvitae, you should give it enough space to grow and fill in.
The exact spacing will depend on the variety of arborvitae you choose, but a general rule of thumb is to space the trees three to four feet apart. This will allow them to grow together and form a full hedge.
It's also important to consider the future size of your arborvitae when spacing them.
Make sure to research the specific variety you choose and give them enough space to reach their full size without crowding each other or nearby structures.
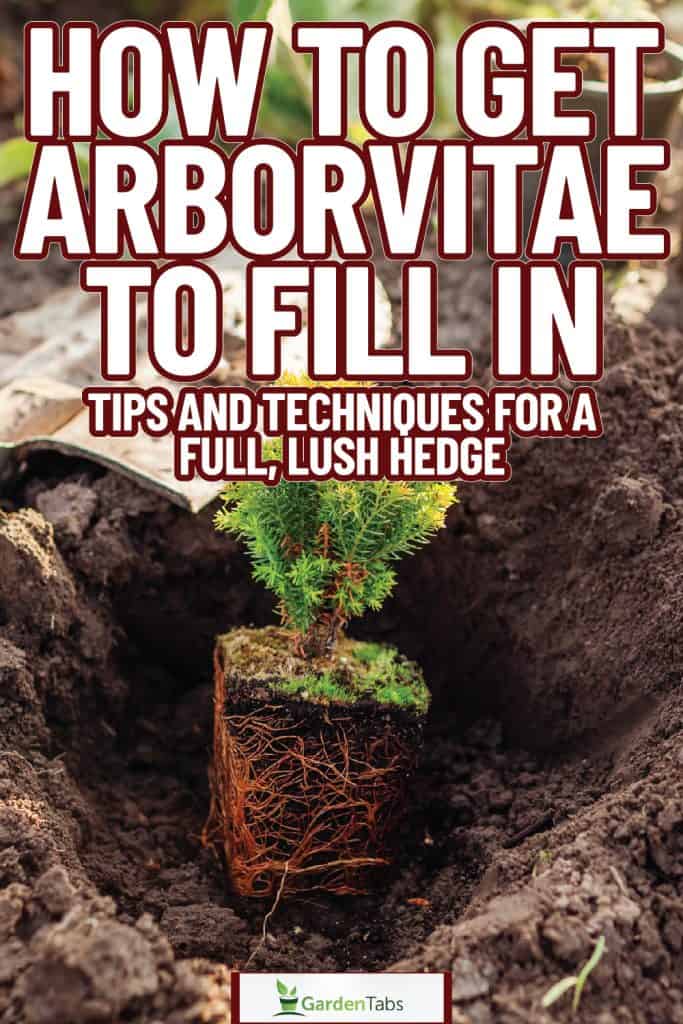
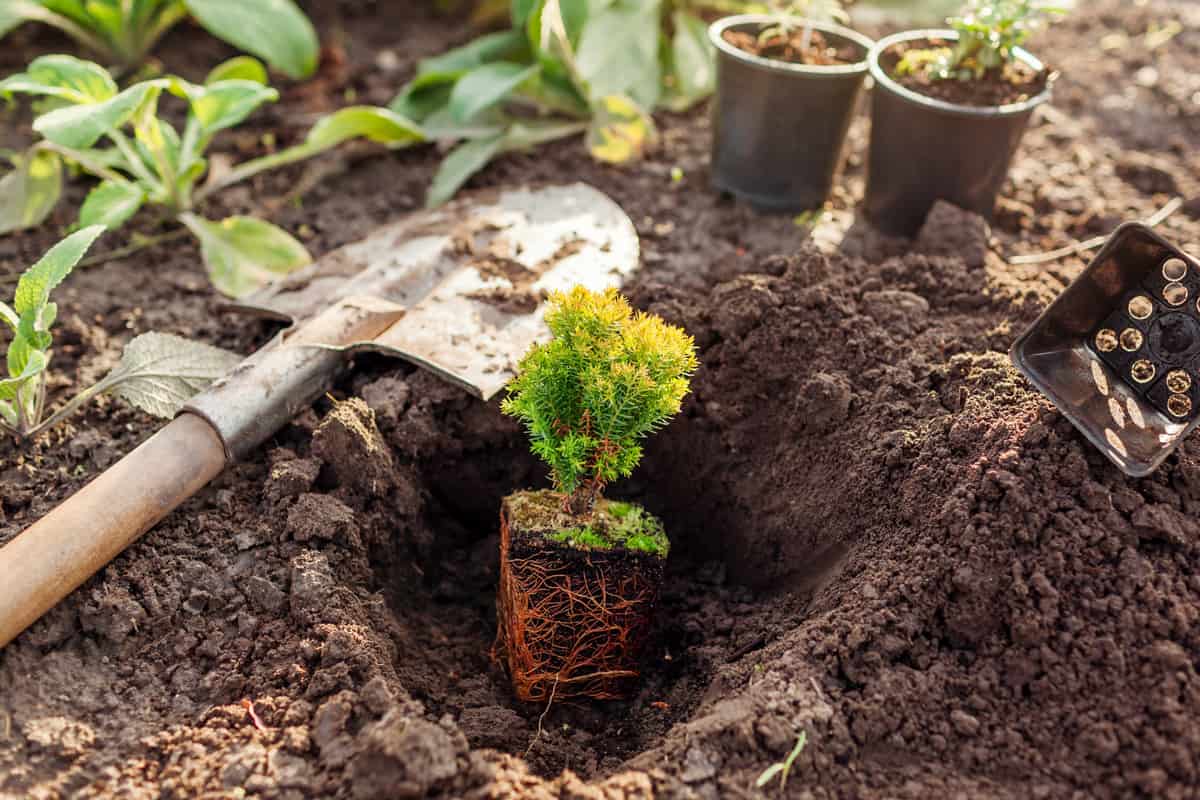
Correct depth
The hole you dig for planting should be about twice as wide as the root ball and just deep enough so that the top of the root ball is level with the surrounding soil.
Planting too deep can cause the roots to suffocate and planting too shallow can cause them to dry out.
After planting, make sure to gently pack the soil around the root ball to eliminate air pockets and provide stability to the tree.
Mulching
Mulching around your arborvitae can provide several benefits. It can help retain moisture in the soil, suppress weeds, and regulate soil temperature.
When mulching, make sure to keep the mulch a few inches away from the trunk of the tree to prevent rot.
You can use a variety of materials for mulch, such as wood chips, shredded bark, or straw.
Apply a layer of mulch about two to three inches deep around the base of the tree, making sure not to cover the trunk.
Watering frequency
Arborvitae needs regular watering, especially during the first year after planting.
Water deeply once a week, or more often if the weather is hot and dry.
Make sure the soil is moist to a depth of at least six inches. Avoid overwatering, as this can lead to root rot and other problems.
During the second year and beyond, you can reduce the frequency of watering to once every two weeks, or as needed based on weather conditions.
Test the soil moisture with your finger or a trowel. If the top inch or two of soil is dry, it's time to water.
Fertilizing schedule
Fertilizing arborvitae is important for promoting growth and keeping foliage healthy. Apply a balanced fertilizer in early spring, just before new growth begins.
Here's a guide on what fertilizers to use: 7 Best Arborvitae Fertilizers
Repeat the fertilizer application in mid-summer if your arborvitae is not showing signs of vigorous growth.
However, avoid fertilizing after mid-August, as this can stimulate new growth that won't have time to harden off before winter, making it vulnerable to damage.
It's important to remember that too much fertilizer can be harmful to arborvitae.
Over-fertilization can cause excessive growth, weak branches, and susceptibility to pests and diseases.
Always follow the recommended application rates, and avoid applying fertilizer to dry soil or foliage.
Tips For Proper Pruning and Trimming
To keep your arborvitae hedge full and lush, pruning and trimming are essential. Here are some helpful tips and techniques:
When to prune
The best time to prune your arborvitae hedge is in late winter or early spring before new growth begins.
This is the time when the plant is dormant and will not be stressed by pruning.
Avoid pruning in the fall or winter, as this can damage the plant and make it more susceptible to disease and pests.
It is also important to prune your arborvitae regularly to maintain their shape and size.
If you wait too long between prunings, you may need to remove more growth than you intended, which can damage the plant and make it look unsightly.
How to trim
To trim your arborvitae hedge, start by removing any dead, damaged, or diseased branches.
Use a pair of sharp pruning shears to make clean cuts close to the trunk or main stem.
Next, trim any branches that are growing too long or too far out of shape.
Use a pair of hedge shears to trim the top and sides of the hedge, making sure to keep the top narrower than the base to allow sunlight to reach the lower branches.
When trimming your arborvitae hedge, it is important to avoid cutting into the woody part of the stem, as this can damage the plant and make it more susceptible to disease and pests.
Focus more on trimming the soft, green growth at the tips of the branches.
Remember to take breaks and step back to look at your work frequently to ensure that you are trimming the hedge evenly and maintaining the desired shape.
Pest and Disease Control
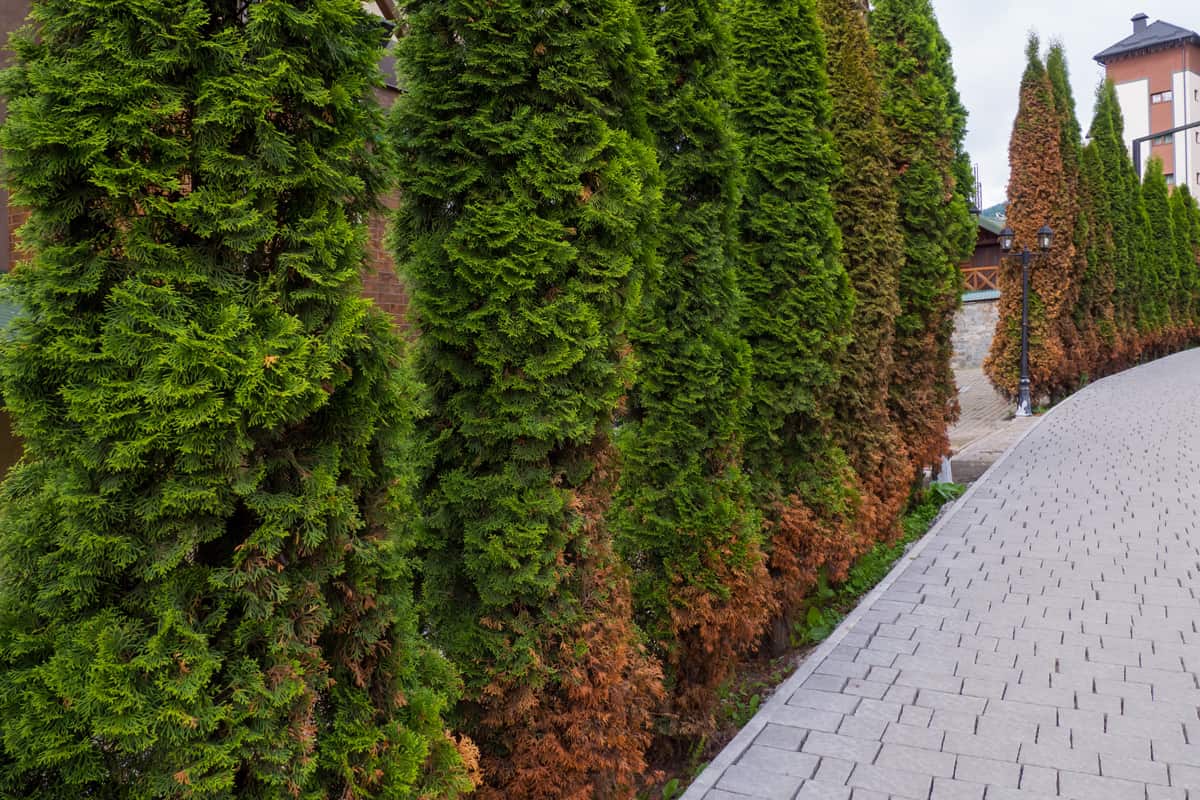
Arborvitae hedges are susceptible to a variety of pests and diseases that can cause damage to the plant and affect its growth.
Proper pest and disease control is essential to maintaining a full and lush hedge.
Here are some common issues and preventative measures to help you keep your arborvitae hedge healthy.
Common arborvitae pest issues
One of the most common pests that can affect arborvitae hedges is the Fletcher scale.
This pest can cause yellowing and browning of the foliage, as well as twig and branch dieback.
Other pests that can affect arborvitae hedges include spider mites, bagworms, and adelgids.
Arborvitae hedges can also be susceptible to various fungal diseases, such as cedar apple rust, canker diseases, and tip blight.
These diseases can cause discoloration, wilting, and dieback of the foliage and branches.
Preventative measures
Preventing pests and diseases is the best way to keep your arborvitae hedge healthy. Here are some preventative measures you can take:
- Plant arborvitae in well-draining soil and in a location that receives adequate sunlight and air circulation.
- Water your arborvitae hedge regularly, but avoid overwatering, as this can lead to fungal diseases.
- Prune your hedge regularly to remove dead or diseased branches, and to promote air circulation and sunlight penetration.
- Apply a fungicide in the spring and fall to prevent fungal diseases from taking hold.
- Use insecticidal soap or horticultural oil to control pests, and prune heavily infested branches to prevent further spread.
By following these preventative measures, you can keep your arborvitae hedge healthy and full, and avoid the need for more drastic measures such as chemical pesticides or fungicides.
Don't lose hope if your arborvitae hedge has thinned out!
With the right tips and techniques, you can still achieve a full, lush hedge that will be the envy of your neighborhood.
By consistently pruning, spacing appropriately, and providing proper care like regular watering and fertilizing, your arborvitae will have the chance to thrive and grow into the beautiful hedge it once was.
For more information on arborvitae care, check out these articles: