
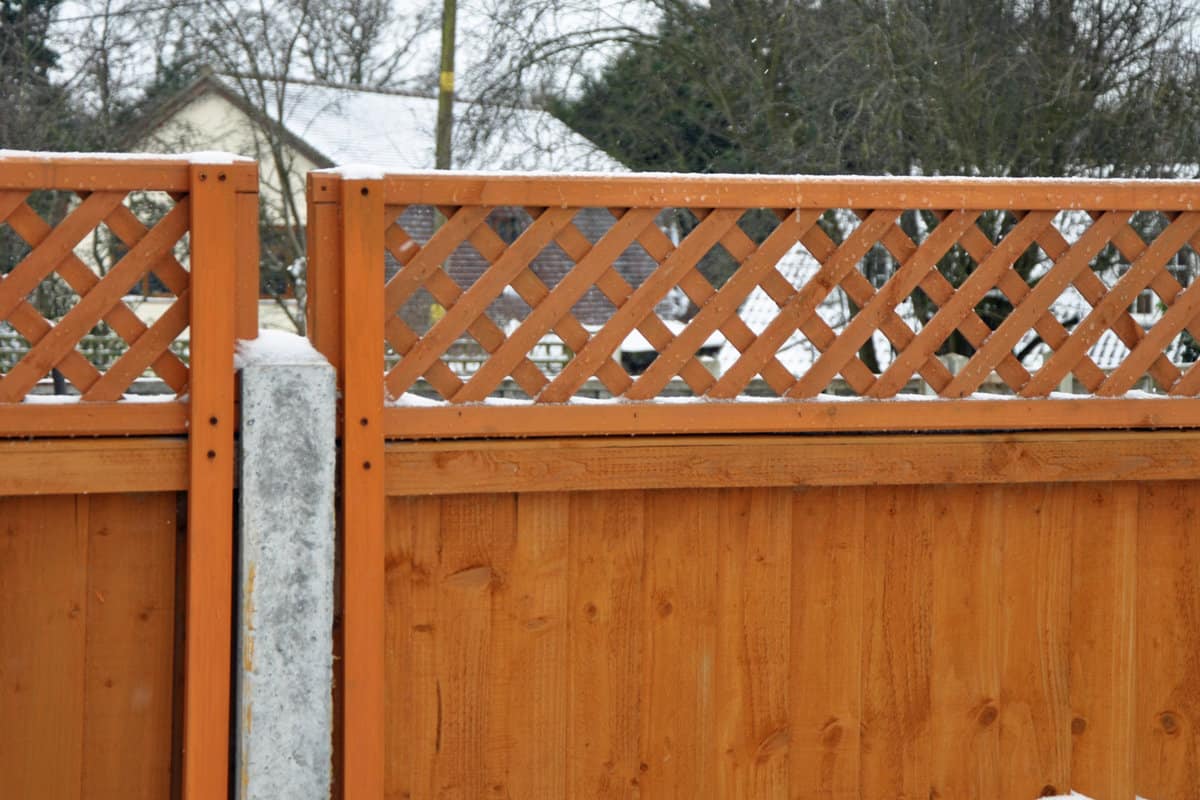
Often, fences are built so that they do not fully butt up to your home. This hole is wide enough for children, pets, and even adults to slip through. Noticing this, you are wondering how to fill the fence-house gap. In this post, we have scoured the internet to provide several options for solving this issue.
Generally, filling the gap between the post and the house can be accomplished by either building more fencing or blocking the opening. As such, the main methods for filling a gap between a fence post and a house are as follows:
- Add a Dummy Post
- Fill Gap with Fencing Material
- Add Hedge Vegetation
- Add a Potted Plant
Keep reading the rest of this post for details on the above techniques. First, we cover why the fence/house gap is so common. To conclude, we provide a useful additional reading list.

Why is There a Gap Between a Fence Post and House
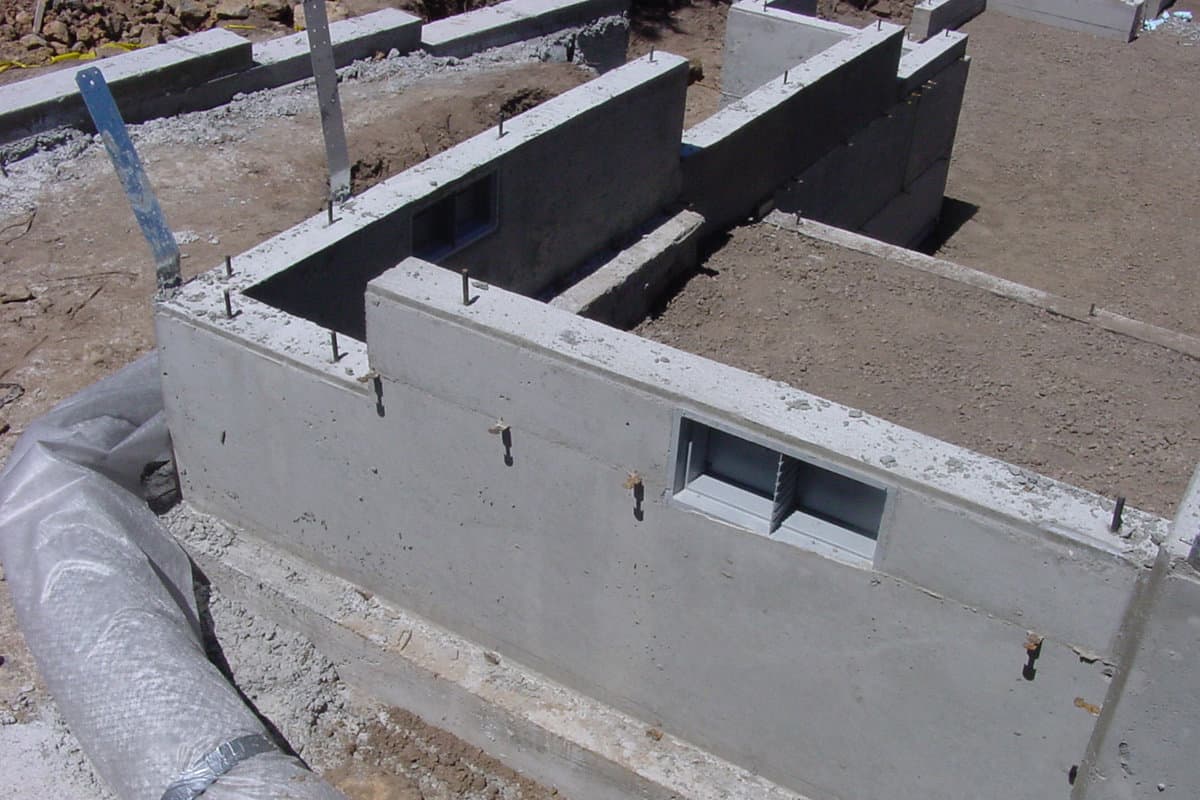
Fence-house gaps are common because of the way that home foundations are often constructed. Generally, there is a concrete feature known as a 'footing' buried under the ground. This footing is wider than the part of your foundation visible above the ground.
The width of the footing means that it is difficult or impossible to set a post close to the home. The footing may be over a foot off the house edge, depending on the construction. Because of this consideration, all of the methods described in this post do not involve digging a new post into the soil directly adjacent to your house.
Finally, you do not want to attach fencing material directly to a home. This is inadvisable because it requires cutting or poking holes into your siding. These holes let in unwanted moisture, leading to premature decay, rot, and pests.
Add a Dummy Post
Adding a dummy post is a great way to fill a gap 6-inches wide or smaller. Essentially, the strategy is to affix a floating post to the last buried post in your fence. This floating, or dummy post, does not need to be buried in the ground but instead gets its strength from the buried post it is attached to. For larger gaps, you can add more than one dummy post.
In the following subsections, we cover the basic steps of this process.
1. Buy a Matching Post
This step is sometimes more difficult than it first seems. Who knows where the original fence builder sourced their material and whether the old posts are still available. However, finding at least a similar post from a local materials warehouse or lumber yard is usually possible.
To make the job easier, take the time to measure and write down your existing post's length, width, and height. Further, head to the store with a photo of the post on your phone to make color and form reference easier.
While at the store, do not forget to buy fasteners as well. In subsection three below, we cover the types of fasteners you can consider. Also, you may have to finish the new post with paint or stain to create a better match.
3. Cut post to Length
Whether you are working with metal or wood posts, you will probably have to cut the post to length. This means cutting it so that it matches the height of your fence and touches the level of grade or is long enough to stick into the dirt.
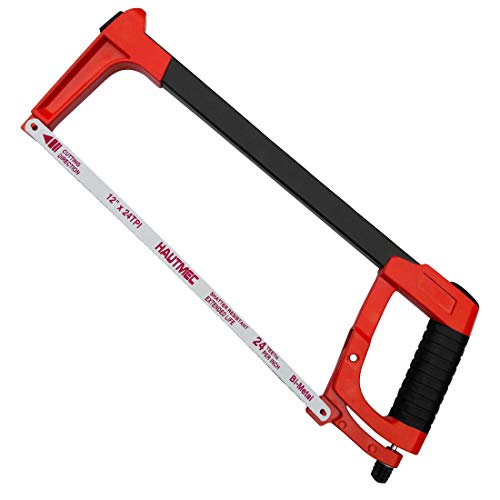
Click here for a hacksaw from Amazon.
Use a hacksaw for a metal post and any type of wood saw for the wood post. If you use a circular saw on a 4 x 4 or larger post, you will probably have to make two cuts, one on each side. Be meticulous with this process, as leaving an unsightly step up is very easy.
3. Fasten on Dummy Post
There are almost as many ways to fasten the dummy post to the real post as there are post types. Generally, use the same or similar fasters that hold the rest of the fence together. For chain link fences, use paired brackets, as shown in the video below. For wood, consider using long sturdy screws that go through the main post into the dummy post.

Click here for 7-inch construction screws from Amazon.
Also, for wood, it is possible to scab a piece of material on the front of the two posts. For instance, you could use a piece of thinner material such as 2 x 6 and pin it to the original post and the new post using screws that are only 3-inches long.
If you are ever using screws over 4-inches, consider predrilling the holes first for an easier job. Use clamps or nails to keep the post in place while adding the permanent fasteners.
Here is a video that covers how to add a dummy post to a chain link fence:
https://www.youtube.com/watch?time_continue=23&v=GulJ53J-nYs&feature=emb_logo
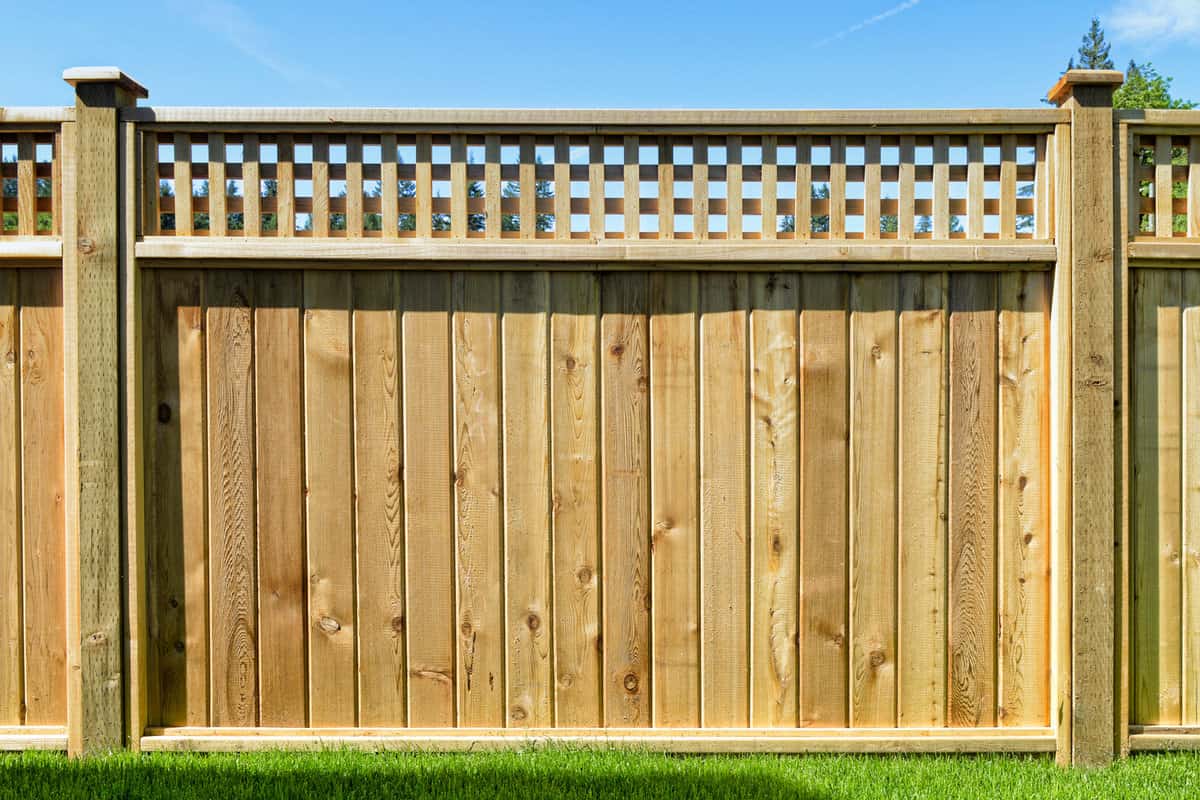
Fill Gap with Fencing material
Filling your house/fence gap with slat material is similar to adding a dummy post. However, instead of adding more of the post material, you are adding more of the material that makes up the main body of the fence. We cover this process step-by-step in the following subsections.
This method enjoys one primary advantage over adding a dummy post. Namely, adding more fence material can easily fill a much wider gap than a post alone can. Take note that it is difficult to use this method with chain links or other material that requires stretching.
1. Purchase Material
First, measure your existing slats and slat support framing for height, width, and length. Also, use a picture for reference when you head to the home improvement store to go shopping. It is helpful if you already know the material type. Pick up scab boards, horizontal support lumber, fasteners, and anything else you need to match the original fence on the same trip.
2. Add Scab
As we are not able to attach the slat material to the house, we have to use the existing post instead to create structure. To do this, add some sort of scab to the post. The word 'scab' generally refers to an additional smallish piece of wood that is attached in such a way to allow two other pieces of wood to be joined together.
In this case, we want to add the scab to the house side of the existing post so we can easily attach the horizontal and vertical fence boards. Often, all posts in a wood fence system have some sort of scab material.
3. Add Supports and Slats
Now, you can add the horizontal supports. They should be pretty sturdy even without attaching them to the home by connecting them to the scab and the fence post. Take the time to measure these so that they almost reach the house but do not quite touch. If they touch, they will hold in moisture and eventually be at a point where rot may form.
Finally, add the vertical slats between the horizontal support the same way the rest of your fence is made. If the ground is not level, you may have to cut the final slat at an angle to keep a tight profile to the home.
If you are worried that the new small fence part will sag, it is possible to prop the house end of the fence section up with a small dummy post or even some sort of rock or concrete. Don't forget to finish your new fence section to match the existing fence.
Add Hedge Vegetation
Adding hedge vegetation in the corner where your fence does not reach your house is an excellent way to keep intruders out and pets and toddlers in. Many hedge-forming plants grew so thickly and convoluted that they are just as effective as a fence. Consider using dwarf conifers, such as junipers, arborvitaes, spruces, or pines. These make great hedges, according to the Washington State University Extension Office.
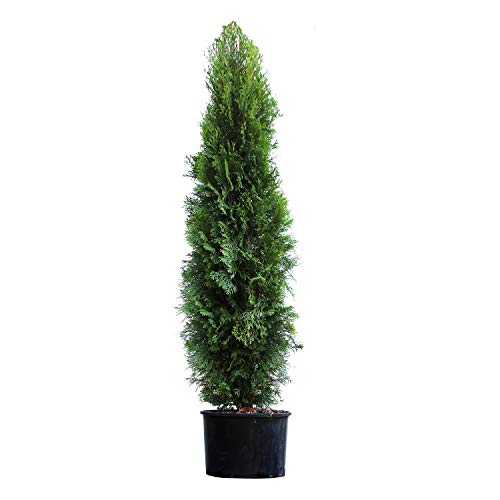
Click here for a hedge arborvitae from Amazon.
However, there are a few downsides to this method. First, it takes many years for a hedge to grow to maturity. Thus, do not expect the fence-house gap to be filled any time soon. Second, the large permanent plant right next to the home makes it difficult to perform maintenance in that area and may lead to local rot.
Add a Potted Plant
The final method for filling a fence-house gap is to add a large potted plant. This may not stop intruders and wildlife, but it should be enough to keep small dogs and children inside your fence. Use a large pot, say 50 gallons or so, and plant some sort of tight growing plant such as juniper.

Click here for a large plant pot from Amazon.
This method enjoys many of the advantages of adding hedge vegetation with the added ability to move the plant should you need to perform maintenance on the area.
Additional Reading
To learn more about fencing, read these great articles from Garden Tabs:
- Should You Add A Fence To A Retaining Wall? [And How To Do So]
- How To Build A Vertical Garden On A Fence
- 11 Beautiful Climbing Flowering Shrubs And Vines
In Closing
In this post, we cover four separate ways to fill a gap between a fence and a home. These methods apply to a wide range of fence construction types and gap widths. To conclude, we provide a helpful additional reading list. Good luck!