
If you've seen a braided Schefflera, you probably are inspired to take on a braiding project of your own. We created this guide to show you step-by-step how to braid a Schefflera plant. Along with these steps, we will answer how to shape and create a bushy look for your plant.
To braid Schefflera, follow these steps:
- Obtain your plants (3 or more)
- Move all plants into the same container
- Remove all lower leaves
- Begin the braiding process with your trunks
- Tie off your braid when you reach the top foliage
- Maintain the top of your plant
These are the basic steps of braiding a Schefflera plant. Keep reading as we break down each step in detail and tell you if any plant can be braided, with some examples. We will also answer relevant additional questions about your Schefflera plants.
![A top view photo of a Schefflera plant in it pot, How To Braid Schefflera [Umbrella Tree]](https://gardentabs.com/wp-content/uploads/2021/12/How-To-Braid-Schefflera-Umbrella-Tree-683x1024.png)
How To Braid Schefflera Step-By-Step
Schefflera, or umbrella tree, is a common houseplant and thrives in conditions with moderately bright light. This is a great species to braid due to the fast growth and easy care this plant requires. Let's take a closer look at the steps to braiding your Schefflera.
1. Obtain Your Plants
The very first step in this process is gathering the number of plants you will need. A braid requires at least three trunks to work with, which means you will need three separate plants.
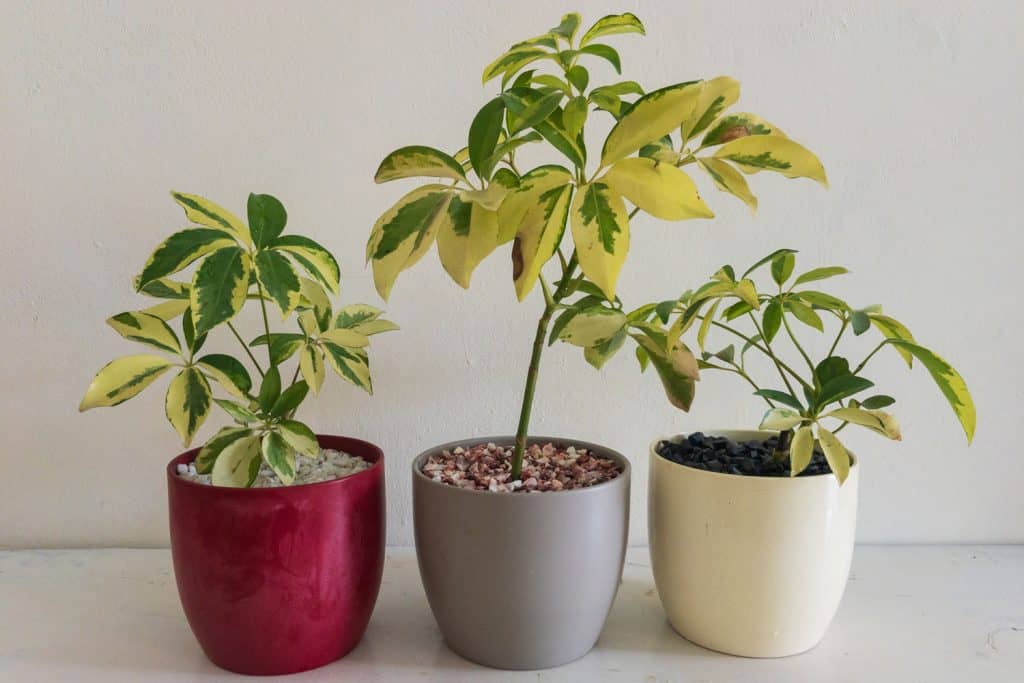
If you want to cultivate a larger braided Schefflera, or you are just up for the challenge, you can get more than three plants. Some gardeners work with five or more at a time.
It is ideal to get younger plants because of their smaller roots and more flexible stems. However, this process can be done with adult plants as well.
2. Move All Plants Into The Same Container
Once you have all your plants in one place, it is time to get them all into the same pot or container. Moving your plants needs to be done carefully, with mindfulness of the root balls.
To care for the roots, gently remove soil from the root ball. You can use root-specific scissors to prune what you can to plant each specimen close enough in the same container.

You can find root-pruning scissors here on Amazon.
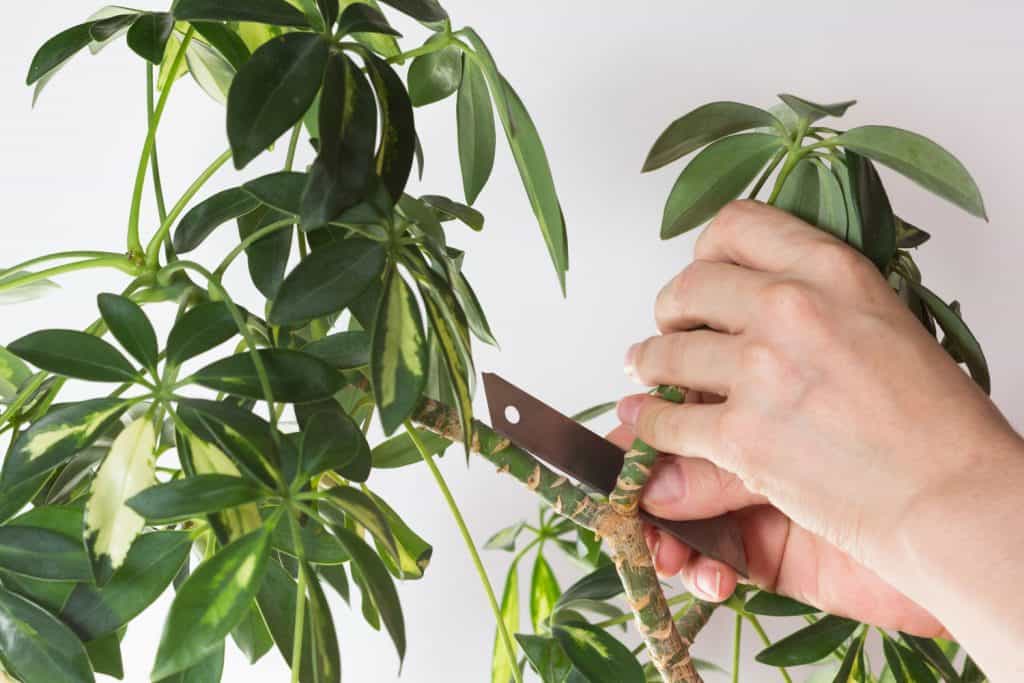
3. Remove All Lower Leaves
After you plant each specimen and cover all the roots, you can start removing leaves from the lower trunks of each plant. You want to remove any leaves that will be in the section of trunk you plan to braid.
Removing more than needed is better than less. With fewer leaves, your plant can focus its energy on keeping healthy roots and growing new foliage on top.
4. Begin The Braiding Process With Your Trunks
Next, you can begin to braid your trunks with a gentle touch.
If you are working with three trunks, simply lay one trunk from one side over the other two stems. Then take one stem from the other side and do the same movement. Continue this step alternating between sides each time.
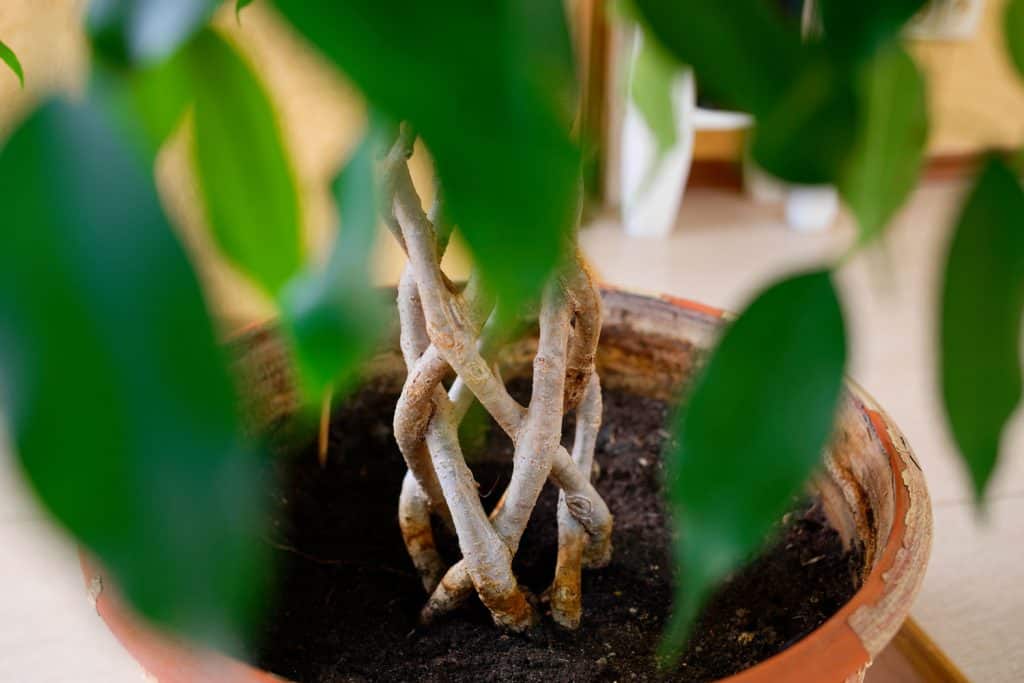
This process may be slightly different if you are working with more than three trunks. You will need to group stems together if you are working with 4-6 trunks and then complete the same movements.
5. Tie Off Your Braid
You continue braiding your trunks until you reach the top foliage of your plants. At this point, it is time to end or tie off your braids.
Use something soft but strong to tie off your braid, such as soft twine or a piece of cloth. You want to hold your braids in place while not damaging your plants.
![]()
Have a look at this reusable, soft rubber twine great for plants here on Amazon
As your plant grows, you may need to reposition this tie from time to time.
6. Maintain The Top Of Your Plant
With your braid in place, the only thing left to do is maintain the top of your plant. Your trunks will continue to grow in this braided position. You care for your plant just as you would a standard version of it.
Schefflera care includes the necessities such as water, sunlight, and appropriate soil, along with pruning and shaping as necessary.
The video below gives you a visual of this braiding process. In the video, you see a Hibiscus, but the process is the same for Schefflera.
Read more on our blog post, "How Far Apart To Plant Schefflera?"
How Do You Shape A Schefflera?
Shaping a Schefflera can be done to create unique shapes or to simply manage the space it is taking up. Schefflera have been popular due to their fast-growing nature, but it is something you'll need to keep up with.
To shape a Schefflera, you can pinch the top of your stems at their ideal height. This will promote stems to branch out versus growing taller.
Has your Schefflera already grown past a comfortable height? Don't worry. These plants tolerate being cut back extensively. Utilize a pair of hand pruners to carefully cut back your stems a few inches below the height you'd like them to be.

Click here to see this pruning sheer kit at Amazon.
You can remove entire branches if they are growing in an undesirable direction. Over time, this will completely reform your plant.
Read more on our blog post, "Does A Schefflera Plant Bloom?"
How Do You Make Schefflera Bushy?
At times, a Schefflera becomes leggy, meaning the stems are very long, and they are lacking leaves. If you want to stray away from this leggy look, you will want to take the steps to make your Schefflera bushy.
You can make a Schefflera bushy by strategically pruning your plant and promoting new growth. Cutting off the tops of the longest stems promotes your Schefflera to grow out versus up.
As your plant grows out, the leaves will fill in the space and create a bushy look. As Schefflera grows fast, you can trim back these higher stems frequently. You can also move your plant into a larger pot, to further promote new growth.
Alongside proper pruning, you can promote plant growth by keeping up with care. Consider fertilizing your Schefflera and completing a cut back right before Spring. This prepares your plant for a successful growing season.
How Do You Trim An Umbrella Plant?
Trimming an Umbrella plant is easy, another reason why this species is great for beginner gardeners. It is highly unlikely that you will trim too much, as Umbrella plants grow back quickly.
One rule to follow while trimming is to cut your stems right above a growth node. Cutting above the area where a leaf is sprouting promotes your plant to become fuller.
If you want your Umbrella plant to have a thinner look, simply focus on trimming horizontal branches. Whether you are trimming horizontal or vertical branches, always use your bypass pruning shears for the job.
Have a look at these stainless-steel bypass pruning shears here on Amazon.
Trimming your plant also helps to ensure sunlight is reaching all parts of your plant. This light promotes growth and keeps your plant healthy.
Read more on our blog post, "How To Propagate Schefflera In Water."
Can You Braid Any Plant?
Plants with pliable stems are the easiest and most likely to get braided. However, you can braid nearly any plant.
If you are working with a plant with a stronger or more sturdy trunk, you will need to begin the braiding process when the plant is young. At this stage, the trunks are more flexible and can be put into place more easily. 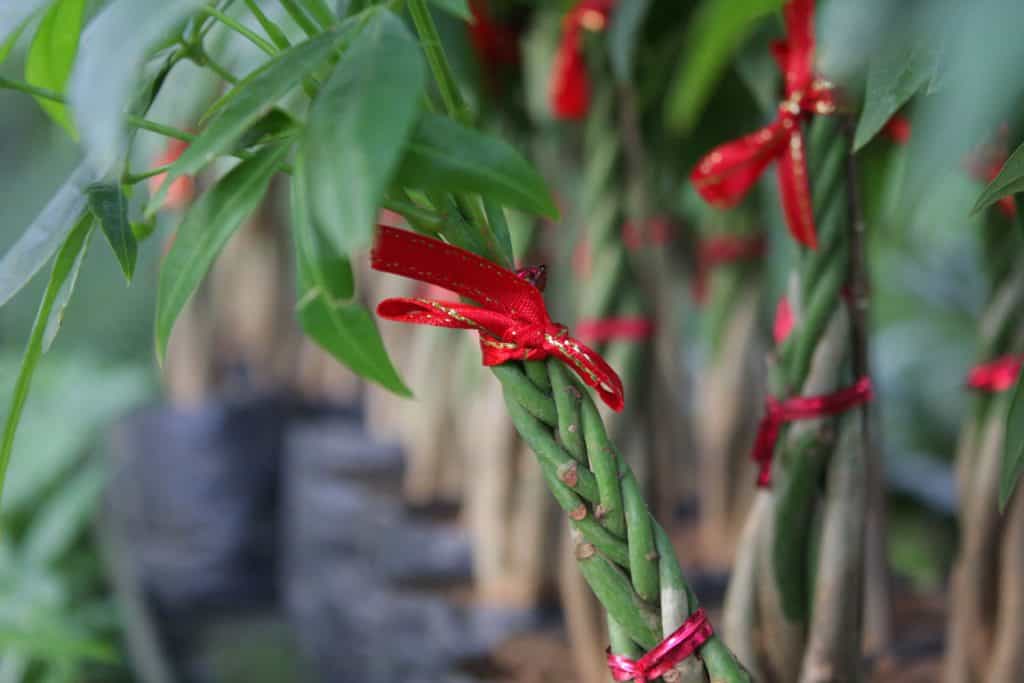
Another thing to consider is how fast your plant grows. Plants that grow quickly will give you this braided look fast, while slow-growing plants need a bit more patience before you get your desired look.
The most commonly seen braided plants include lucky bamboo and money trees. It is actually rare to see these plants without their braided look.
Learn more on our blog post, "How To Braid A Weeping Fig Tree (Ficus Benjamina)."
In Summary
The process of braiding Schefflera is similar to the braiding process of just about any other plant. These simple steps will leave you with an eye-catching look and a sense of accomplishment. We hope you found this article insightful when it comes to braiding a plant of your own.
Are you looking for more information on Schefflera and the care this plant requires? Have a look through our blog post, "Why Is My Schefflera Losing Its Leaves?"