
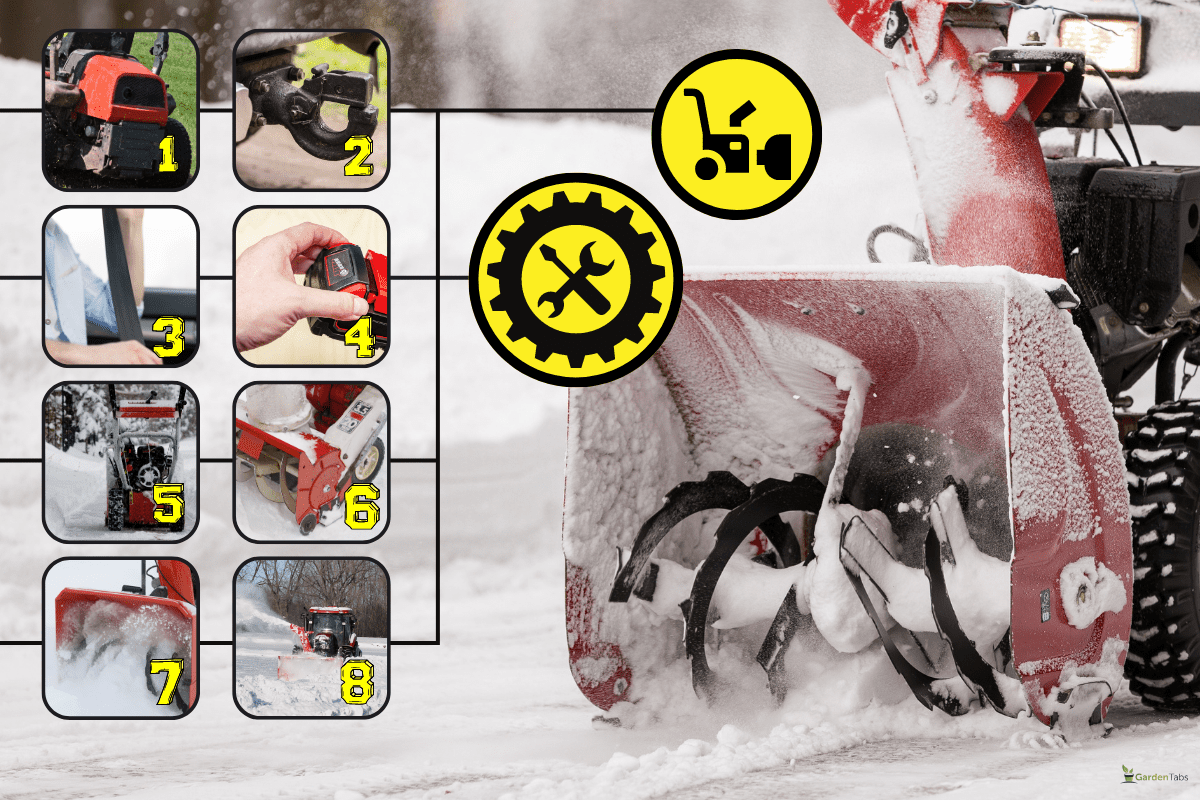
Are you wondering how to clear a large amount of snow away from your driveway, paved area, or any other part around your home? To do this, you can use a John Deere riding mower by attaching a snow blower. We researched to help you with this and provide more relevant information.
To attach a snow blower to a John Deere riding lawn mower, follow the step-by-step guide below:
- Remove the front bumper and mower deck.
- Install the hitch mounting bracket.
- Fix the drive-belt module.
- Install the PTO (Power Take-Off) connection and the lift lock.
- Connect the drive-belt to the snow blower.
- Fix the snow blower housing to the hitch.
- Install the snow blower chute control.
- Test your snow blower.
Keep reading to learn how to attach a snow blower to a John Deere mower. Included are factors to consider to help you decide if you need to use your mower for clearing snow. And, if you have a concrete driveway, we have discussed how to prevent damaging it when using a snow blower.
How To Install Snow Blower To John Deere Mower
More than just mowing the grass, you can use your John Deere lawn mower to clear snow from around your property. Below is a step-by-step guide for a John Deere that has a manual PTO (Power Take-Off):
Install The Front Hitch Mounting Brackets

- Detach the front bumper and mower deck.
- Latch the hitch mounting brackets onto the mower’s axle.
- Look for two carriage bolts and nuts, fix the left bracket to the mower’s frame, and tighten it with your hand. Do the same with the right bracket and tighten all four nuts.

Check out this set of John Deere snow blower bolts on Amazon.
Install The Drive-Belt Module
Position the drive-belt module under the mower.
- Lift the drive-belt module and fasten the slats onto the frame pin on either side of the mower.
- While holding the drive-belt module, insert a carriage bolt on one side and then insert the nut to secure the module.
- Repeat this procedure on the other side, and tighten all the bolts and nuts.
Fix The Lift Lock Cable And The PTO Connection
- Pass the cable through the mounting slat and secure it with a spring pin.
- Since this lawn mower has a manual PTO, put the short end of the engagement spring into the tension armhole. Next, pass the cable through the hole in the drive-belt module.

Check out this input cable for John Deere snow blowers on Amazon.
Install The Drive Belt To The Snow Blower
- To install the drive belt, align the snow blower with the mower.
- Detach the guide belt from the snow blower.
- Pass the drive belt around the pulley, ensuring you do not twist the drive belt.
- Re-install the belt guide.

You can find this snow blower drive belt on Amazon.
Attach The Snow Blower Housing To The Hitch
- Pull out the L-pins on either side of the housing and twist each clockwise.
- Disengage the transport lock pin by lowering the front hitch.
- Lift the snow blower onto the hitch until the yellow pins sit in the cradles.
- Rotate the L-pins anti-clockwise to lock them into position, ensuring the L-shaped pins are securely engaged to the housing.
- If neither of the L-pins is engaged, you can raise the snow blower slightly to engage them fully.
- Raise the snow blower to the transport position to engage the locking pin.
- Finally, install the snow blower chute control.
- Test if everything works.
- If all is fine, you are ready to tackle the snow.
Please note the above steps are for a John Deere riding mower with a manual PTO. You can identify this by the yellow lever you see on your mower. But, if your John Deere has a large yellow button, your model operates an electric PTO.
Check out the video below that demonstrates the above steps in detail:
Is It Worth Using Your Riding Mower To Clear Snow?
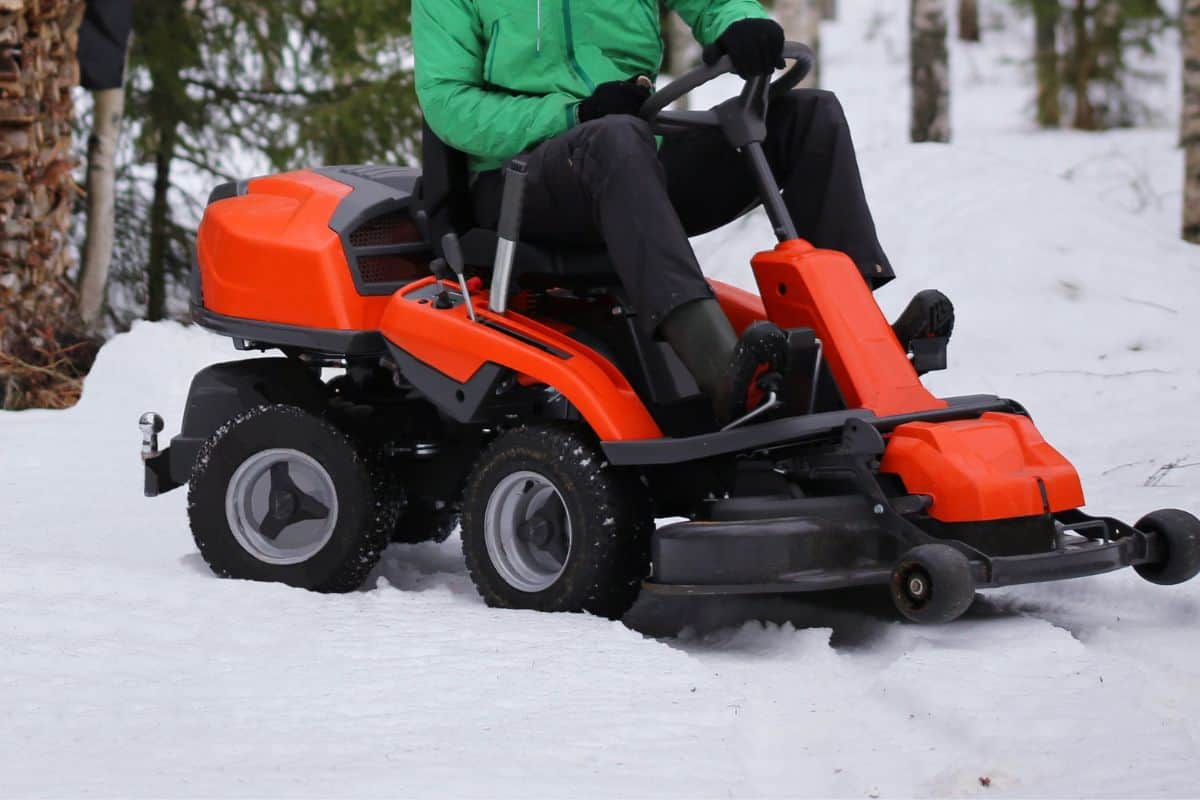
Even though you have a riding mower, is it worth using it to clear snow by attaching a snow blower? You could still use other methods that are just as effective. For example, you can use a leaf blower. You can also melt the snow on your home’s entry steps using snow melt mats.
You need to weigh your options and decide if clearing snow using a snow blower is the best decision. To help you decide, you need to consider the following factors:
Long Winter Months
You can use a snow blower if you experience long winter months, though this does not necessarily mean heavy snowfalls. However, it is a good investment if you predict you will need to use it quite a lot. You can purchase one before the winter season begins. This is because the prices are discounted as demands are not that high during this time.
Heavy Snowfall
It is perfectly fine to hire a snow-clearing service if you do not frequently experience heavy snowfall in your area. But, if there are heavy snowfalls, you may need to invest in a snow blower.
Your equipment can save you from spending hefty amounts on snow-clearing services. For you to note, the national average cost of removing snow is between $48 and $179. And, if you have a large home with a long driveway, you may spend at least $400.
Large Home
If your home has a small driveway or paved area, it may not be worth investing in a snow blower. Using methods such as shoveling or leaf-blowing may be enough.
But, if you have a large home with a long driveway, it can be worthwhile investing in one. In addition, larger homes most likely have a storage area for this equipment. And, if there isn’t any, there is enough space to construct one.
Preventing Snow Blower From Damaging Your Concrete Driveway
You may be wondering if a snow blower can damage your driveway. Well, it is possible but also preventable. You can prevent damage by using the appropriate snow blower and using it correctly.
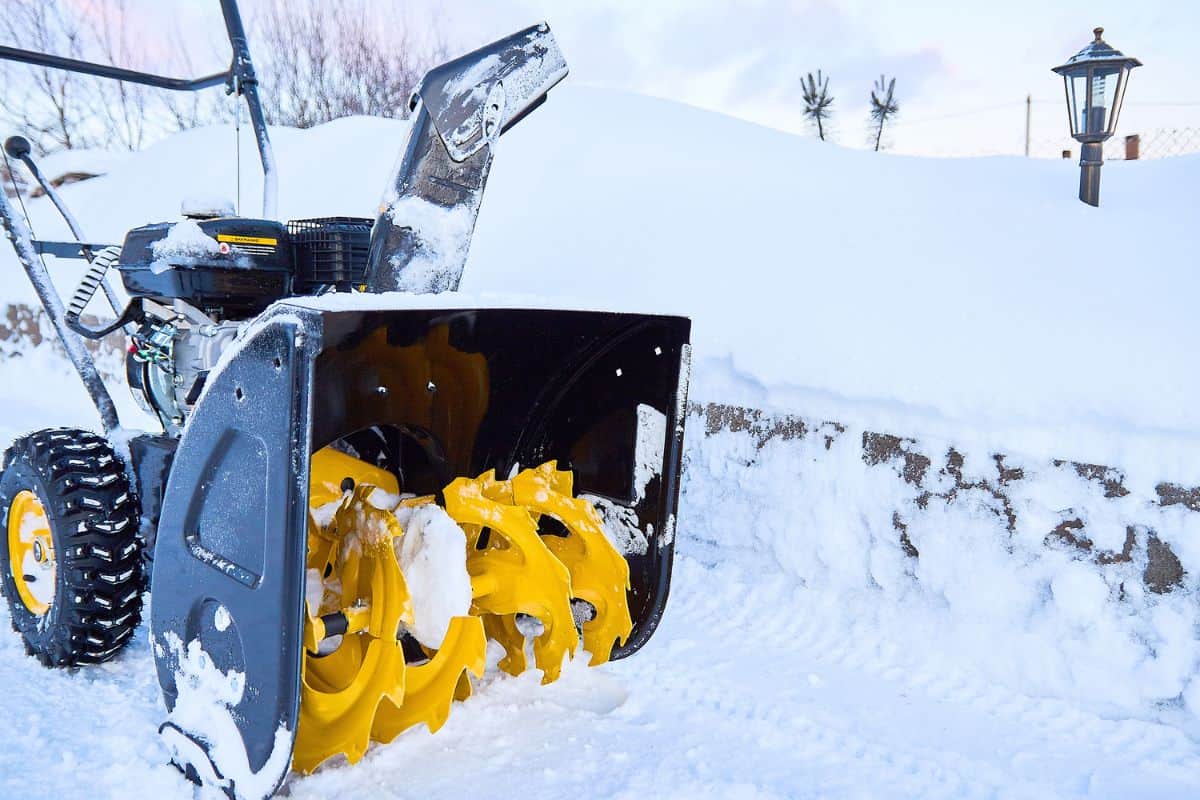
Using The Right Snow Blower
The auger on the snow blower can touch your concrete driveway and cause damage to it, but you can prevent it. There are single-stage snow blowers that are small. An auger of this type is designed to touch the ground when picking the snow.
However, with regular heavy snowfalls in your area, a single-stage blower may not be the best option. A two-stage snow blower is preferable. This is because it has a provision for adjusting the auger at least a half-inch above the ground. It will, therefore, not touch the concrete. A three-stage blower is preferable because you can adjust the auger up to half an inch above the ground.
The John Deere 44-inch, 100 series snow blower discussed earlier is a two-stage blower. Therefore, with this type of snow blower, you can prevent damaging your concrete driveway.
Repair A Damaged Scraper Bar
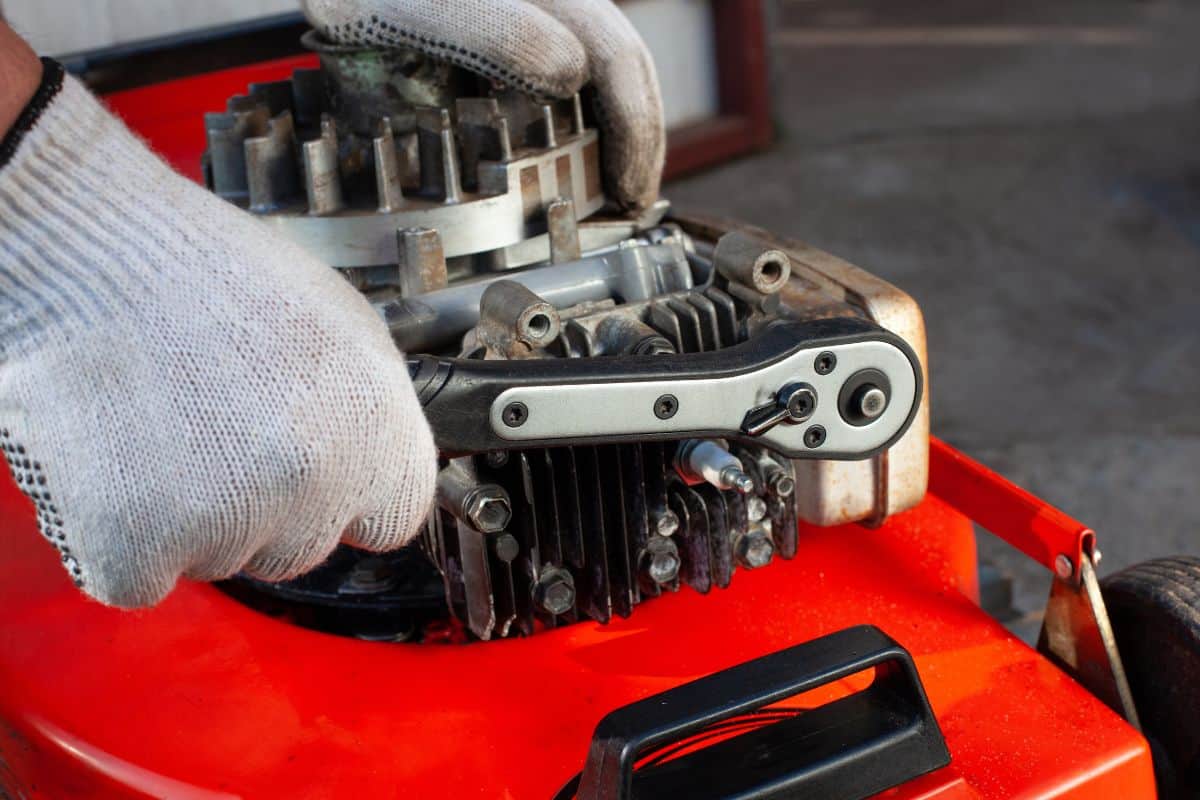
A worn, cracked, or jagged scraper bar on your snow blower can damage your concrete driveway. For example, an uneven scraper bar can scratch the concrete while moving forward. That’s why it is important to check the scraper bar for damages regularly. If there are any, repair the bar immediately.
Clear The Driveway
Before using your snow blower, clear your driveway off any rocks, particles, or debris. It will prevent any of these materials from finding their way into the chute, which, if blown out, can land on the ground with much force, damaging the concrete. This can also prevent damage to the snow blower and your mower.
In Closing
Your riding lawn mower can do more than mow the grass. You can attach a snow blower to it and use it to clear snow away from around your home. If you have a John Deere mower, follow the guide provided in this post on how to attach a snow blower.
To read more about John Deere riding lawnmowers, click the links below: