
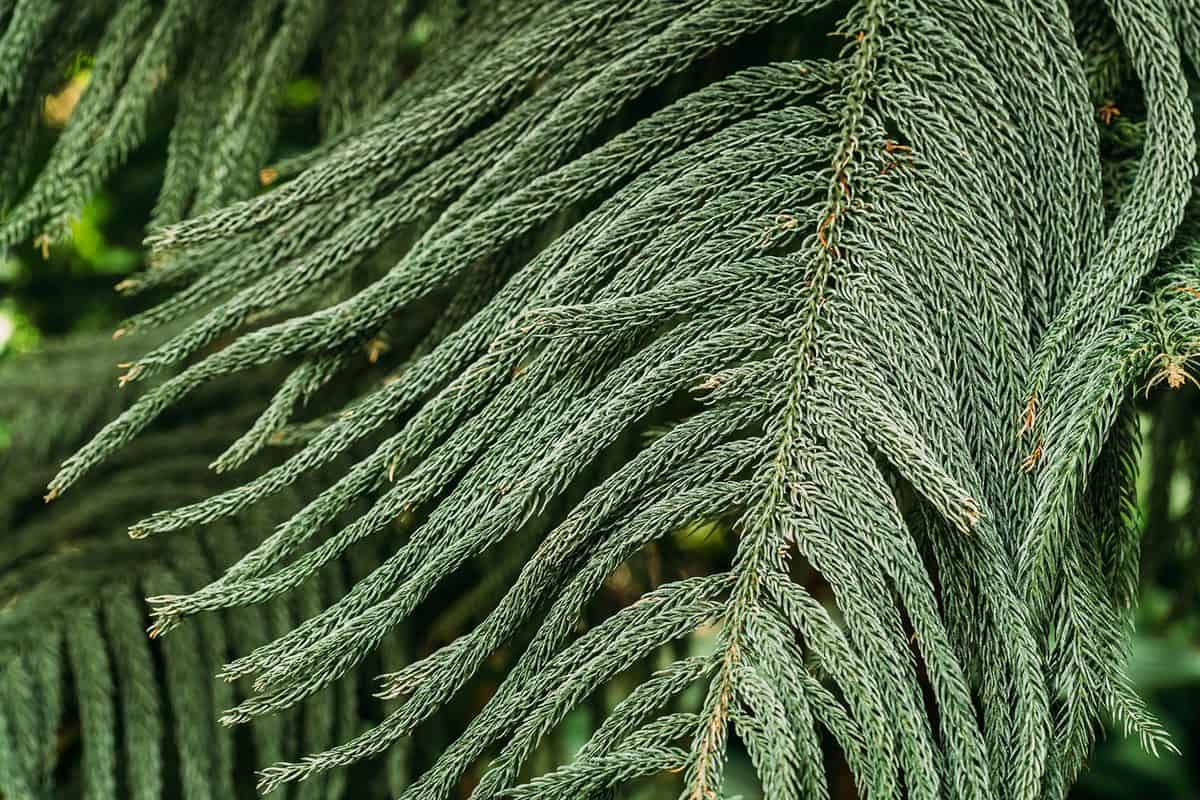
You have collected some Norfolk Island pine seeds from a wild or domestic plant, or you have purchased them from a retailer. Either way, you are wondering how to germinate the seed or seeds successfully. In this post, we gather up-to-date information to answer your question thoroughly.
Fortunately, germinating Norfolk Island Pine Trees is a relatively easy process that usually enjoys a high success rate. To accomplish this germination, take the following steps:
- Plant harvested seeds soon after collection
- Prepare growing medium
- Properly plant seeds in soil
- Ensure correct moisture, light, and temperature for propagation
- Allow seeds time to sprout
- Remove unsuccessful/extra seedlings
- Care for your new Norfolk Island Pine(s)
Keep reading the rest of this post for details on each of the above steps. This guide includes all you need to know to germinate Norfolk Island Pines for growth inside or outside. To conclude, we answer several questions related to the topic of this post.
How To Germinate Norfolk Island Pine Seeds
Using several different germination techniques, it is possible to germinate Norfolk Island Pine seeds. However, the following directions are considered to produce the best long-term results in germination rate and plant health.
1. Plant Harvested Seeds Soon After Collection
To improve viability, plant your Norfolk Island Pine seeds as soon as possible. According to Florida Evergreen Nurseries, Norfolk Island seeds lose potency with time.
This trait is in contrast to some plants which often require many months, years, or specific conditions to germinate successfully.
Sources indicate that the seeds are the most viable for the first two months after collection. However, if you have seeds that are older than this, do not lose all hope. If you plant those seeds and care for them properly, you should still have some, if fewer, viable and successful sprouts.
2. Prepare Growing Medium
Norfolk Island Pines are relatively particular when it comes to their preferred growing medium. For the most success, it is wise to germinate your seeds in the location and medium you hope to grow your young plant in.

Click here for some loamy soil from Amazon.
Ideally, the growing medium needs to be relatively light and well-drained. Specific medium recipes vary, but according to the University of Florida, a mix of 3:1 loam to sand is recommended for tree growth. Even more well-drained soil is best for germination.

Click here for some potting sand from Amazon.
The best mixes drain well but still provide the trunk with sufficient support. If the soil does not compact well, as does sand, the trunk will lean, which results in a less attractive plant.
Once mixed, place the soil either in a prepared outdoor hole or in the pot you intend for an indoor Norfolk Island Pine. It is ok to start with a smaller pot (about 12-inches deep) and to up-pot the pine as it ages and gets larger.
3. Properly Plant Seeds in Soil
Plant Norfolk Island seeds so that the pointy end is down into the soil and the rounded edge is just visible above the surface. While this orientation may seem unusual, if the seeds were to naturally fall into loamy, sandy soil and then get rained on over time, they would end in this same orientation.
Usually, you will only want to plant one seed per pot or location. However, if you want to ensure success, you can plant more than one seed per location and thin/transplant the extra seedlings once they sprout.
4. Ensure Correct Moisture, Light, and Temperature for Propagation
Like all living things, Norfolk Island Pine's prefer specific living conditions. These conditions are the most important during germination and early sprout life. Once the Norfolk Island Pine becomes more mature, it will tolerate a greater range of moisture, temperature, and light.
Moisture
Generally, it is good to keep the soil moist during germination at all times. Take note, this does not meet wet but rather just moist to the touch. If the soil is too wet, it runs the risk of drowning the seed because the seed will not get the oxygen it needs.

Further, and as a side note, when soil is too wet, the water will bind with nutrients and fertilizers and lock the plant out from accessing the food it needs to thrive. This is a problem once germination has begun and roots start to shoot out of the seed.
Light
Norfolk Island Pines prefer areas of relative shade. For propagation, it is recommended that they have at least 50% shade or even more. Overly sunny locations run the risk of drying out, burning, and killing the seed or seedling.
Temperature
Fortunately, these pines tolerate a relatively wide range of temperatures that coincide well with the preferred indoor house temperatures.
Generally, try to propagate Norfolk Island Pines at a temperature between 60 and 90 degrees Fahrenheit. For best success, choose a temperature somewhere near the middle of this range.
5. Allow Seeds Time to Sprout
This step translates to, "Hurry up and wait." Most Norfolk Island Pine seeds will sprout quickly after 10 to 15 days from planting. However, some seeds will take up to two months to grow, so do not give up hope too soon.
6. Remove Unsuccessful/Extra Seedlings
If you planted extra seedlings in each pot or location, remove and replant the extras before they get too large. Once larger, they will tangle roots with the best seedling, making transplanting more difficult and risks harming the Norfolk Island Pine you wish to keep.
Also, if you have any seedlings that started and then died, be sure to remove these from your pots. These dead starts and seeds are a potential harbor for bacteria and fungus that can harm those seeds that successfully germinated.
7. Care For your New Norfolk Island Pine(s)
Once your Norfolk Island Pine seed successfully germinates, you have already passed the most challenging part of the growing process! However, for the best success, do not start to ignore your young plant.
As the seedling establishes itself, it will still be vulnerable to the wrong conditions in terms of moisture, temperature, light, and nutrients. The more love you give your new plant, the better it will probably do.
How often do Norfolk Pines seed?
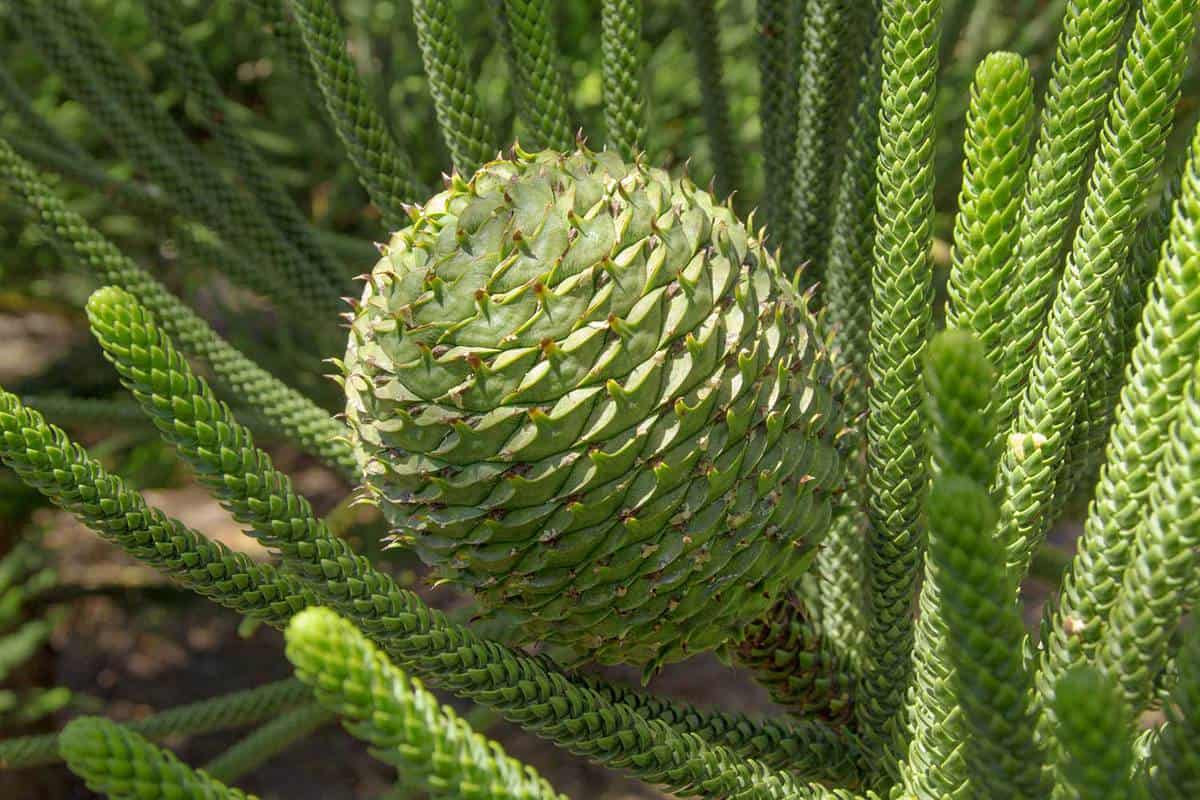
Norfolk Pines seed every 4 to 5 years. However, the trees must be at least 15 years old for female cones and 40 years old for male cones before seeding will occur. Thus, if you have never seen cones/seeds on your Norfolk Pine, wait until the tree reaches around at least 15 years of age.
How long does it take to germinate pine seeds?
The time it takes to germinate pine seeds varies depending on the pine species, the age of the seeds, and the conditions of germination. Generally, pine seeds take 20 to 30 days to germinate once exposed to the proper conditions.
However, as discussed above, Norfolk Pines generally only take 10 to 15 days to germinate. Further, some pines and seeds will take many months before they finally sprout.
Can you root a Norfolk Pine in water?
While you can always try to root a Norfolk Pine in water, you will have your best luck if you soak the cutting in rooting hormone first. However, most experts advise starting your pine cutting in moist soil instead of water.
Can I start a Norfolk Pine from a cutting?
It is possible to start a Norfolk Pine from a cutting, as discussed above. Once you have cleanly cut off the branch or twig, place it in a preprepared growing medium that is thoroughly wetted. Be sure that the medium stays very moist until you have significant root growth.

Click here for rooting hormone from Amazon.
The growth pattern is one downside of propagating a Norfolk Pine from a cutting. Instead of creating a nice even trunk and branches, a cutting will produce a more lopsided adult plant. For best results, use rooting hormone as directed on the packaging.
What kind of fertilizer does a Norfolk Pine need?
Norfolk Island Pines are not particularly picky when it comes to fertilizer, but they prefer a nice N-P-K balance. Therefore, apply a standard tree fertilizer that includes all of the major plant nutrients, and you should find success.
Click here for a balanced houseplant fertilizer from Amazon.
When the tree is very young, be sure not to overfertilize as this may lead to nutrient burn. Wait for the plant to grow to several inches tall before considering fertilizer, and then start with a light application before applying the dose recommended on the fertilizer packaging.
Additional Reading
To learn more about plant germination and propagation, read these great articles from Garden Tabs:
- When To Transplant Basil Seedlings [And How To]
- How To Propagate An Areca Palm [2 Viable Methods!]
- How To Grow Holly From Cuttings [Holly Propagation Guide]
In Closing
In this post, we provide a guide on how to germinate Norfolk Island Pine seeds. This includes all you need to raise a brand new generation of these attractive, easy to care for house and garden plants. To conclude, we answer several questions related to this post. Good luck!