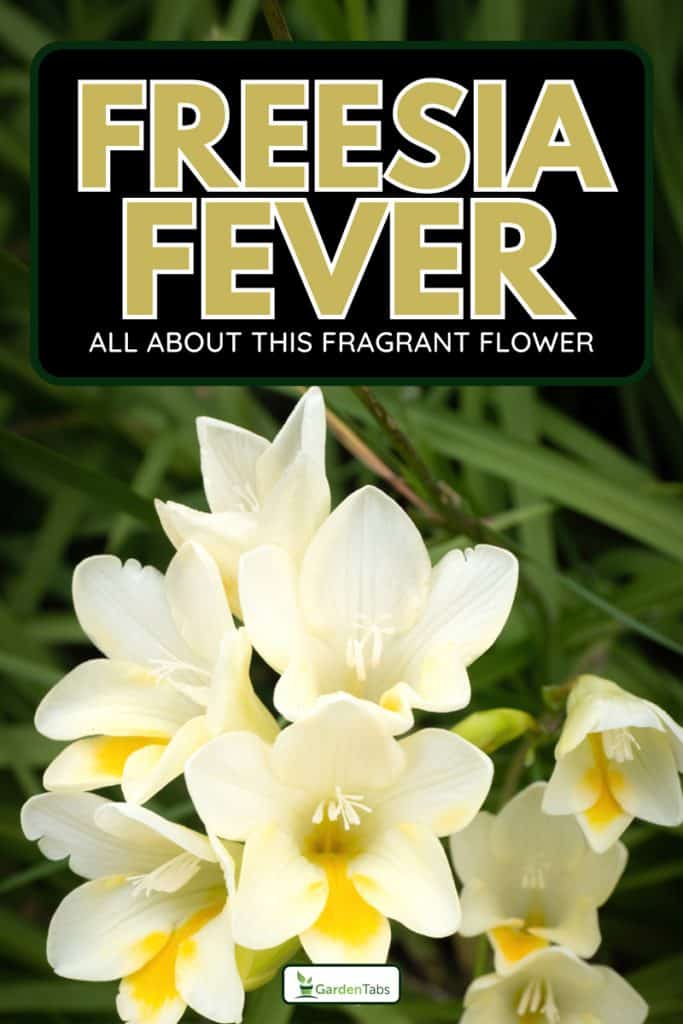
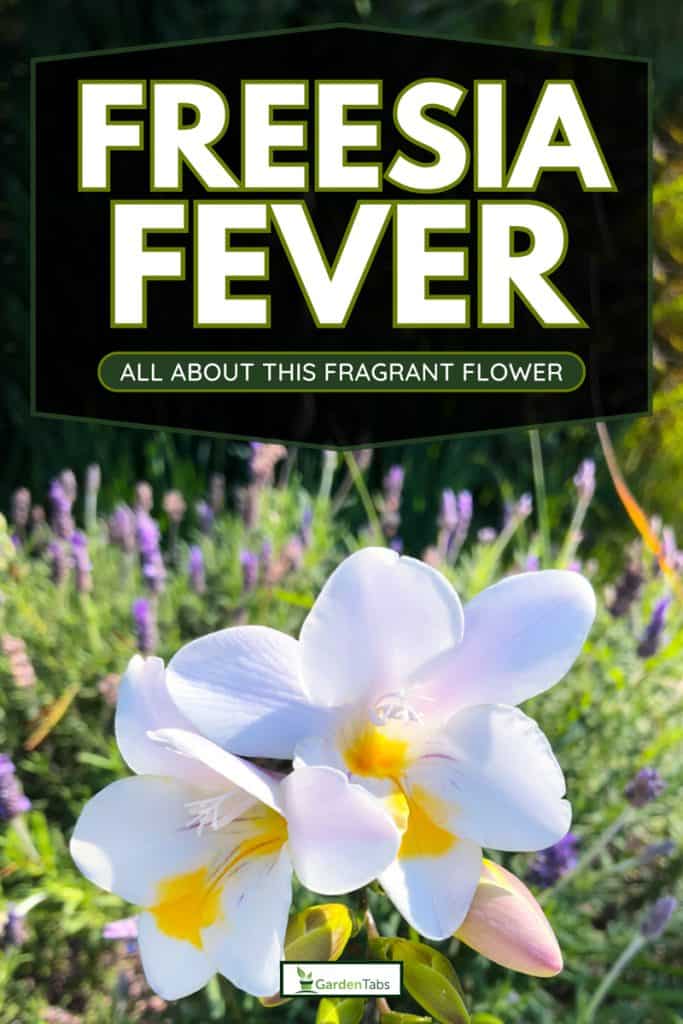
Whether you're an experienced gardener or new to the game, planting freesias is a great way to add color and fragrance to your garden!
If you're thinking of planting freesias in the ground or in containers, there are a few important steps you need to follow to ensure success.
In this article, we'll provide you with a comprehensive guide on how, when, and where to plant freesias. Read on to learn more!
Tips for Cultivating Freesias
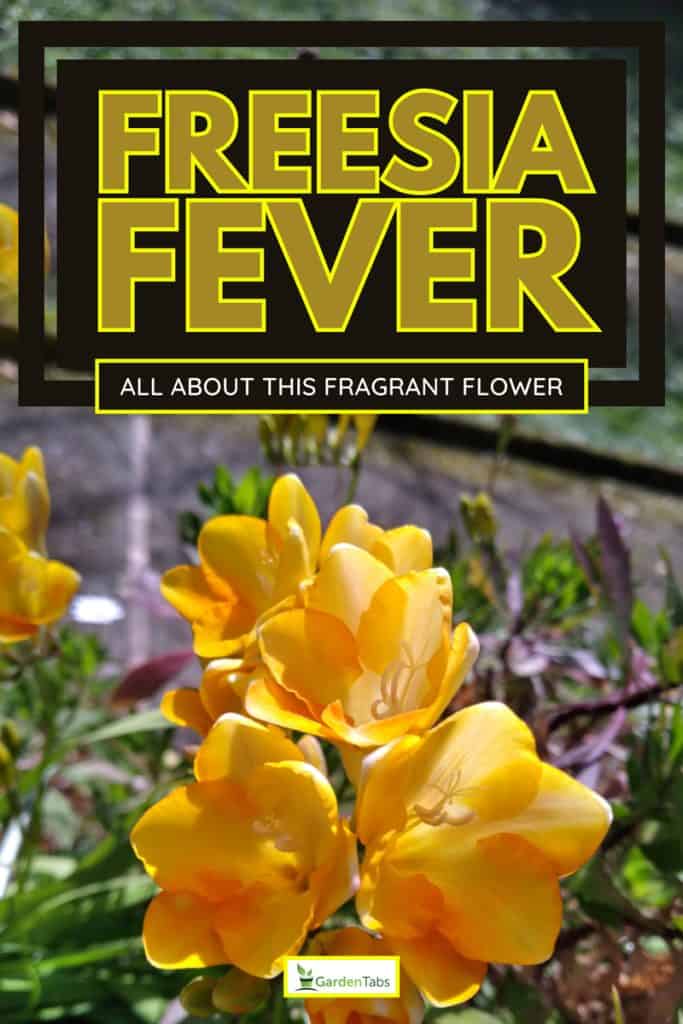
Freesias look their best when planted in groups rather than in rows. Masses of a single color make a striking display.
Choose the right location
Freesias require full sun or light morning shade to thrive.
If you're planting them in a hot climate, afternoon shade may be necessary to prevent the bulbs from drying out.
Freesias prefer well-drained soil that is rich in organic matter. A soil pH level of 6.0 to 6.8 is best.
If you have heavy clay soil, you'll need to add compost or sand to improve drainage. If you have sandy soil, add organic matter to improve water retention.
When planting freesias in containers, choose pots with good drainage holes and use a well-draining potting mix.
Freesias have a long taproot, so choose a deeper pot if possible to allow for proper root growth.
Choose the right time
Depending on the temperatures in your region, you can plant freesias inside or outside during the fall.
If you live in a cool region, freesias can be planted outside during spring or the first part of summer.
How to Plant Freesia
Prepare the soil
If the pH level of the soil is not within the ideal range, you can amend the soil to make it more suitable for freesias.
Adding lime increases the pH level of acidic soil, while sulfur decreases the pH level.
Freesias do not tolerate wet soil. If the soil in your planting area does not drain well, you may need to plant freesias in raised beds or containers to ensure adequate drainage.
Prepare the bed
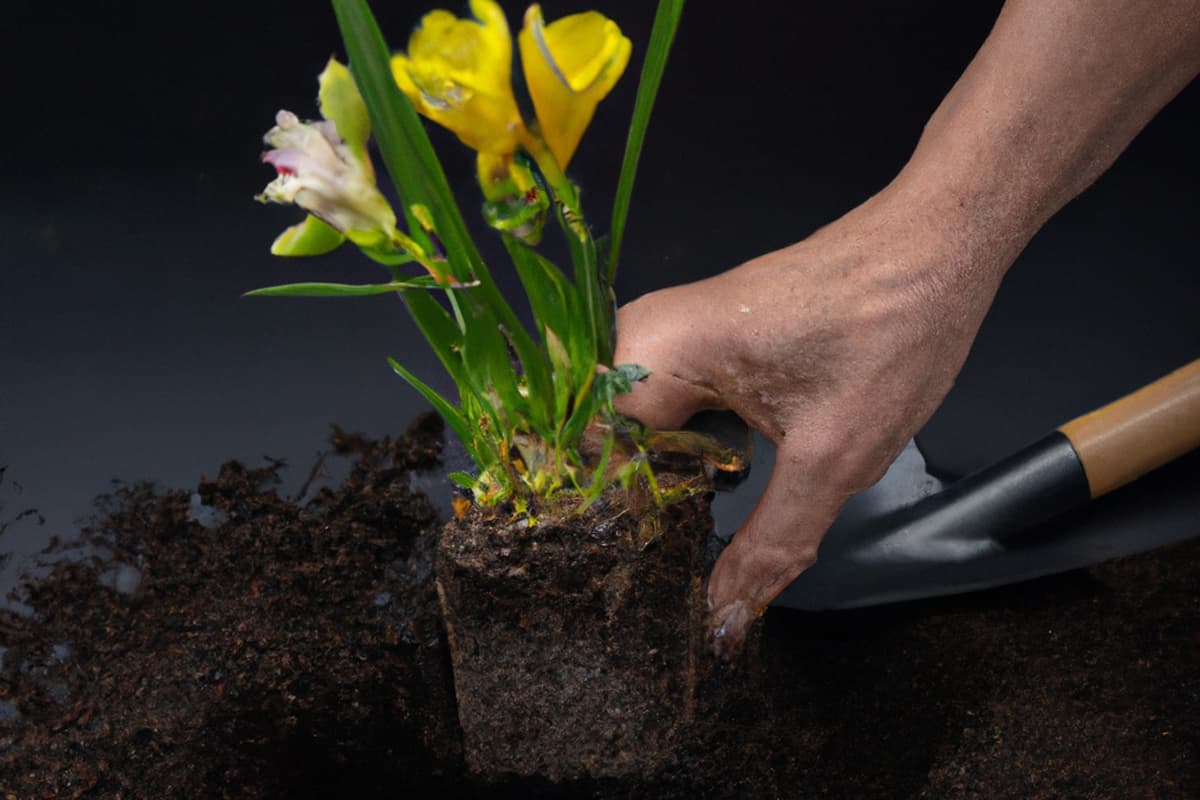
Prepare the bed by digging and loosening the soil to a depth of at least eight inches to allow for root growth.
Plant the freesia bulbs at least two inches deep and two to four inches apart.
For landscape planting, you will need to dig holes that are two inches deep and about three inches apart and set out the bulbs. Make sure the pointed ends of the bulbs are up.
If you're planting in containers, you should space the flowers two inches apart at a depth of two inches. Again, the pointy ends of the bulbs should be facing up.
Once the bulbs are placed, you should cover them with soil and water them.
Caring for Freesia
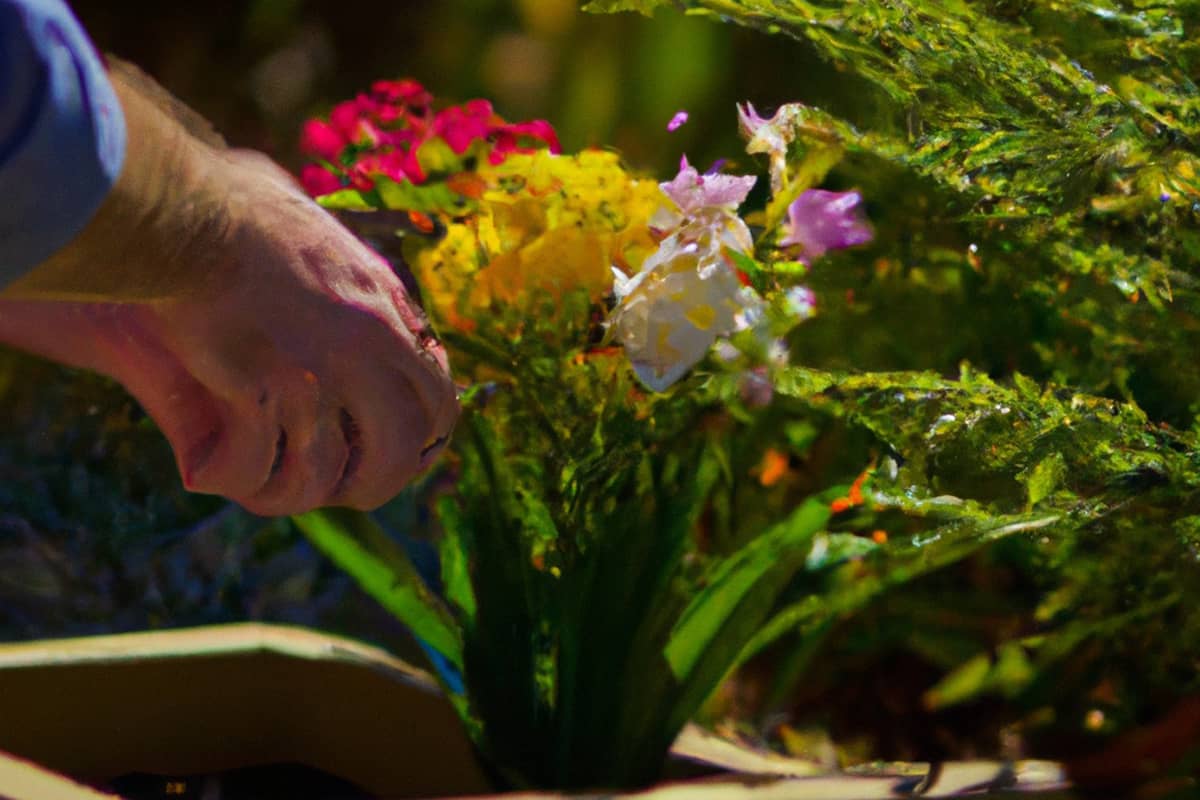
Watering and fertilizing
You will need to water your freesias regularly, especially during the growing season.
Freesias are not drought-tolerant, so make sure the soil doesn't dry out completely. Try not to overwater the flowers because this can cause root rot.
Fertilize your freesias every two weeks during the growing season with a balanced fertilizer to encourage healthy growth and abundant blooms.
Freesias grown in pots may need to be fertilized more frequently than those grown in the ground.
Mulching and weeding
Mulching can help the soil retain moisture. It can also help keep weeds at bay and regulate soil temperature.
You can spread organic mulch, like straw or leaves, around your freesias, taking care not to cover the foliage.
Weeding is important to keep your freesia bed free from competition for nutrients and water.
Remove any weeds by hand or with a hoe, being careful not to damage the shallow freesia roots.
Pest and disease control
Freesias are generally pest and disease-free, but they can be affected by aphids, thrips, and spider mites.
To control these pests, spray your freesias with insecticidal soap or neem oil.
If you notice any signs of disease, such as leaf spots or wilting, remove the affected leaves and avoid overhead watering.
Freesias can be susceptible to fungal diseases in humid conditions, so make sure the soil is well-drained and the plants have good air circulation.
Freesias and frost
Freesias are sensitive to frost and need to be protected in colder climates.
If you're growing freesia in a cold region, you will need to dig up the bulbs ahead of the frost.
You should then dry and separate the bulbs, wrap them in newspaper, and store them in a warm spot where the temperature is 77 to 86 degrees Fahrenheit.
When you plant freesias in pots, you can take them inside during the winter. Plut the pots in a sunny spot and keep the soil moist but not waterlogged.
Harvesting and Storing Freesia
Harvesting freesias is easy. Simply cut the flower stem at the base of the plant.
You should harvest freesias in the early morning or late afternoon when the temperature is cooler to preserve the flowers' fragrance.
When harvesting freesia bulbs, wait until the foliage has completely died back.
This usually occurs in late summer or early fall. Gently dig up the bulbs with a garden fork or spade.
Be careful not to damage the bulbs when harvesting. Shake off any excess soil and allow the bulbs to dry in a cool, dry place for a few days before storing.
How to Store Freesia Bulbs
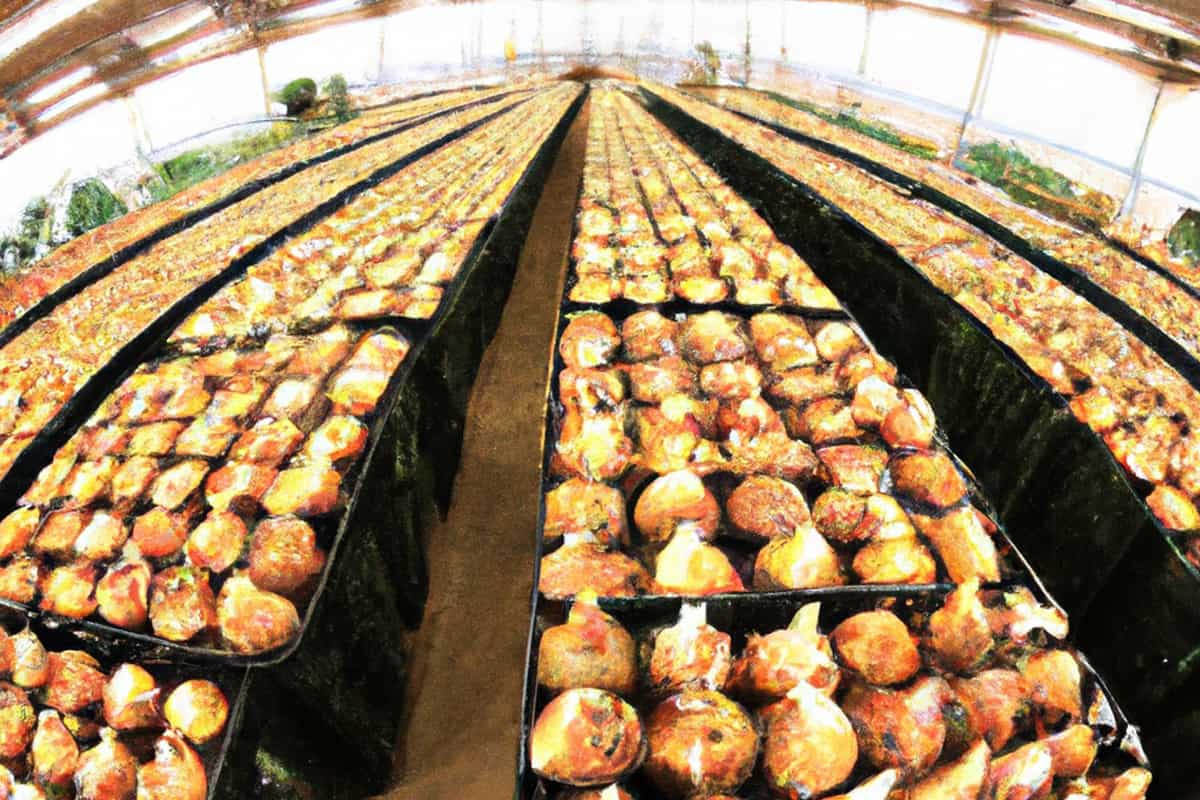
Once the freesia bulbs have dried, store them in a cool, dry place until it's time to plant them again.
It's important to keep them separated and not touching each other to prevent the spread of disease.
You can store freesia bulbs in a paper bag or cardboard box with some ventilation holes to prevent moisture buildup.
It's also a good idea to label the bag or box with the type of freesia bulbs and the date they were harvested.
This helps you keep track of the bulbs and ensures that you're planting the freshest bulbs possible.
When it's time to plant the freesia bulbs again, inspect them for any signs of damage or disease.
Discard any bulbs that are soft, mushy, or have visible signs of rot. Only plant healthy, firm bulbs for the best results.
Wrapping Things Up
Freesias can be grown outside or indoors, in the ground or in containers. They will brighten up any area.
By following the tips in this article, you can ensure that your freesias will thrive year after year.
Did you find this post helpful? If you did, check out our other articles!
Freesia Bulbs Not Sprouting—What to Do?
How To Keep Limelight Hydrangea Small [Pruning Tips Included]


