
Asphalt cracks in your driveway can lead to problems if ignored for a long time, leaving you with a mess to clean up. So how do you fix this problem? We have researched ways that you can fix an asphalt driveway to give you the most helpful guide.
The best course of action when fixing cracks and potholes in an asphalt driveway is to clear out any debris, fill in the depressions, and then seal your driveway to prevent it from deteriorating again.
Here's the step-by-step procedure for repairing a crumbling asphalt driveway.
- Clean the driveway.
- Rinse the driveway.
- Repair damaged areas.
- Clear out the driveway.
- Eliminate fine debris.
- Prepare the sealant mixture.
- Apply the first coat.
- Establish barriers.
- Put on a second coat (optional).
You can accomplish the task yourself if you have the necessary tools at your disposal, even though this is often a job for a maintenance man and paving crews. Keep reading for more information on how to do the job, as well as related topics.
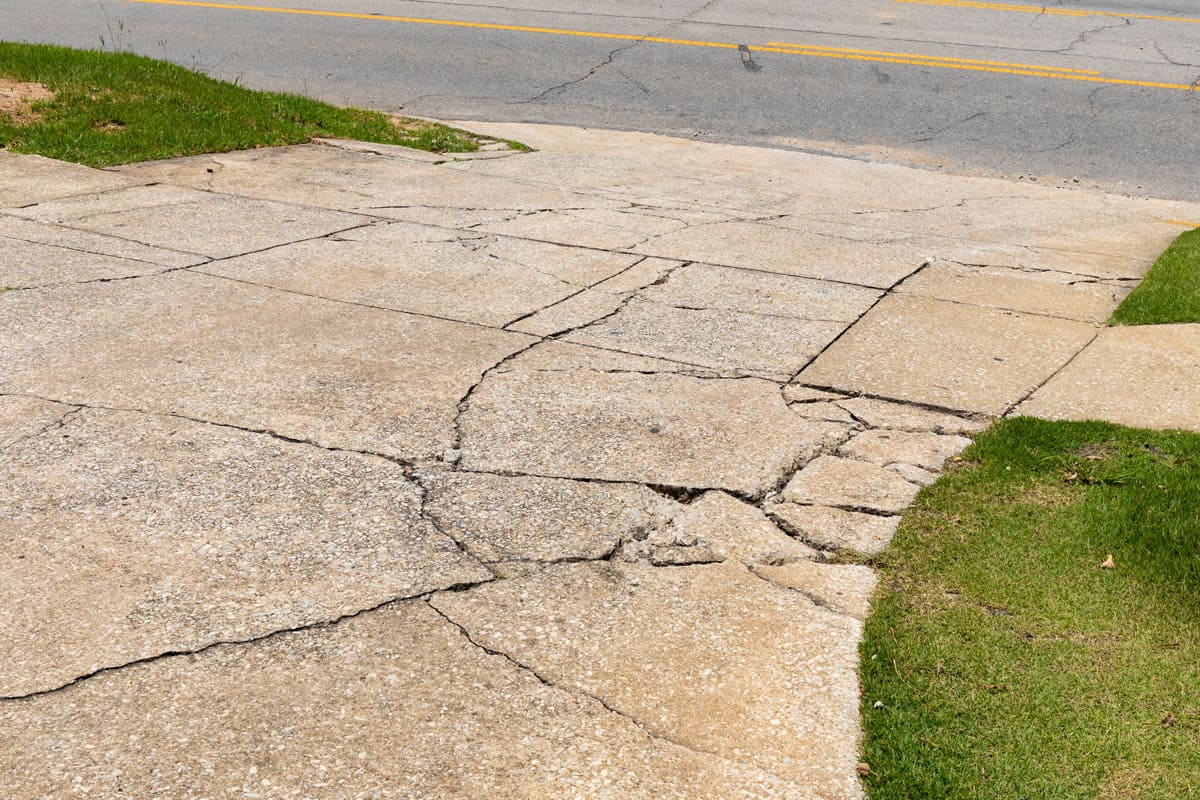
![cracked-sunken-concrete-driveway-repair, How To Fix A Crumbling Asphalt Driveway [Step By Step Guide With Supplies List!]](https://gardentabs.com/wp-content/uploads/2022/11/How-To-Fix-A-Crumbling-Asphalt-Driveway-Step-By-Step-Guide-With-Supplies-List.png)
How To Fix A Crumbling Asphalt Driveway
Repairing an asphalt driveway that has cracks won't be easy. The work requires a lot of time and calls for extra caution.
If your driveway is only just beginning to deteriorate or has a few cracks, you can complete the job yourself. On the other hand, you must resurface the driveway if it has nearly crumbled to achieve level pavement.
Tools Needed
Prepare the following items to complete the task:
- Wire Brush
- Paint Brush
- Broom
- Vacuum
- Water Hose
- Pressure Nozzle
- Asphalt Fillers
- Patching Material
- Trowel
- Tamper
- Asphalt Lute
- Driveway Sealant
- Scrubber
- Roller
- Caution Tape
Step-by-Step Guide
These instructions explain how to fix asphalt.
1. Clean The Driveway
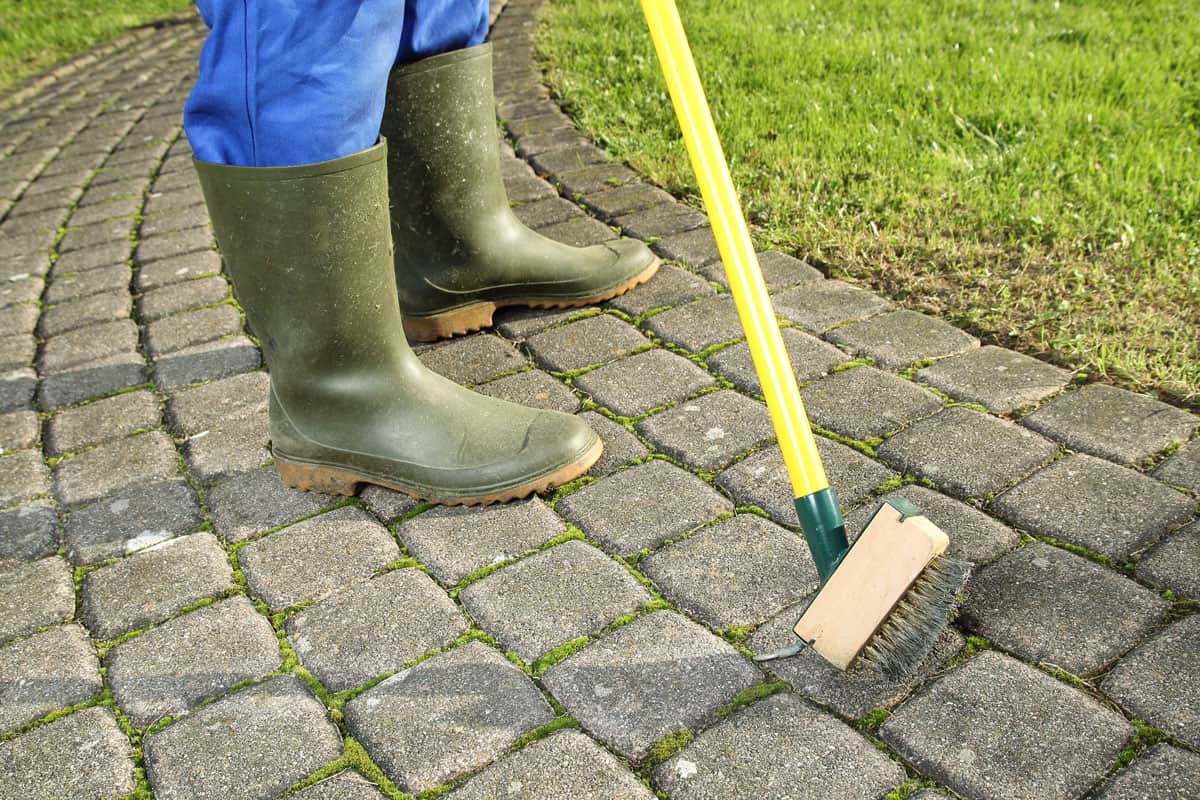
Remove debris with loose gaps or depressions caused by potholes or cracked asphalt first. Use brushes, a broom, or a shop vacuum to sweep everything away.
Before sealing cracks and filling holes in the driveway, you must allow it to cure completely. However, working on a clean surface will ensure a long-lasting result.

Check out this angle broom on Amazon.
2. Rinse The Driveway
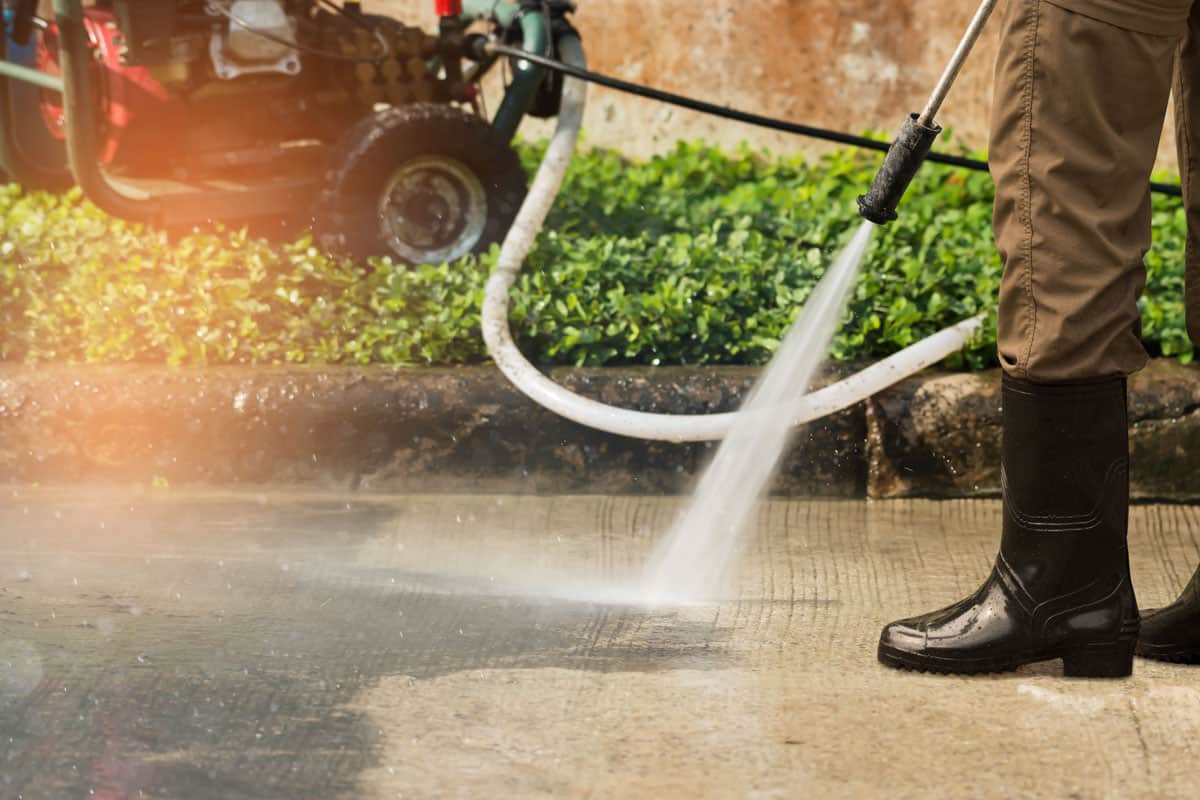
You can use a garden hose and pressure nozzle to complete this step. This will assist in rinsing off any extra oil or dirt clinging to your driveway.
Dry your driveway by allowing it to become moist but without water puddles. If your driveway is very dirty, you might need some cleaning supplies to get everything clean.
Check out this garden hose on Amazon.
3. Repair Damaged Areas
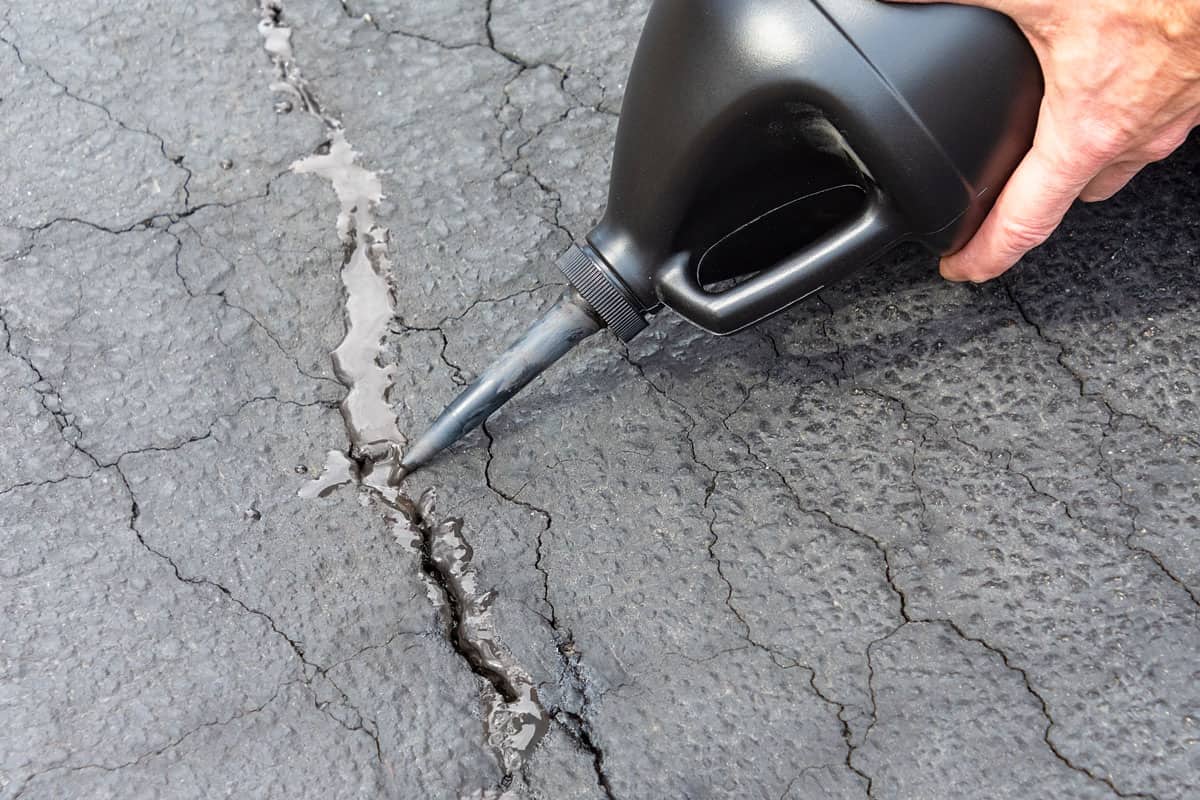
Your asphalt driveway needs to be filled in. You will need to determine whether the crumbling is the result of potholes, dips, or gaps. The following will fix each of these:
- Splits
Asphalt fillers can be injected deeply through gaps to repair them.
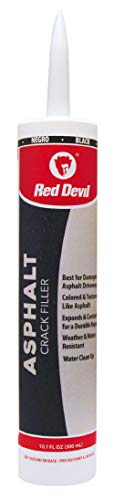
Check out this asphalt sealant on Amazon.
- Holes
Apply primer before adding cold patching material. Put two more inches on top, tamp it down, and repeat.
Keep filling the pothole until you have left a small mound in its place after overfilling it. Before continuing, give it 24 hours to cure after you have tamped it in.

Check out this surface primer on Amazon.
- Sunken Driveway
You can use patching material to fill in dips. You can prepare the area and lay a coat of liquid asphalt over the patched-in filler.
Use a trowel to evenly distribute the cold patching material to match the other portions. After that, level it with a metal tamper. Before making your changes, give yourself a day.

Check out this finishing trowel on Amazon.
4. Clear Out The Driveway
You'll need to clean the driveway after you've completed all the fixes. Otherwise, there's a chance the sealant won't function properly. To remove significant debris, use a vacuum or a broom.
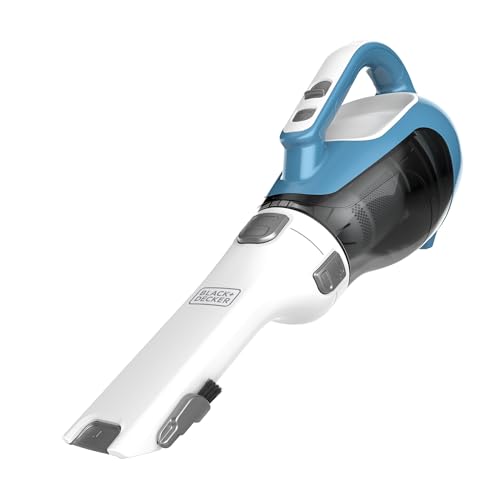
Check out this cordless vacuum on Amazon.
5. Eliminate Fine Debris
To get rid of any tiny debris or oils, clean your driveway with a cleaner. Small debris may hinder you from achieving flawless repair.
Remember not to go overboard when cleaning the driveway; a short wipe-down will do to prepare it for its sealant. Skip this step if your driveway is still wet.
6. Prepare The Sealant Mixture
Before opening the product, tip the sealant bucket upside down to dilute it before applying.
Ensure that it is thoroughly combined. You should stir it if you see any streaks. Before using it, you want it to have an even consistency.

Check out this waterproof sealant on Amazon.
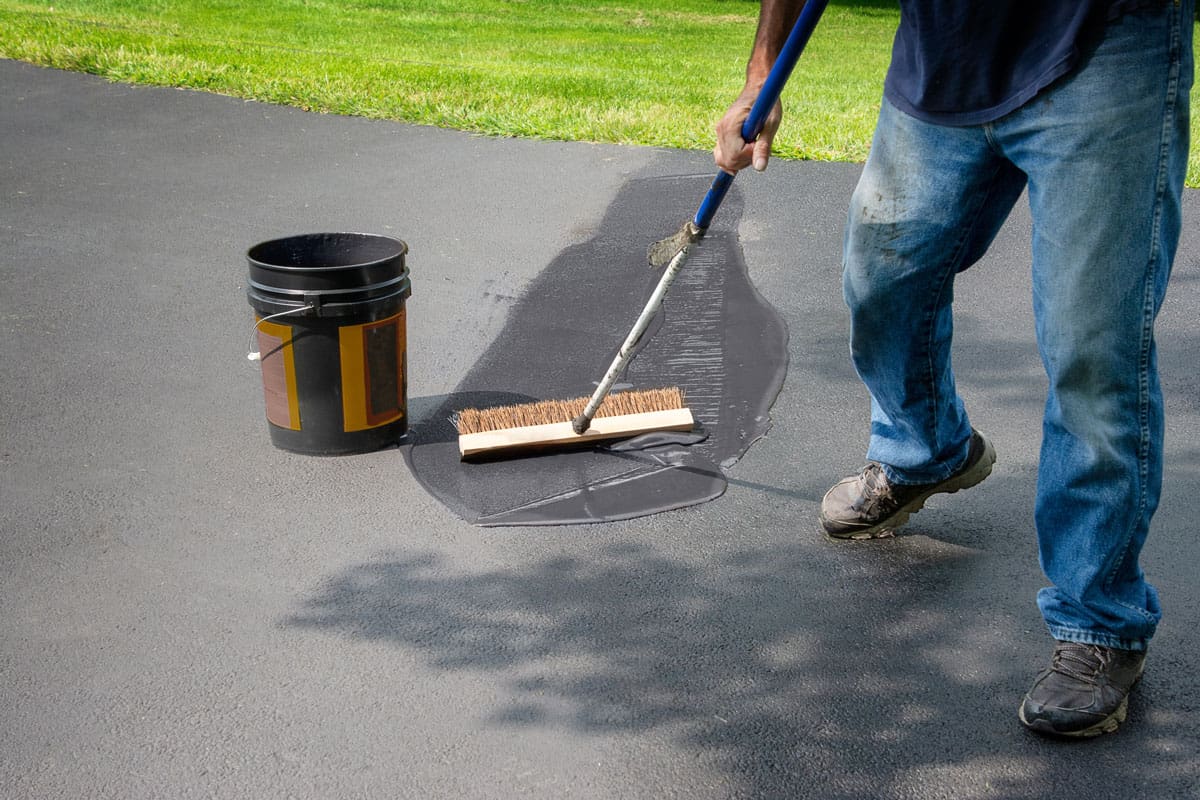
7. Apply The First Coat
Working from the top of your driveway near the end will help you avoid backing into a corner. Apply the driveway sealant in small spots using a roller. Make sure not to skip any portion and that the glue penetrates the fractures.
Use an old paintbrush to cut around the edge of the top of your driveway. The edges should appear nicely polished when brushed.
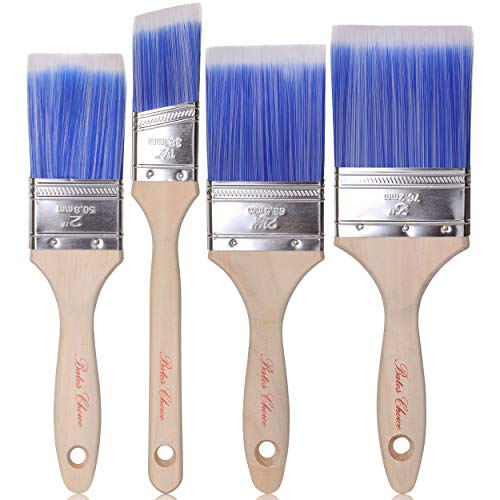
Check out this paintbrush set on Amazon.
8. Establish Barriers
Install barriers using caution tape to stop cars from entering your driveway after applying the sealant.
You must allow your driveway to set for at least 24 hours after sealing it to dry. After that, you can remove the obstacles and take pleasure in a recently patched driveway.
9. Put On A Second Coat (Optional)
It's possible, especially with an older driveway, that some portions of the dry-sealed surface need a second coat. To strengthen the seal and safeguard the surface, add another coat.
Apply the second layer in the same manner as the first, block off the driveway's end with empty sealant containers, and wait for the surface to dry for 36 to 72 hours before using it.
For even stone installation, add or remove mortar using a trowel. Use a moist brush to provide a rougher texture to the surrounding concrete.
This material will prevent the surrounding concrete from becoming too smooth and slippery when dried.
What Causes Asphalt Driveways To Crumble?
Whatever the cause, and to prevent further damage, you must quickly repair the asphalt as soon as you notice it breaking or cracking.
To help you prepare, we will detail the causes below. Your asphalt driveway may crack for several reasons, including:
Climate
Uncured Asphalt
Driveway problems could also result from improper sealing of the asphalt. If you seal the asphalt, you might need to wait up to a year, since the asphalt would lose its flexibility. After that, the structure will start to crumble and crack.
Extreme Weathering
Your asphalt will crumble if you subject it to severe wear and tear. Crumbling can result from repeatedly turning wheels and sitting and parking large machines.
You can maintain your asphalt by being proactive. However, since it is asphalt, you will eventually need to fix it.
How Much Does It Cost To Fix A Crumbling Driveway?
The size of your driveway and the means of repairing it are significant factors where cost is concerned.
The cost will depend on what you're patching up. The price of repairing your driveway could range from $1,200 up to $3,600 in material costs and labor. You will need to spend roughly half that amount if you decide to do it yourself.
Final Take
Every asphalt driveway ultimately reaches a point where cracks start to show. Crumbling happens naturally during a driveway's lifetime.
Maintaining a driveway can be tedious and repetitive. Although the cracks, potholes, and dips can be annoying, the truth is that if you know what to do, you can remedy them very quickly.
You should clean your driveway numerous times before layering on your asphalt repair, tamping down the materials, and then applying the sealant.
These methods lead many homeowners to employ a professional rather than do it themselves. But if you have the right tools and are persistent, you ought to be able to fix your driveway yourself.
You can read through the following posts to learn more about pavement repair: