
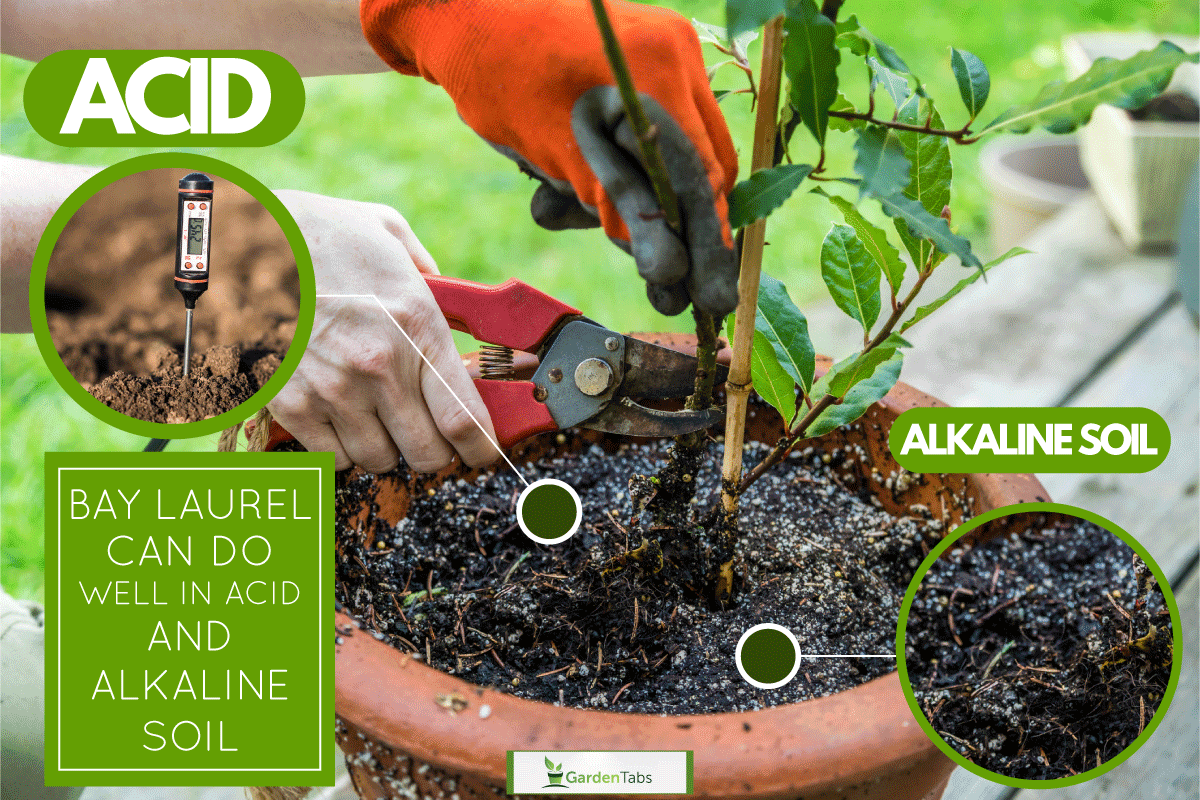
Bay laurel leaves are an essential herb in every kitchen. If you're caring for a live bay laurel plant, you might wonder whether it prefers acid or alkaline soil. We researched the ideal growing conditions for bay laurel so you can keep a healthy herb handy for the next recipe.
Our research shows that bay laurel can do well in acid and alkaline soils. And it is indeed helpful to note that they can grow in average garden soil, be it in loamy, clay, or even sandy.
Aside from considering the soil for your bay laurel, it would also be best to understand and know the other factors to consider to grow it best. We suggest you keep reading. Doing so might also answer some of the questions running through your head.

How To Properly Care For Bay Laurel
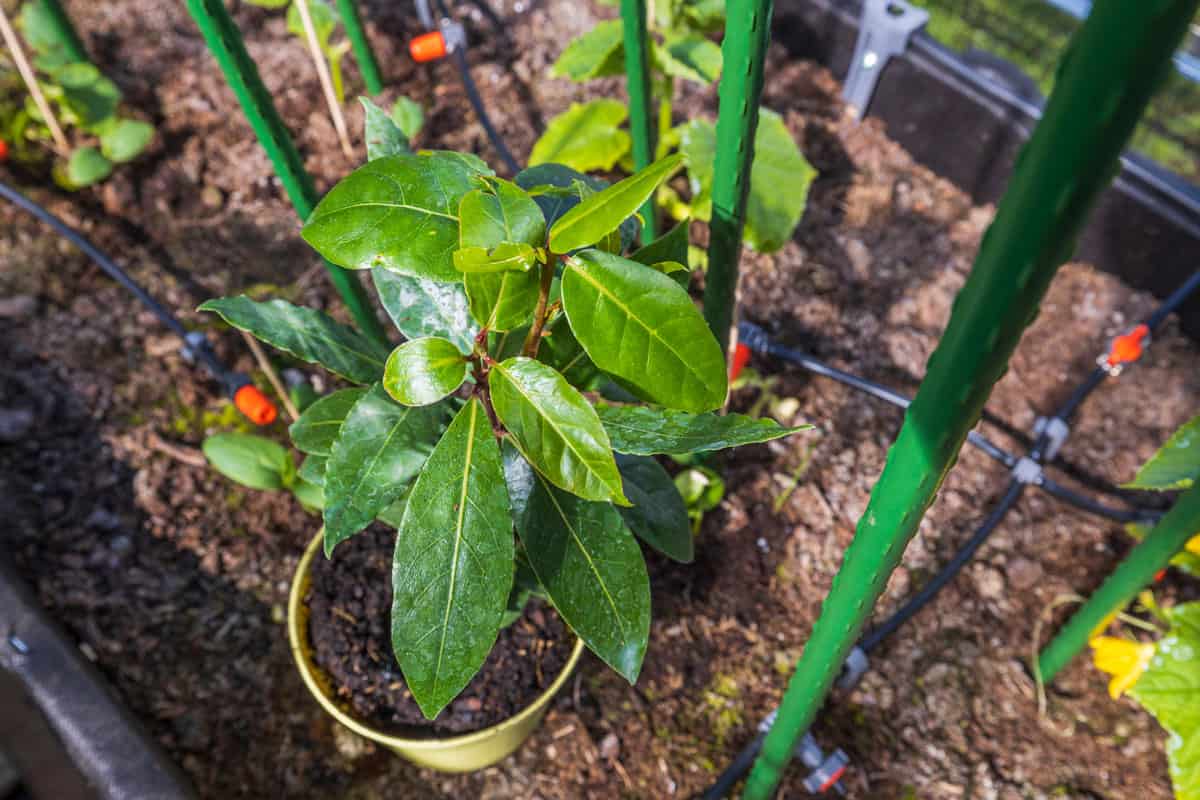
You can grow bay laurel as a trimmed shrub or full-sized landscape tree in well-drained, ordinary soil. Additionally, you can also grow it in chilly climates in a general-purpose potting mix.
As the season changes, you can move potted laurels inside or outside your house. While bay laurel plants look great indoors, they benefit from the additional summer heat and light. However, there are times that you should protect these potted plants from total outdoor sun exposure.
1. Providing Adequate Light
Keep your bay laurel near a window that gets a lot of sunlight during the winter if you grow it inside your house. Refrain from direct contact with drafts or heat from appliances or ductwork for heating and cooling systems.
If you plan to use bay laurel leaves as a seasoning or herb for cooking, we suggest you give it full sun for at least part of the year.
Read more: "Do Laurels Need Sun."
2. Use Appropriate Soil
As mentioned above, bay laurel can be equally tolerant to alkaline and acidic soil. And you must ensure that the soil is well-draining so that this tree or shrub can thrive in the average type of soil.
3. Water Adequately
Because the roots of bay laurel are shallow, they may require frequent irrigation during dry seasons. Keep the soil moist but not soggy to prevent root rot from developing on this plant. Also, you should let the soil of your bay laurel dry slightly between waterings and don't allow it to wilt or dry out thoroughly.
4. Observe Humidity and Temperature
Zones 8-10 of the USDA are suitable for growing bay laurel. During winter, in chilly locations, we recommend bringing it inside. Additionally, you must ensure that the site has a bright atmosphere.
However, the low humidity in your home may cause your indoor bay laurel to dry up. And if you notice the leaves falling, it would be best to use and add them to your recipes.
Moreover, you should spray the bay laurel tree with water regularly. And if you want to raise the humidity in your home, consider utilizing a room humidifier.
5. Fertilizer
Slow-growing bay laurel doesn't need a lot of nourishment when you have planted it in the landscape. However, if you plan to grow it in containers, it would be best to supplement it with fertilizer.
To do it, you must feed your potted bay laurel fertilizer once in the spring and again in the middle of summer. We recommend utilizing a balanced organic fertilizer, like kelp and fish emulsion.
And when it comes to maintaining the shallow roots of your bay laurel healthy, you must gently rake the top few inches of soil during fertilizer applications to avoid damage to the root system.
What Are The Varieties Of Bay Laurel
If you plan to use bay laurel leaves for your dishes, it would be best to note that the variety you should grow is the Laurus nobilis. And you must know that aside from the fact that you can use bay laurel leaves as a food seasoning, there are also health benefits it can offer you.
You must also keep in mind that some non-edible and even deadly plants bear the common names of the "bay" and "sweet bay." Some cultivated Laurus nobilis, on the other hand, may not be as tasty as their pure species counterparts. The best true bay laurel cultivars are among the following:
Laurus nobilis f. angustifolia
This bay laurel specie is what we call "willow-leaf" laurel. It is distinctive with its narrow leaves and appealing texture when pruned.
Laurus nobilis 'Aurea'
This plant produces fragrant, bright yellow fresh leaves.
Laurus nobilis 'Undulata'
This cultivar has rippling or wavy leaf edges. These features make it a really beautiful tree to look at.
Laurus nobilis' Saratoga'
This smaller laurel tree can reach a height of 30 feet when planted in the landscape. You'll notice this bay laurel specie's leaves are lighter in color and more rounded. For food seasoning, this is an excellent kind to try.
How To Pot and Re-Pot Bay Laurel
The popular container plant bay laurel has a long lifespan. Utilize a pot that isn't overly large to keep its size in check.
The most important thing is to ensure the tree won't topple down in the wind. A four to six foot bay laurel tree should be able to grow in a 24-inch planter. Use a regular commercial potting mix to boost the bay laurel's growth.

This 24" planter will look chic indoors or out. See it on Amazon.
Bay laurel thrives in a small pot, even to the point where the roots begin to protrude from the base. Re-potting every five years should be sufficient.
How To Overwinter Bay Laurel
When temperatures start to go below 50 degrees Fahrenheit regularly, we suggest bringing indoors the potted plants grown outside during summer.
Giving a sunny window or patio door to an outside plant that thrives in partial shade in the summer will help it succeed in the winter when it needs more light. However, indoor temperatures should remain reasonably cool.
Your bay laurel will not need winter protection in warm-weather zones, but fall and winter are ideal times for trimming.
How To Propagate Bay Laurel
Taking softwood cuttings and re-rooting them works well for propagating bay laurel, although the plant takes a long time to grow. Here's what you need to know:
- During summer, take six inches cuttings of green, supple branches of your bay laurel using pruners.
- Prepare small pots by filling them in with moist, coarse sand. After that, dip each cutting's tip into the rooting hormone, then plant it in the container.
- Loosely shield the containers with plastic bags and utilize rubber bands to secure them.
- Ensure you place the containers in a warm area with enough indirect sunlight. If you want to speed up germination, try putting the containers on a heating pad.
- You'll be able to tell that the cuttings have roots within a month or two because you'll feel resistance when you tug on them. At this stage, you can detach the plastic bags and continue to grow the cutting until it is big enough and ready for a long-term pot or a garden area outside.
How To Grow Seeds Of Bay Laurel
It is not impossible to grow bay laurel from seeds. However, you should keep in mind that this will be challenging.
In order to succeed, be patient and have the ability to tolerate failure regularly. All male bay laurel plants do not produce blooms or small purple fruits from which to collect the seeds since they are dioecious. Only female plants grow flowers.
In addition, do not be surprised if it takes six months for the seeds to germinate. If less than half of the seeds germinate, do not be alarmed. Grow bay laurel from seed by following these instructions:
- Before sowing, you must immerse the seeds in water for at least 24 hours.
- Prepare your seed tray by pouring a soilless seed-starter mix. After that, we suggest spreading the seeds over the seeds-starter mix. Ensure that they are two inches apart. Plus, you should push them into the mix gently.
- Regarding the location, it would be best to put the seed tray in an area where it can get about eight hours of direct sunlight. Also, consider a temperature of 70 degrees Fahrenheit.
- To make the soil mix slightly wet until it reaches germination, you should utilize a water mister. Even while germination can occur in as little as ten days, it can take as long as six months of constant attention for the bay laurel seeds to germinate and sprout.
- Once you notice that the seeds sprout, we suggest delaying the transplant until the plants grow their first genuine leaves. This plant can take several years to reach a size suitable for a beautiful indoor plant.
Wrap It All Up

Growing this plant in any soil would be easy since it is not picky. If you want your bay laurel tree to grow at its best, we suggest you follow everything you have read in this post -and be patient.
We hope you find this post helpful. If you have more questions, please feel free to leave a comment. And if you want to continue reading, you might want to check these posts out!
Should You Cut The Flowers Off Laurel? [When And How To Deadhead]
How Fast Does Laurel Grow? [Inc. Mountain Laurel And Other Types]