Would you like to know if you can harvest seeds from microgreens? Well, we have researched this topic and have answers for you. Understanding if you can harvest seeds from microgreens is vital to knowing how to grow more.
You can't harvest seeds from microgreens. Microgreens are vegetables, herbs, and flowers gathered two to four weeks after sprouting. To grow more microgreens, you will need to harvest seeds from a mature plant.
In this article, we will talk more about whether you can harvest seeds from microgreens. We will also talk about what the healthiest microgreens are and how often you should water microgreens. Keep reading to learn more.
![Can You Harvest Seeds From Microgreens? [And How To]](https://gardentabs.com/wp-content/uploads/2022/08/3.39.-Can-You-Harvest-Seeds-From-Microgreens-And-How-To.png)
Can You Harvest Seeds From Microgreens?
![Organic raw food woman take a microgreens container out of car, Can You Harvest Seeds From Microgreens? [And How To]](https://gardentabs.com/wp-content/uploads/2022/08/74.-Can-You-Harvest-Seeds-From-Microgreens-And-How-To1.jpg)
Microgreens are grown from various plant seeds and harvested two to four weeks after sprouting. Since these microgreens are young versions of their parent plants, they do not yet produce seeds. Since microgreens don't have seeds, the only way to grow more is to get seeds from a mature plant.
There are a few microgreens that can be regrown after trimming. Most legumes, like peas and beans, can be harvested two or three times. Kale microgreens can also be harvested more than once.
How To Harvest Seeds For Microgreens
When gathering seeds for microgreens, there are different techniques for different kinds. Let's look at how to harvest seeds for some of the most popular microgreens.
Arugula
To harvest seeds from arugula, take the plant's seed pod and dry them. If the seed pods aren't fully dry, they won't release their seeds quickly. Once the seed pods are dry, remove the seeds using one of two methods.
The first method is to break apart the seed pods with your hands and manually pick out the seeds. This method gets most of the seeds but can be tedious.
Another method is to place the dried seed pods in a paper bag and shake the seeds out. Using the paper bag is much faster but might not remove every seed from the pods. After using the paper bag, it may be helpful to pick out any seeds that still remain in the pods.
Broccoli
Harvesting seeds from broccoli will take some patience. You will need to allow the leafy part of the plant to grow flowers and then let those flowers dry. Once the flowers and their seed pods are fully dry, you can harvest them.
Like arugula, you can remove the seeds from the pods with your hands or a paper bag. Once you have gathered the seeds, you can use them to grow broccoli microgreens.
Peas
Peas and other legumes can be saved for microgreens. First, allow your peas to grow pods and cut them off your plant. Let the pods dry for a week or two to dry thoroughly.
Once dry, open the pods and remove the dry peas. These peas can be planted and harvested as microgreens two to four weeks after sprouting.
Sunflower
To grow sunflower microgreens, you will need to allow a sunflower to fully mature. Once the head of the sunflower points down and the seeds on the edges begin to fall off, remove it.
Place the sunflower head on some newspaper and shake the seeds off. It can be helpful to use your thumb to free stuck seeds. You may need to leave the sunflower head to dry for a few additional days to remove all the seeds.
What Are The Healthiest Microgreens?
While there are many kinds of microgreens, not all are created equal. Some microgreens have significantly more nutrients than others. Let's look at some microgreens varieties with the highest nutrient levels.
Alfalfa
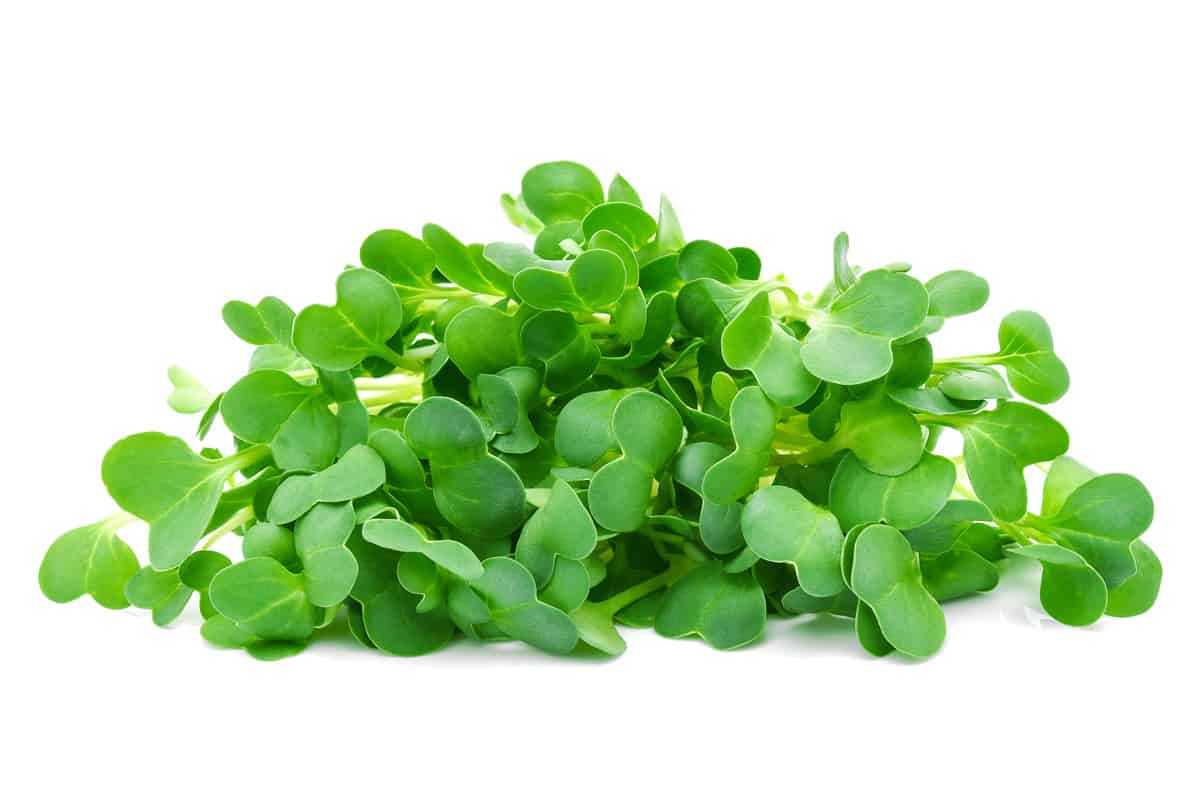
Alfalfa seeds produce a nutritious microgreen that is best eaten two weeks after planting. These microgreens have vitamin K, vitamin C, and folate and are also full of protein.
One cup of alfalfa microgreens has one and a half grams of protein.
Arugula
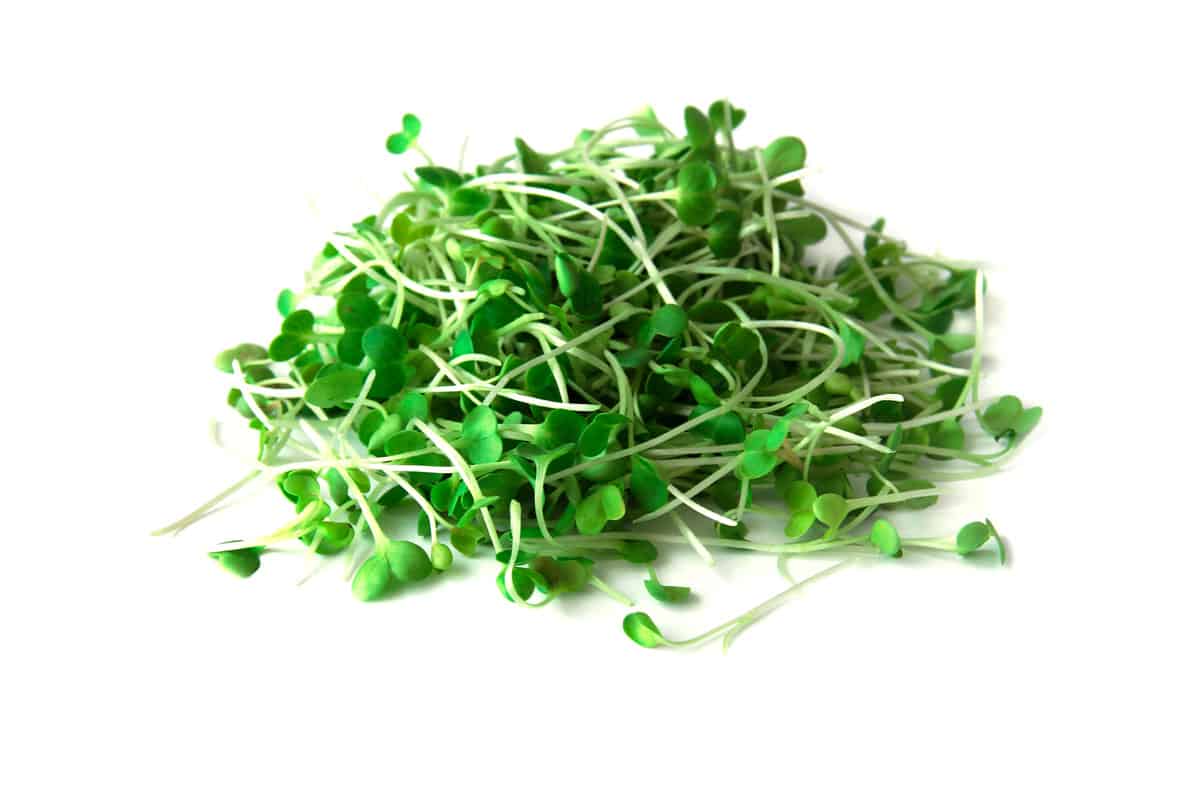
Arugula microgreens are best harvested when their first leaves open, but they can also be eaten after. When arugula's first leaves open, they will have large amounts of nutrients built up to help the plant grow. These nutrients include vitamins A, C, K, calcium, iron, and beta-carotene.
The high nutrient profile of arugula makes it one of the healthiest microgreens.
Broccoli
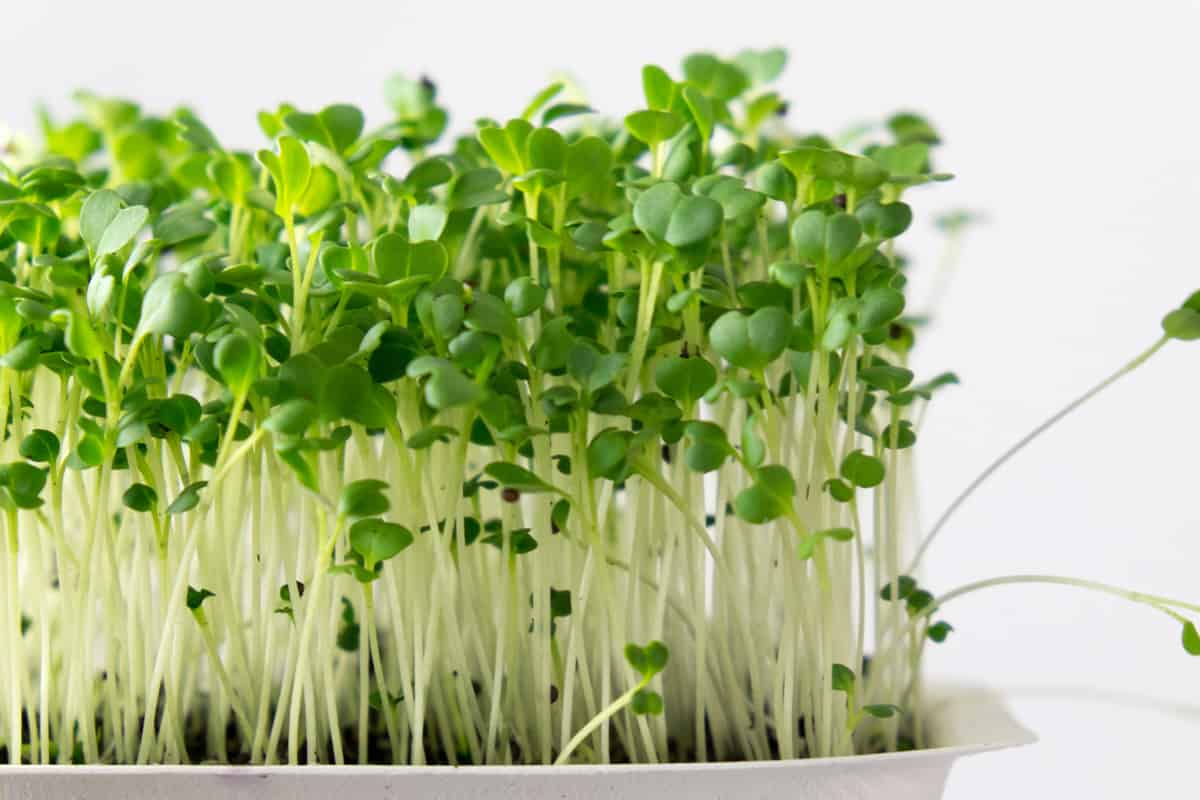
Broccoli makes one of the healthiest microgreens. To optimize its potential nutrition, harvest your broccoli microgreens when they are two to three inches tall.
Broccoli microgreens are full of nutrients like vitamins A and C. These microgreens also have two grams of protein per cup.
Chard
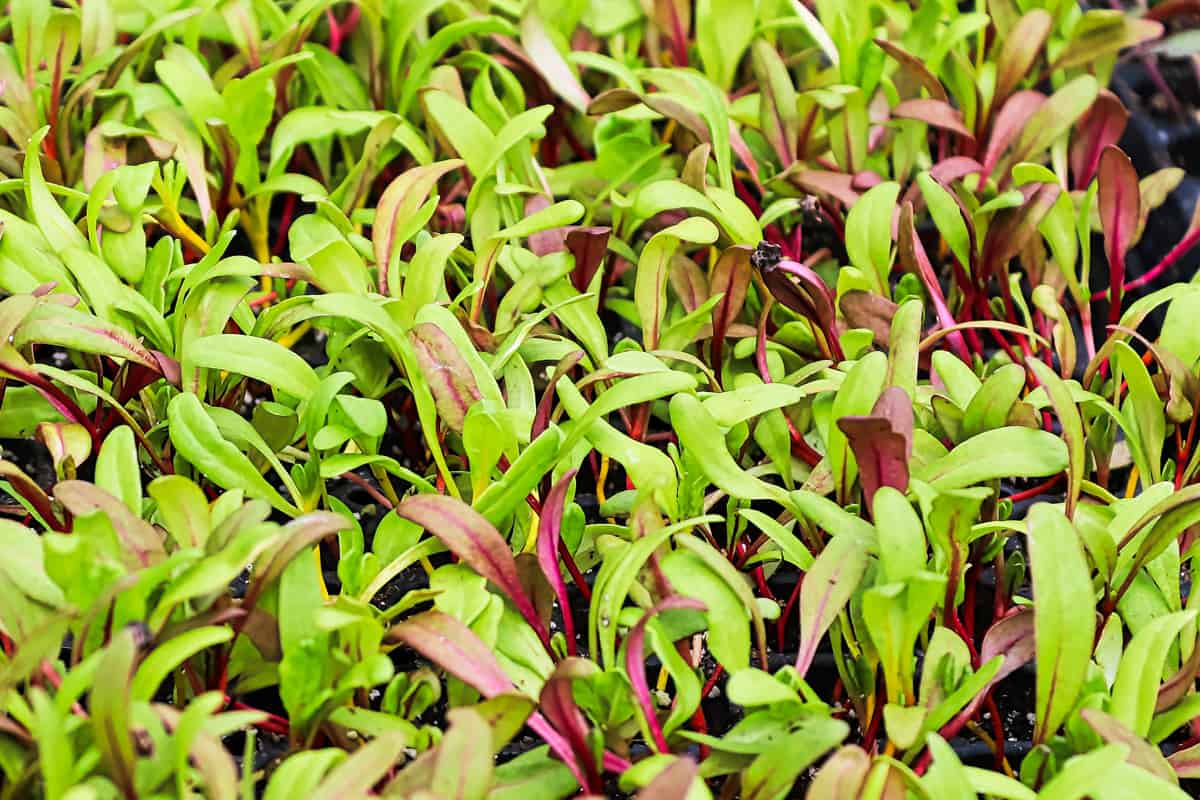
Chard microgreens have the most nutrients when harvested 10 days after sprouting. Your chard should be spreading its first leaves in 10 days, but if it hasn't yet, you can wait another day or two.
These microgreens have vitamins A and C. Chard microgreens are also full of antioxidants which have a myriad of health benefits.
Peas
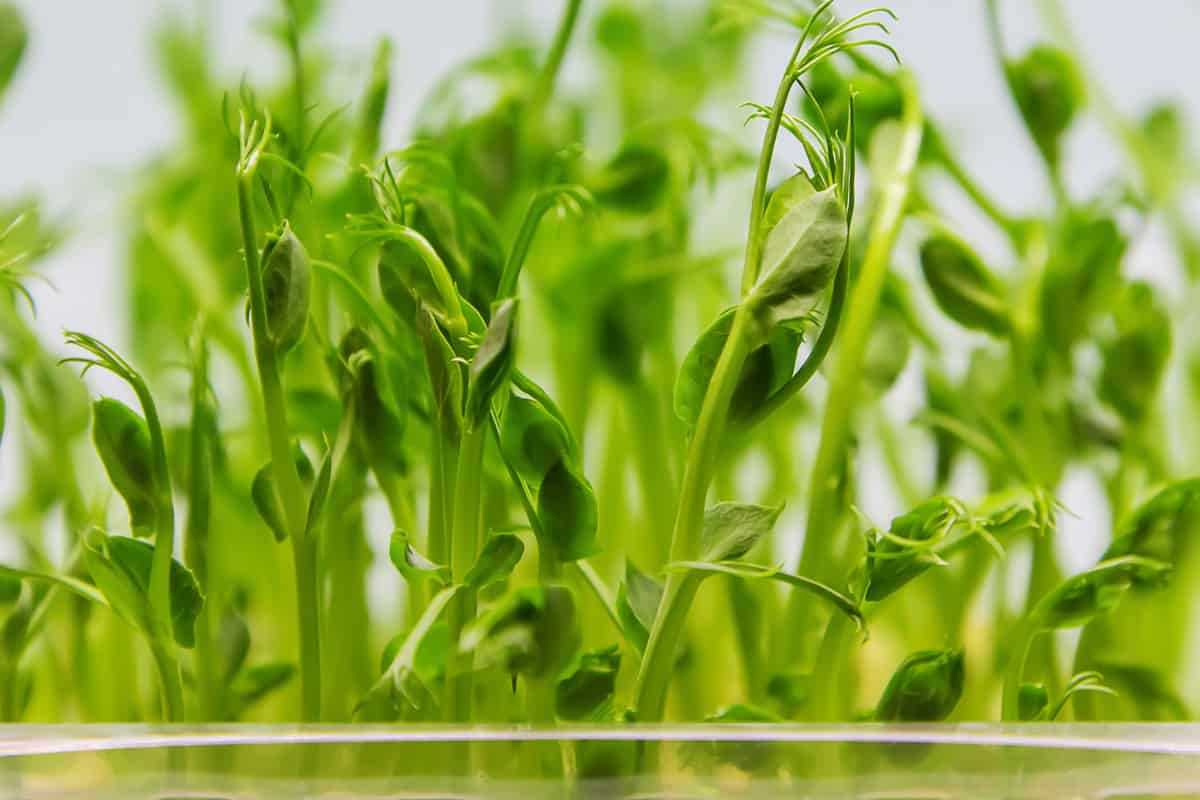
Peas are also very healthy microgreens. To get the most benefits from eating pea microgreens, consume them three to five days after they sprout.
Pea microgreens have vitamins C and B6. They also contain thiamin, niacin, magnesium, phosphorus, and folate.
Kale
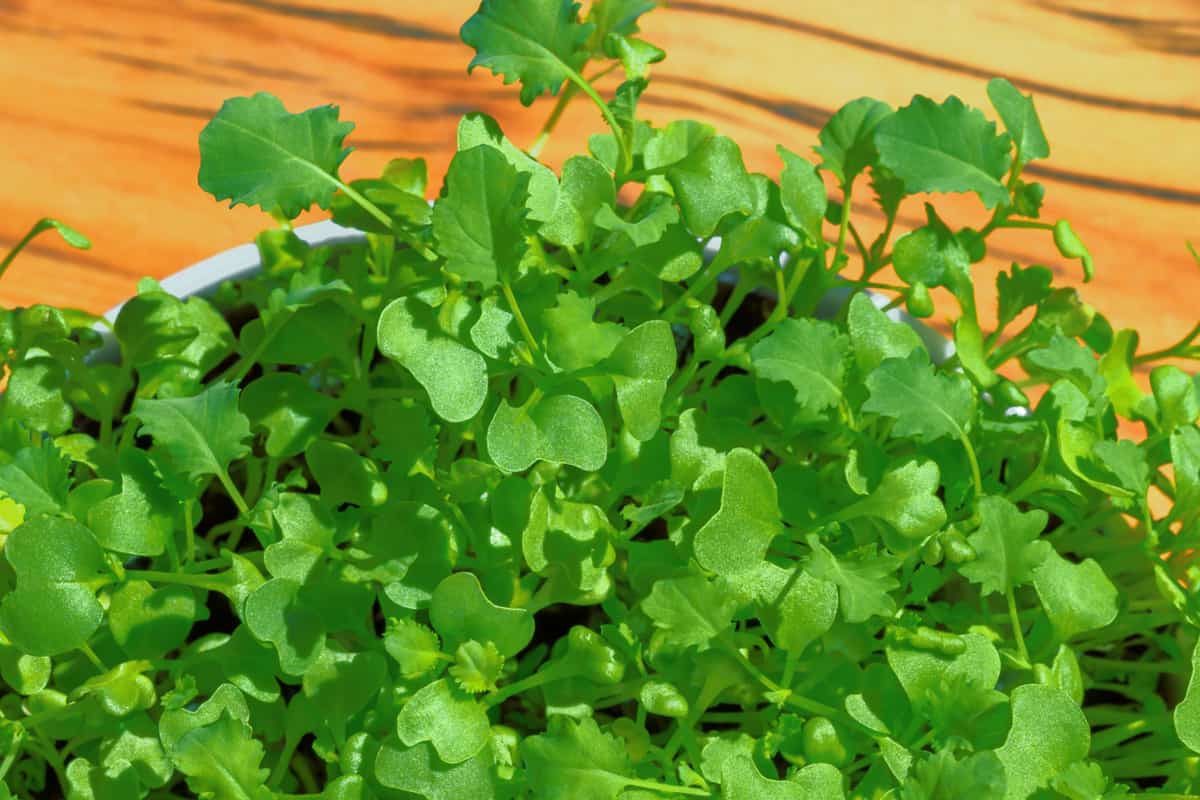
Kale microgreens are the most vitamin-packed microgreen on our list. To harvest kale microgreens with the most vitamins, harvest them 10 days after sprouting.
These microgreens contain vitamins A, B, C, E, and K. They also contain calcium, iron, magnesium, phosphorus, potassium, and zinc, making them one of the healthiest microgreens.
Sunflower
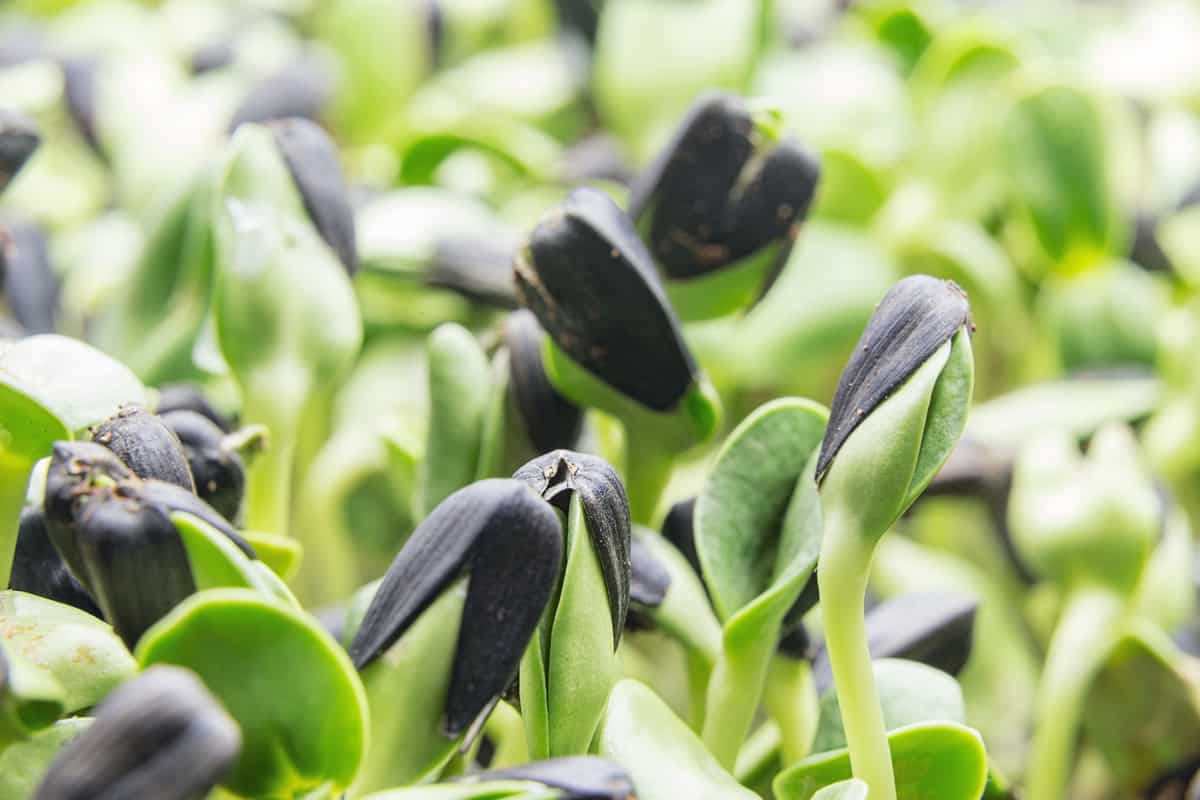
Sunflower microgreens contain many nutrients and are best eaten 10 to 12 days after sprouting. Once the first two leaves spread, your microgreen is ready to harvest. These microgreens contain many vitamins, and they are also rich in protein and fiber.
Wheatgrass
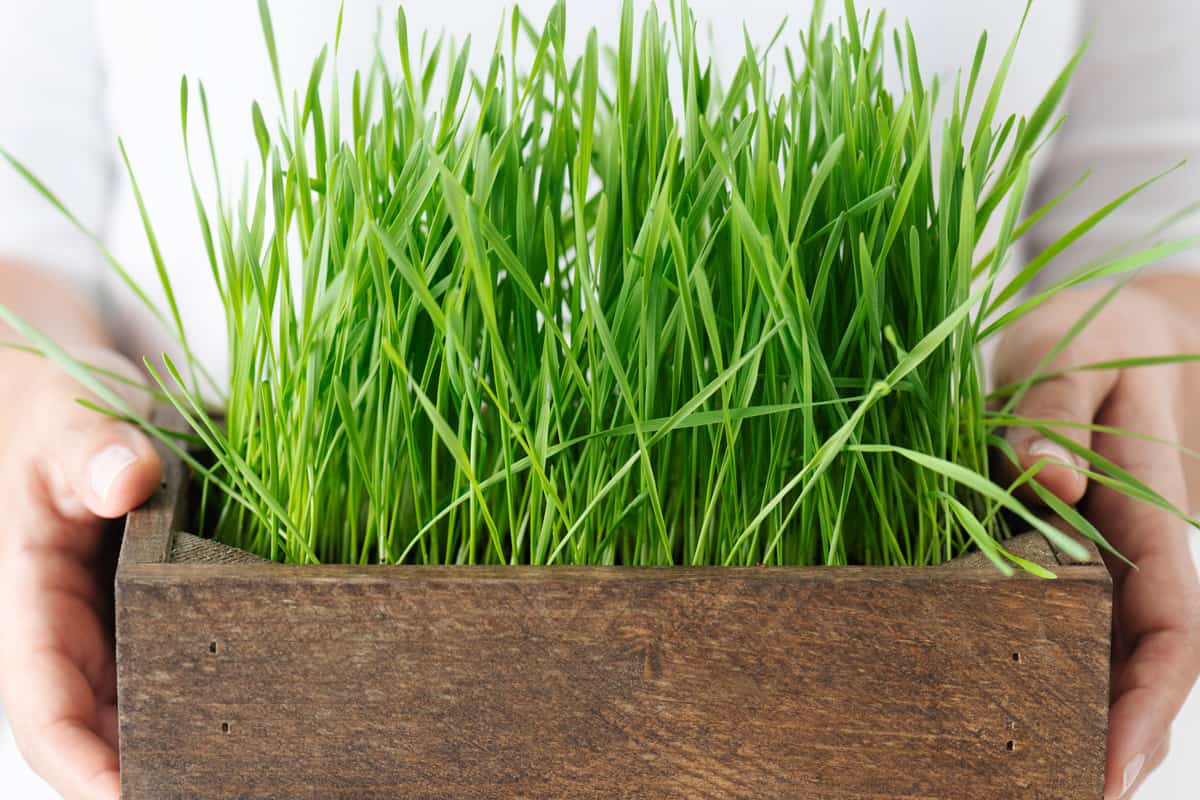
Wheatgrass is another microgreen that is high in nutrients. To harvest wheatgrass when it's most nutritious, allow it to grow for eight to 10 days after sprouting or until it's four inches tall.
Wheatgrass microgreens contain vitamins A, B, C, E, and K. These microgreens also have calcium, iron, and magnesium.
What Foods Can't Be Microgreens?
While microgreens can be grown from most vegetables and herbs, a few should be avoided. Some plants have alkaloids in them when they are young which make their microgreens bitter and toxic.
The foods that shouldn't be grown into microgreens are nightshades. Nightshades are a family of plants that can contain harsh chemicals depending on when and how they're harvested.
Common nightshades to avoid making into microgreens include potatoes, tomatoes, peppers, and eggplants. These plants will all produce microgreens that are bitter and toxic.
How Often Should You Water Microgreens?
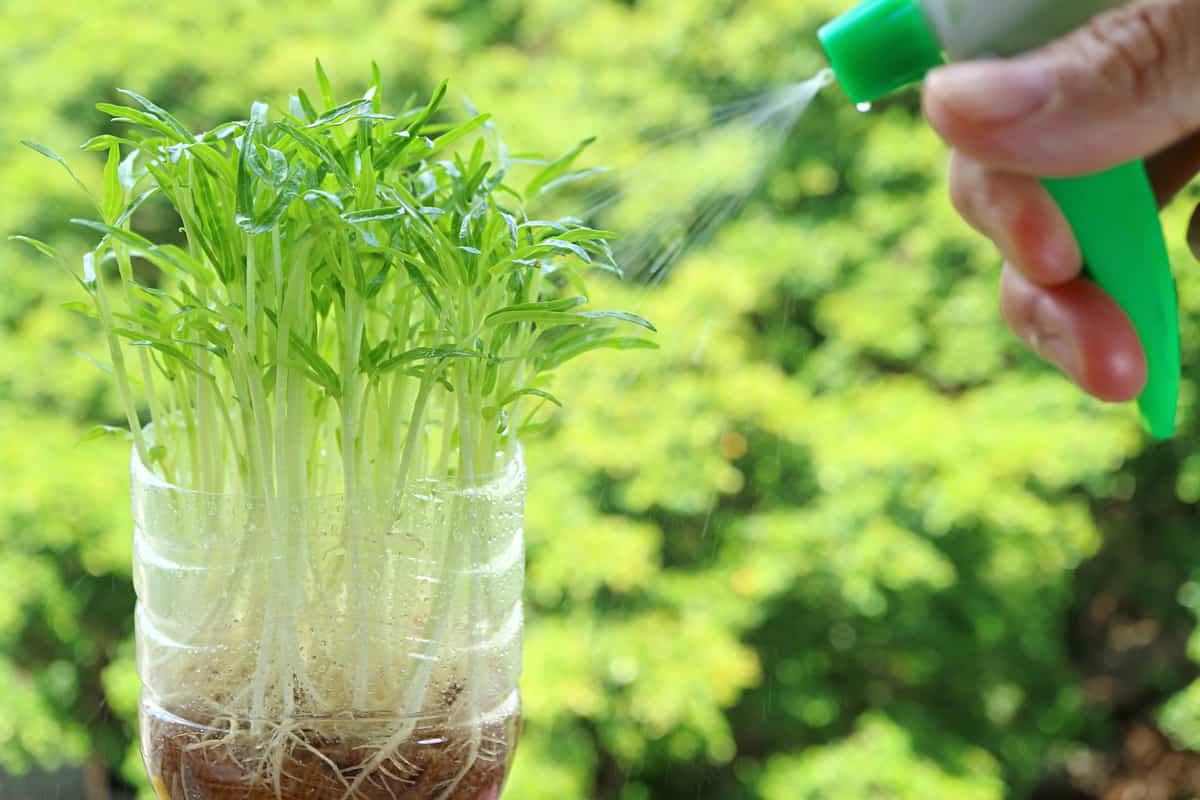
The trick to watering microgreens correctly is always to keep the seeds moist. If the seeds of your microgreens dry out, they will die.
Whether growing your microgreens in soil or a water tray, you will need water once a day or every other day. You will need to check the soil daily to ensure it isn't drying out. A water tray may keep the seeds wet for two or more days before more water is needed.
As long as you check on your microgreens consistently and respond to their needs, they will be fine. Be sure to avoid over-watering. While you want to keep the seeds wet, you don't want to over-soak them. Soaking the seeds can kill microgreens.
What Is The Difference Between Microgreens And Sprouts?
While microgreens and sprouts are very similar, there are some key differences. One of the most significant differences is the roots.
Microgreens are cut above the roots to harvest the top of the plant. Sprouts are grown in a way to gather the entire plant, including the roots.
Microgreens can also be grown longer than sprouts. Sprouts are grown solely from the energy in their seed. Microgreens can pull nutrients from the soil and incorporate them in their first few days of growth.
Both microgreens and sprouts come from the same kinds of seeds. There isn't a particular type of seed for microgreens as opposed to sprouts. Both use standard plant seeds and are only distinguished by how they are grown and harvested.
Final Thoughts
In this article, we learned that microgreens don't produce seeds but that we can easily gather seeds for many popular microgreens. We also learned about some of the healthiest microgreens. Remember, any nightshade will make bitter, toxic microgreens.
We hope you enjoyed this article. If you want to learn more, check out some of these other posts:

![Can You Harvest Seeds From Microgreens? [And How To]](https://gardentabs.com/wp-content/uploads/2022/08/1.39.-Can-You-Harvest-Seeds-From-Microgreens-And-How-To-683x1024.png)
![Can You Harvest Seeds From Microgreens? [And How To]](https://gardentabs.com/wp-content/uploads/2022/08/2.39.-Can-You-Harvest-Seeds-From-Microgreens-And-How-To-683x1024.png)
![Can You Harvest Seeds From Microgreens? [And How To]](https://gardentabs.com/wp-content/uploads/2022/08/4.39.-Can-You-Harvest-Seeds-From-Microgreens-And-How-To-683x1024.png)
![Can You Harvest Seeds From Microgreens? [And How To]](https://gardentabs.com/wp-content/uploads/2022/08/5.39.-Can-You-Harvest-Seeds-From-Microgreens-And-How-To-683x1024.png)