Microgreens make their way into many meals at fancy restaurants because they are aesthetically pleasing and offer an excellent flavor and crunch to many dishes. They're also easy to grow at home, but can you grow them in your outdoor garden? We've done the digging, and here's the lowdown.
You can absolutely grow microgreens outside! In fact, it requires less equipment than most indoor microgreen setups. Outdoor microgreens will usually grow more slowly and the growing season may be limited depending on your climate.
Growing microgreens outside couldn't be easier. Here's how to do it:
- Find a spot in your garden that gets at least a half day of sun. You can also use a pot or tray.
- Sprinkle the microgreen seeds on top of the soil.
- Cover the seeds with a quarter inch of soil.
- Water the soil gently.
- Continue to water the soil gently as much as necessary to keep it damp.
- Harvest the microgreens as desired.
- Most of the time, some seeds will germinate slower or later than the first batch. This means you will often have more microgreens ready some days after harvesting your first!
In this article, we'll take a microscope to microgreens and get a closer look at how to grow them outside, the differences between growing inside and outside, and even the best varieties for an outdoor garden. Read on to learn everything you need to know to add these tasty sprouts to your garden!
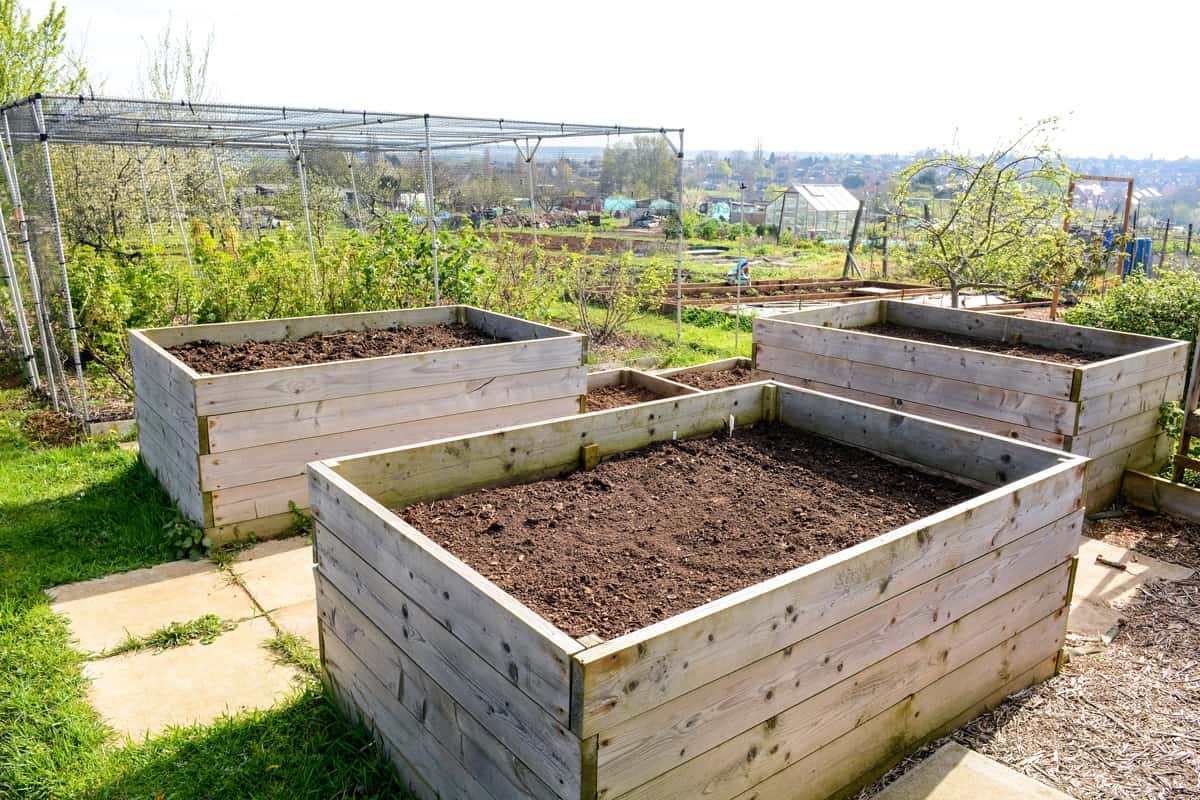
![High raised planters for a garden, Can Microgreens Be Grown Outside? [And How To]](https://gardentabs.com/wp-content/uploads/2022/08/Can-Microgreens-Be-Grown-Outside-And-How-To.png)
How To Grow Microgreens Outside
Growing microgreens outside may be even easier than growing them inside. Let's take a look at how to do it!
1. Pick the right spot
With gardening, as with real estate, it's all about location, location, location. This is especially true for microgreens, which need plenty of sunlight.
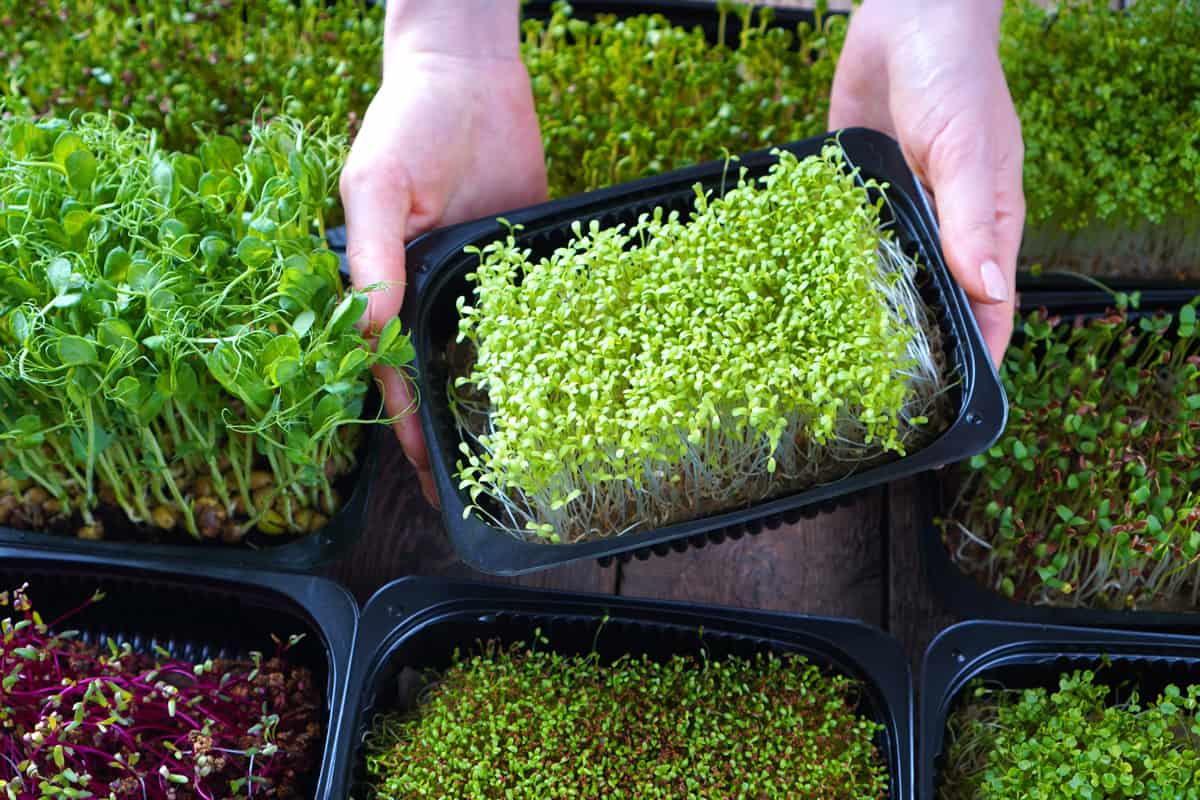
Try to find a spot in your garden that provides a half day of sunlight. It's okay if your microgreens get some dappled shade in the afternoon, but try to get them as much sun as possible.
This can be a spot in the ground if you have an appropriate space. You can also use a pot or a tray instead, which provides you with the option to move the microgreens to get more sun.
2. Add the seeds
When you have a spot or pot picked out, you can add the seeds. If you are using a pot, you'll want it filled almost to the top with soil before you add the seeds.
With microgreens, it's a good idea to use more seeds than you think you might need. This will help your batch of microgreens grow full and luscious. The exact amount will depend on the variety of microgreen you grow.
3. Cover the seeds with soil
Next, you'll want to cover the seeds with a top layer of soil. You'll want this layer to be free from any large, hard pieces. A quarter inch of soil is plenty for most microgreens.
4. Water the soil (gently)
Now that your microgreens are planted, you'll want to water them. Remember that there is only a thin layer of soil on top of them, so you'll want to water them gently. A hose nozzle with a soft shower setting works well for this. You can also use a watering can.
5. Continue to water the soil
All plants need water, and microgreens in particular need to be kept moist. That's why it's important to water them as often as necessary to maintain a damp environment.
In most climates, this means watering them twice a day: once in the morning and once at night. On hot or windy days, it may even take watering them three times a day.
6. Your first harvest
The rate at which your microgreens will grow depends on a variety of factors. The most important is what kind of microgreen you grow.
Radish and corn microgreens grow especially quickly. They are often ready to harvest within 10 days or so. There are some slow-growing microgreens, though, such as chard which can take a full month to grow!
Regardless of what variety you grow, you'll know they're ready to harvest once they've grown their first true leaves. These are the second set of leaves your plant will show, after the cotyledon or seed leaves.
You can harvest all of your microgreens that are ready if you'll use or sell them. Or you can just harvest as much as you want for now. You can cut some and leave the others for later or let them grow into baby greens.
7. Continue to harvest
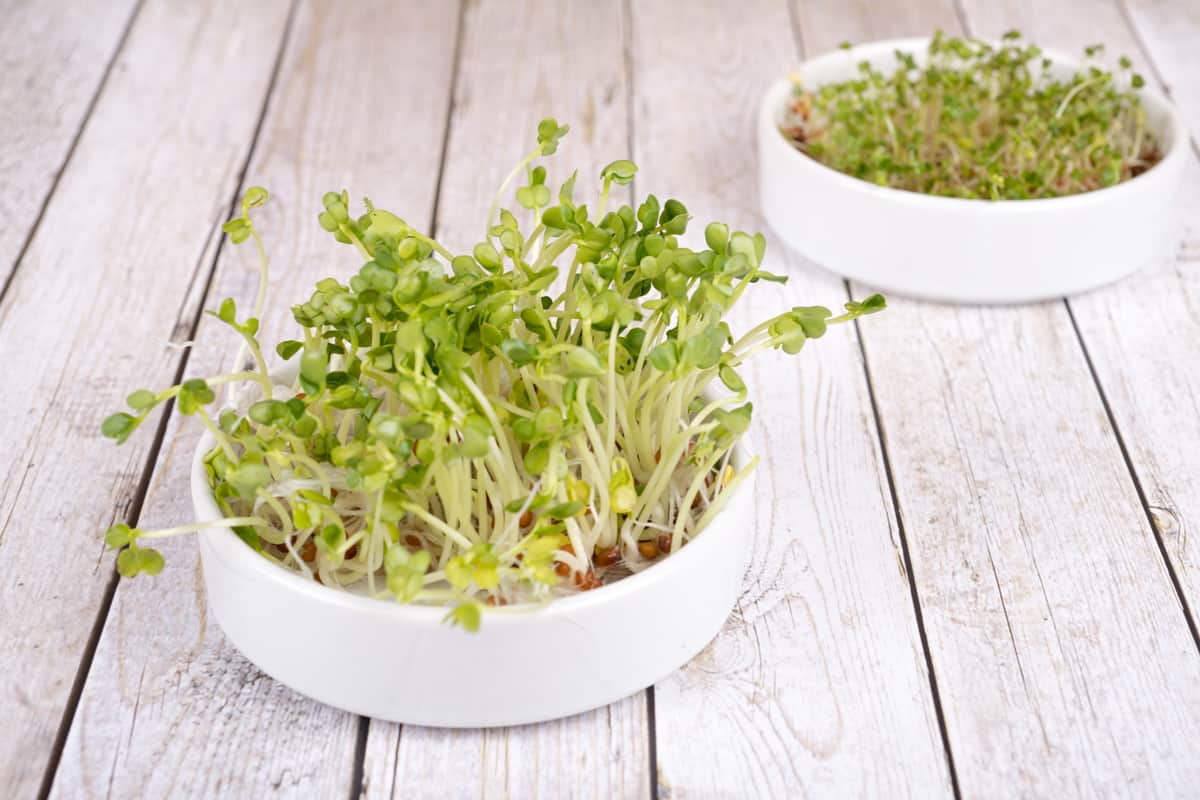
After your first harvest, you'll likely have more microgreens continue to grow. Even with a single variety of plant, some seeds just naturally take longer to germinate. This means you'll often get two waves of microgreens!
You can see the whole process for yourself in the video below:
Is It Better To Grow Microgreens Indoors Or Outdoors?
Growing microgreens outdoors is a great option, but growing them indoors has its advantages too. One method is not objectively better than the other. They both come with pros and cons.
Growing Outdoors
Pros
- No need to buy grow lights
- Can use your garden soil
- Less likely to grow mold
- No need to take up space in your home
Cons
- Requires outdoor space
- Limited to growing season
- Often requires more watering
Growing Indoors
Pros
- Can grow all year long
- Requires less frequent watering
- Leads to more consistent growth
Cons
- Requires grow lights and indoor trays
- Can be messy inside
- Requires more monitoring for mold
Whether you choose to grow microgreens indoors or outdoors, you'll be getting a lot of benefits for them. Microgreens grow faster than other plants, are wonderfully nutritious, and are way cheaper when grown at home than when bought at the store. There are even many people who have turned their homegrown microgreens into a business by selling them to local shops and restaurants!
Do Microgreens Grow Back After Cutting?
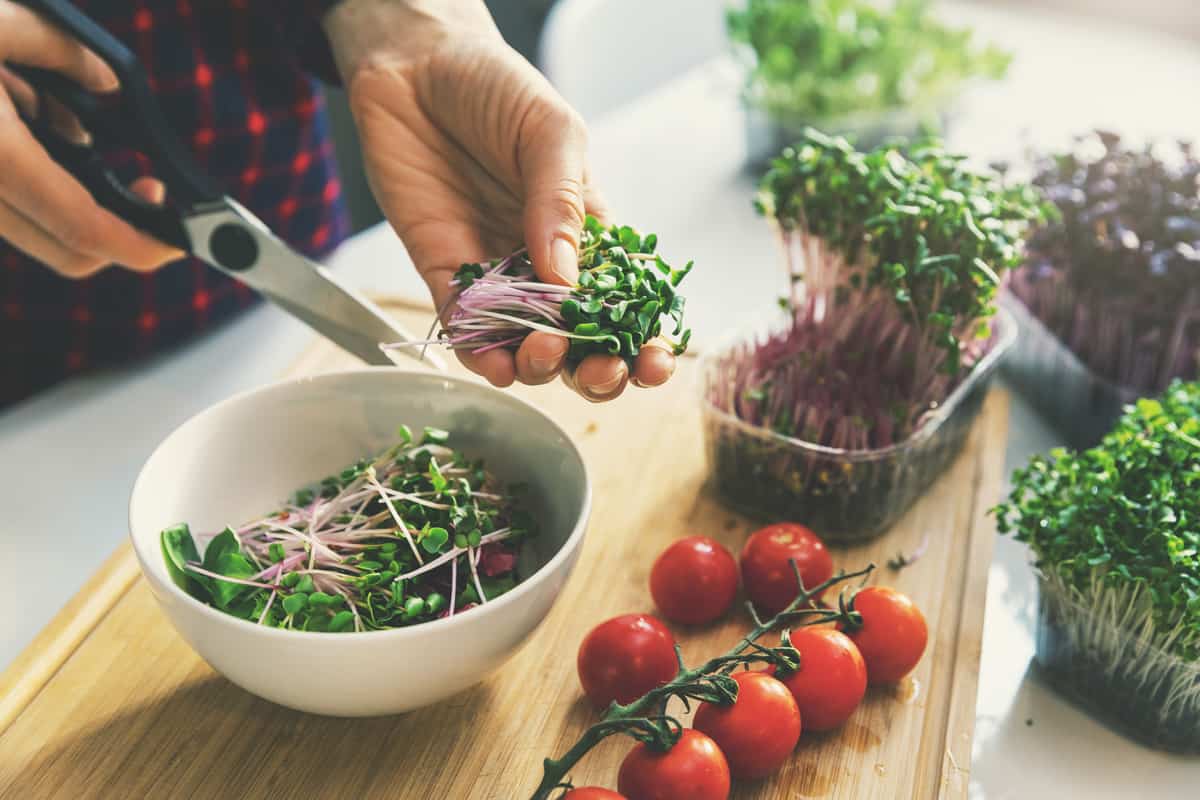
Once you cut your microgreens, they won't grow back. Harvesting microgreens requires cutting them close to the soil. Because of this, there isn't enough of the above-ground plant left for them to continue to grow.
That being said, more of your microgreen seeds may continue to grow after your first or even second harvest as we described earlier. That means you may cut away all of your microgreens, but find a fresh batch a few days later. This is because of growth from other seeds, not new growth from the seeds you already harvested.
What Microgreens Grow Best Outside?
Plants have been growing outside since long before humans started cultivating them. With the correct conditions, you can really grow any plant outdoors, microgreens or otherwise.
That being said, some varieties are easier to grow outdoor than others. When it comes to microgreens, there are a couple of very different directions you can go for the most outdoor-friendly varieties.
You can either choose varieties that grow quickly so they will require the least amount of time. Not only does this make them easier to grow, but it also means you get the reward for your efforts sooner. This offers more reward than just having a tasty and nutritious ingredient quickly; it can be very motivating too, especially for new gardeners.
The other direction you can go takes a slower path, but a more full-proof one. That option is to go with plants that have larger, hardier seeds. These are often hardier in the initial stages of life, such as when germinating and growing to the microgreen phase. They are less delicate than smaller seeds, but they often grow more slowly.
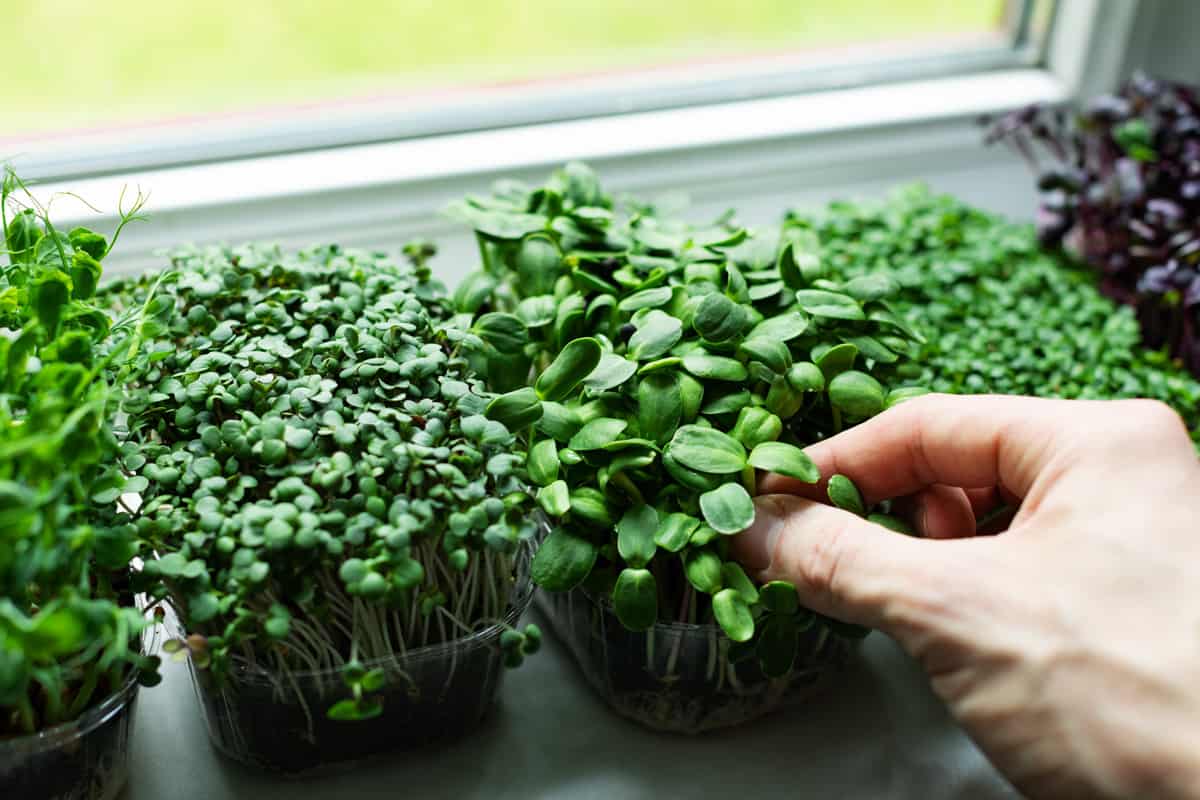
However, there are some microgreens that fit both categories. Let's take a look at some of the best outdoor microgreens.
Fast-Growing Microgreens
If you decide to take the speedy route, there are a lot of great choices. Here are some of the best and most popular!
Radish
Radishes are some of the most popular microgreens by far. They are prized for their peppery bite as well as for the short time from sowing to harvesting. Radish microgreens are typically ready to harvest in a week to 10 days.
Wheatgrass
Often used to make nutritious smoothies, wheatgrass is another popular option for quick-growing microgreens. They are usually ready to harvest in 8 to 12 days.
Cabbage
The whole brassica family falls within the fast-growing microgreens category, with your conventional cabbage being the fastest. Like wheatgrass, it's usually harvest-ready in 8 to 12 days, although other brassicas, such as Brussel sprouts or broccoli, can take a few days longer.
Large-Seed Microgreens

These popular microgreens start from larger seeds, which can help them hold up better in your outdoor garden.
Peas
Peas are among the most popular microgreens to grow. Their flavor sings of spring and is a great addition to many dishes. Peas are often soaked before being planted, adding to the time until harvest, but they are worth the wait. Most will be ready to harvest in 10 to 16 days.
Chickpeas
Much like the non-chick variety of peas, chickpeas do best if soaked before sowing. They often grow a little quicker than their pea counterparts, though, and most are ready to harvest within two weeks.
Fast-Growing, Large-Seed Microgreens
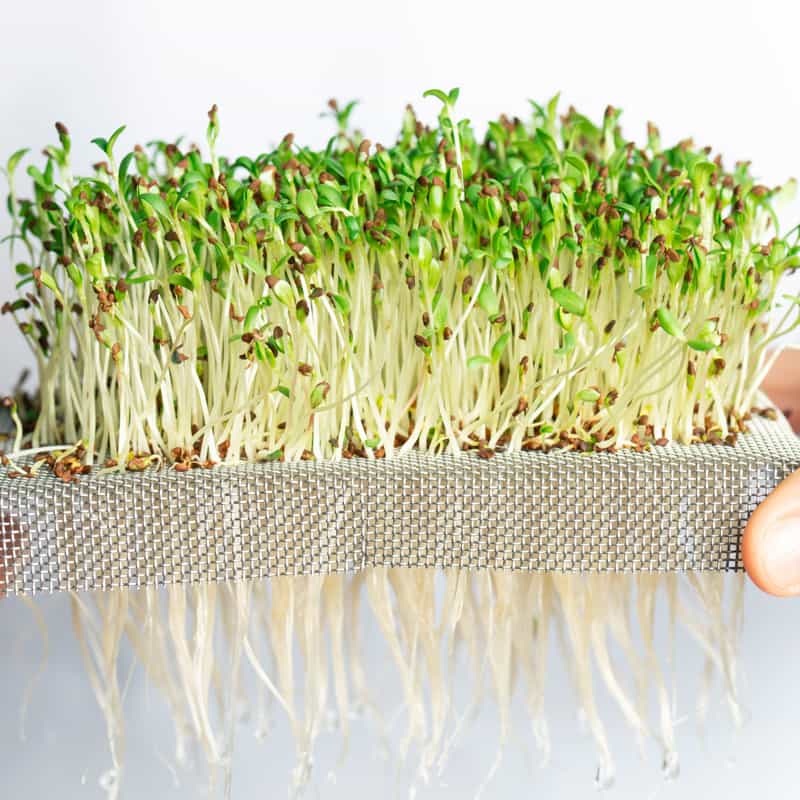
The best of both worlds, these microgreens grow fast from hardy seeds.
Corn
Nothing is more summery than corn, and corn microgreens are a great way to bring that flavor in a surprising way to salads and other dishes. It comes in hardy seeds and it grows fast, usually ready to harvest in 7 to 12 days.
Sunflower
While sunflower microgreens don't give you the satisfaction of spitting out a shell after eating them, they are a great choice for growing outside. They don't grow quite as fast as corn microgreens, but they are usually ready in 10 days to two weeks.
Final Thoughts
Microgreens can make an excellent addition to your outdoor garden. Now you know more about how to grow microgreens outside and those varieties that thrive best in the great outdoors.
If you enjoyed this article, check out these great posts:
