
Brick is one of the most popular and timeless materials for garden edging and for good reason. Their strength, classic color scheme, and durability make bricks a top choice for gardeners everywhere.
Bricks come in several styles and in a variety of colors, making them an ideal addition for virtually any garden. If you are looking for a rugged and long-lasting yet aesthetically pleasing garden edging material, bricks just might be for you!
In this article, we will discuss the different types of brick garden edging styles and how they can enhance your garden. We will also provide a walkthrough guide to install brick edging yourself. We will also list some products to consider to start your own brick edging project!
New Brick Edging
Arguably the most straightforward approach to brick garden edging is using new bricks. New bricks look clean and crisp, and they will most definitely make your garden stand out.
As an added bonus, brand new bricks will be tougher and longer-lasting than bricks that have been repurposed.
The clean appearance of these bricks accentuates the flower bed while making the garden appear more orderly.
Here are some garden path ideas if you want to amplify your garden’s look.
Repurposed Brick Edging
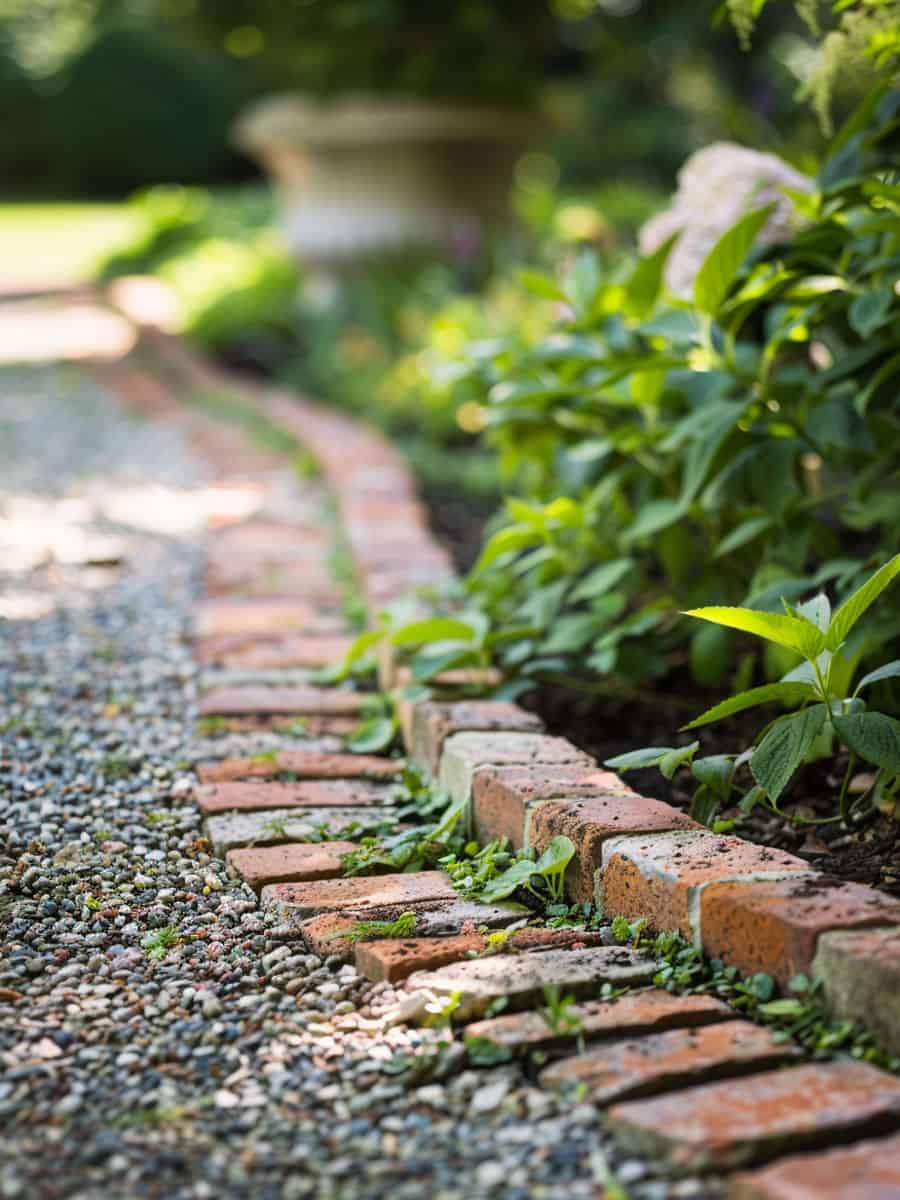
Just because bricks are old does not mean they cannot be used as garden edging. Bricks are often repurposed into garden accents with a more rustic aesthetic.
Repurposed bricks are a great choice for garden edging if you want to incorporate a rustic vibe into your garden.
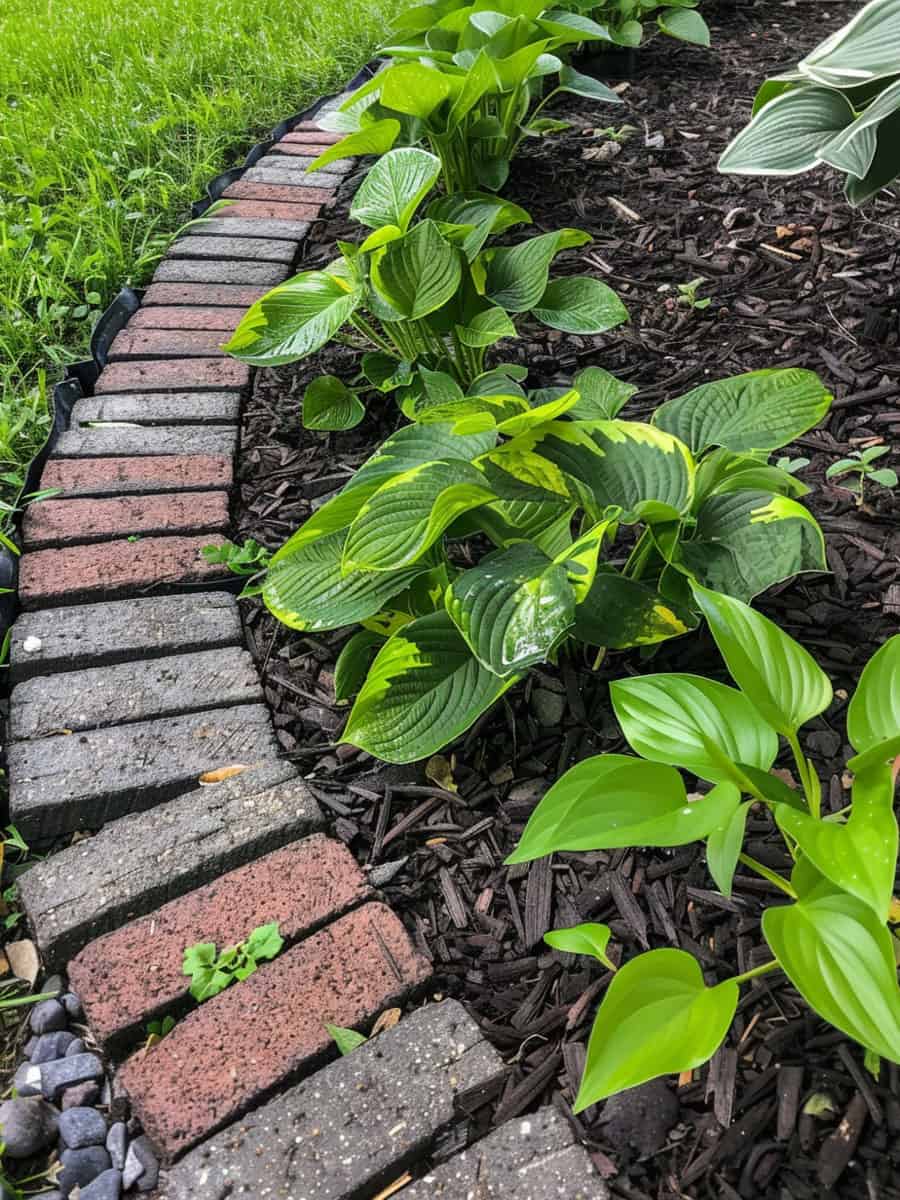
This flower bed demonstrates the aesthetic value that repurposed bricks add. No brick is too old to be used in a garden. In fact, the older a brick is, the more character it adds!
The best part is old bricks are readily available virtually anywhere. For this reason, repurposed brick is a particularly cost-effective option.
Rock Ridge Georgia Clay Reclaimed Brick
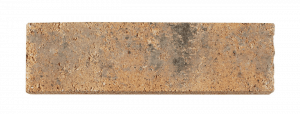
Click here to see more from Floor & Decor.
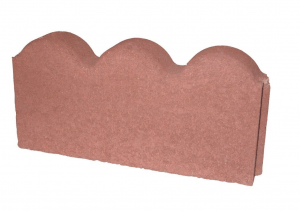
Scalloped
Scalloped brick is a brick that is made into a repeating arch pattern. This pattern breaks up the monotony that is often associated with brick garden edging by introducing a creative pattern into the landscape.
This concept has several different variations that greatly enhance the appearance of the garden.
A scalloped look can also be achieved by stacking bricks on top of each other at an angle, leaving the corners sticking up.
River Red Scallop Edger
This scalloped edging option is a cheap way to add intrigue to your garden.
Click here to see more from Home Depot.
Gray Block
Gray block brick is another option for your garden edging. This type of stone is typically used in retaining walls.
The shape of this brick gives it a unique textured appearance when they are stacked on top of each other. To maximize this effect, use gray block brick to edge flower beds that are higher off the ground.
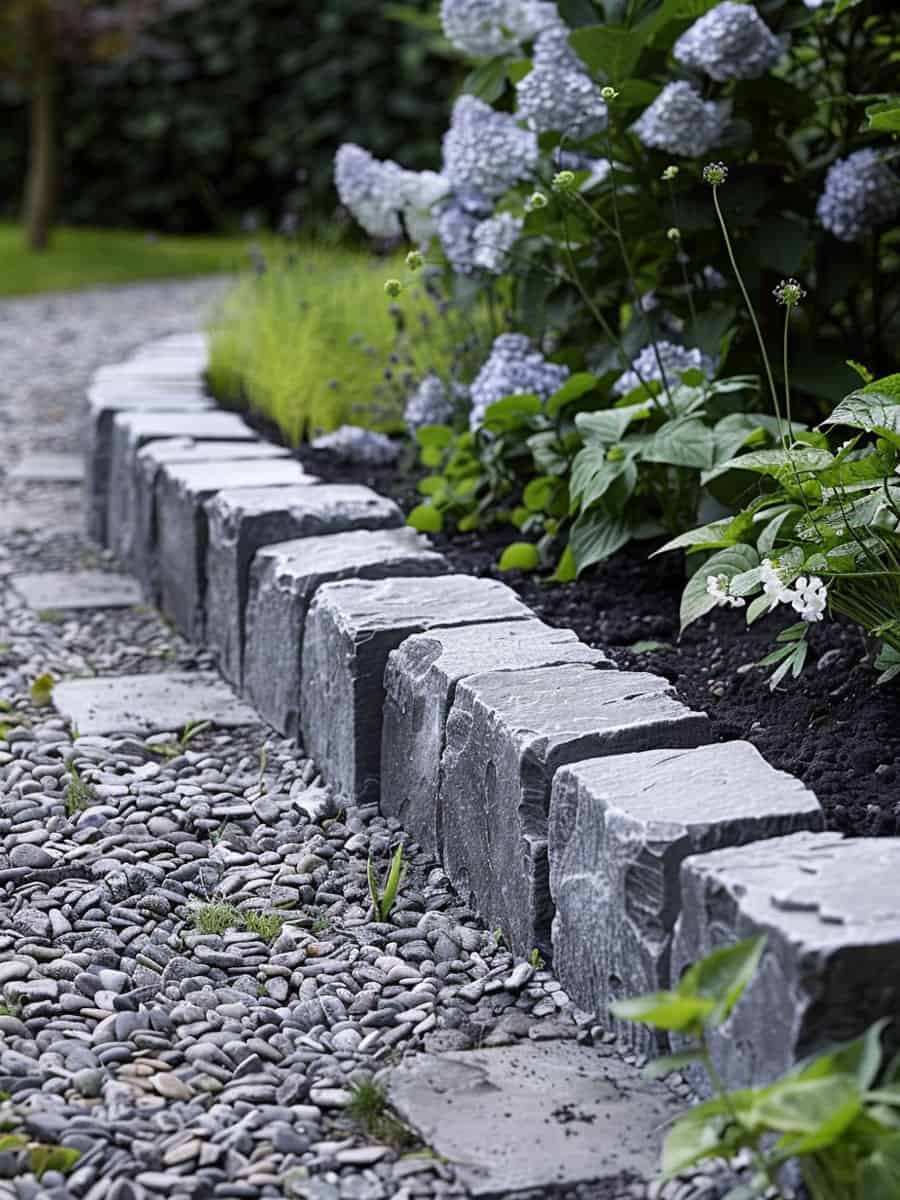
This setup makes use of gray blocks to give the exterior border of the flower bed a unique textured appearance. The gray color is neutral but it adds aesthetic value to the landscape.
Pewter Retaining Wall Block
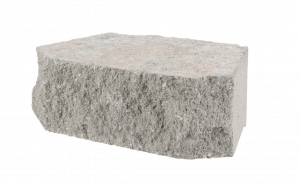
Click here to see more from Home Depot.
Spinner
Spinner bricks are another option for your garden edging. The unique thing about these bricks is their interlocking design. The way these bricks interlock makes them a great choice for lining curved flower beds or pathways.
Spinner Red Edger

Click here to see more from Home Depot.
How Much Does Brick Garden Edging Cost?
If you are considering using brick to edge your flower beds, you are undoubtedly wondering what the project will cost. When it comes to the cost of installing brick garden edging, there are several costs to consider.
The first cost to consider is the cost of the bricks themselves. Generally speaking, bricks are relatively cheap. A single brick typically costs about $1. The catch, however, is that bricks are often sold in pallets of almost 500 pieces.
Another cost to consider is the cost of a paver base, a necessary ingredient for the project. For most brick edging projects, only about $15-$20 of a paver base will be required.
Another ingredient you will need for the project is polymeric sand. Depending on the size of the project, this ingredient will run about $20-$40.
Stone dust is also required. Luckily, only about $10-$20 of stone dust should be necessary to complete the project.
Portland cement is the final ingredient needed, and it will cost just north of $10.
Although numerous ingredients are required for this project, the overall cost is not significantly higher than other edging methods.
The best way to reduce the cost of the project is to do all of the calculations ahead of time so that you know exactly how many bricks you need and how much of the other supplies will be necessary.
If you take the time to determine the amount of each component you will need, brick can actually be one of the most cost-effective edging solutions.
Pros and Cons of Brick Garden Edging
Bricks are well known for being among the strongest building materials. As garden edgers, they are guaranteed to last a very long time.
Another pro of using bricks for garden edging is its general weather resistance. From blazing hot to bitter cold, bricks can withstand virtually any climate, making them an ideal garden edging material.
Bricks can also be painted to the color of your choice. If you are not a fan of the natural color of brick, you can easily change it to match your preferred color scheme. This definitely makes them a garden edging material you should consider.
Another good thing about using bricks as a garden edger is that they can be cut to your desired shape. This gives you a ton of flexibility in terms of the way bricks are employed in your garden.
Last but not least, bricks add timeless aesthetic value.
One of the downsides of using bricks as a garden edger is that they are heavy. This might make it difficult for some people to work with. However, if this is the case, you can always have someone install them for you!
If you plan on installing bricks as a garden edger yourself, another downside is the amount of material involved.
The installation process itself is fairly straightforward and simple, but the list of materials needed to do the job thoroughly and correctly is extensive.
How to Install Brick Garden Edging
- Before you begin, you will need a length of rope, measuring tape, masonry pencil, hand tamper, circular saw with a segmented diamond blade, spade, garden hoe, wheelbarrow, Portland cement, stone dust, paver base, hand trowel, level, rubber mallet, and polymeric sand.
- Use a rope to measure the length of the bed to determine how many bricks you will need. Be sure to keep the rope snug to the grass and ensure that it follows the curvature of the flower bed.
- Mark the ends of the rope, pull the rope taut and use a measuring tape to measure the length of the section that will be lined with bricks. Divide the length by the length or width of the bricks you will be using. Be sure to consider the length or width of the brick in its intended orientation.
- Begin laying out the bricks along the border of the flower bed. In spots where the flower bed drastically curves, layout bricks as best you can following the curve. There should be a small triangular gap left without a brick. The gap will look like a pie slice. Set a new brick over the top of this gap and, using a masonry pencil, mark the spots where it meets the bricks beneath it.
- Using a circular saw with a segmented diamond blade, cut the brick along the pencil lines. Depending on the thickness of the brick and the radius of the saw blade, you might have to turn the brick over to cut all the way through. Keep a water bottle nearby and spray water onto the brick occasionally to minimize dust.
- Move the bricks out of the way and begin digging a small trench using a spade. Use brick as a reference for how wide to dig the trench. Dig out the soil in the trench. It is recommended to dig until the soil changes color; this ensures that you dig through the topsoil and into the more firm underlying dirt. This depth will also help protect the brick during the winter. The trench should measure approximately six inches. Use a garden hoe to remove any excess soil.
- Pour the paver base into the trench and spread it evenly until it covers two to three inches of the trench. Use a hand tamper to smash it down evenly.
- Using a wheelbarrow, mix six shovel full of stone dust with one shovel full of Portland cement. Get the mixture dampened with water and mix it well.
- Sprinkle the mixture into the trench and spread it evenly with a hand trowel.
- Place each brick back into the trench in its original place. Once you are satisfied with the brick's position, use a rubber mallet to lightly tap it firmly in place. Use a level to make sure that the bricks are level and flush with the lawn.
- Using a rubber mallet, firmly pack any exposed paver base. Fill the joints with polymeric sand. Use a brush to sweep off any excess.
- Use a water hose to rinse off the area. This will activate the polymeric sand, ensuring that the bricks stay firmly in place for a long time to come.
Inspirational Brick Edging Photos
Now that we have talked in-depth about the different kinds of brick garden edging methods, check out some of these photos for some brick edging inspiration!
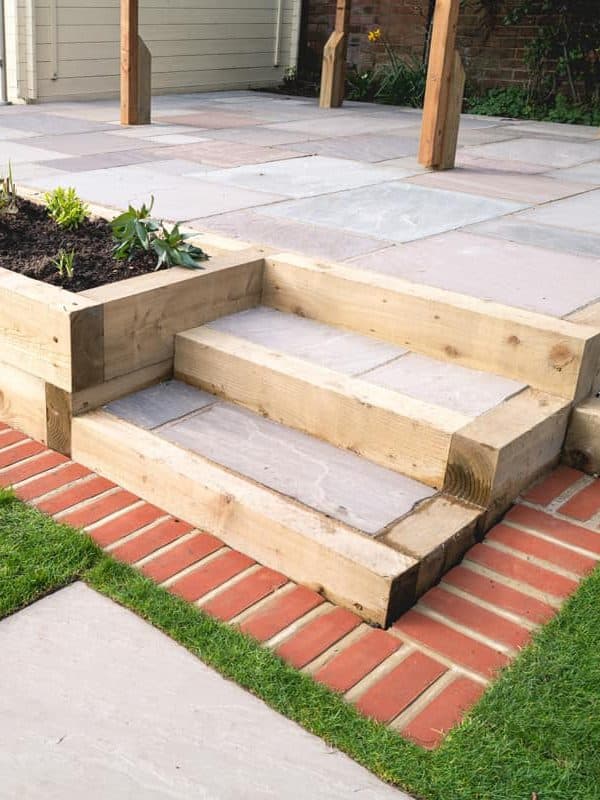
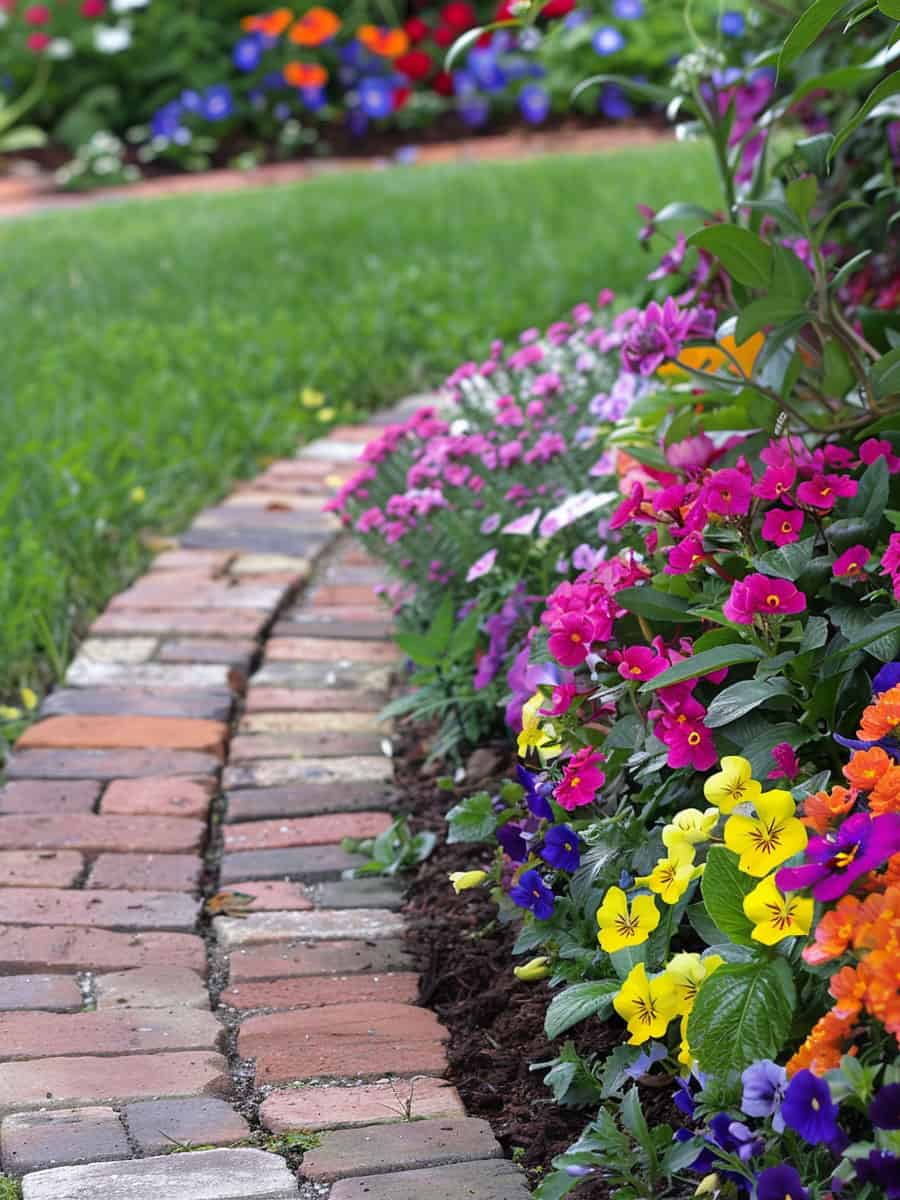
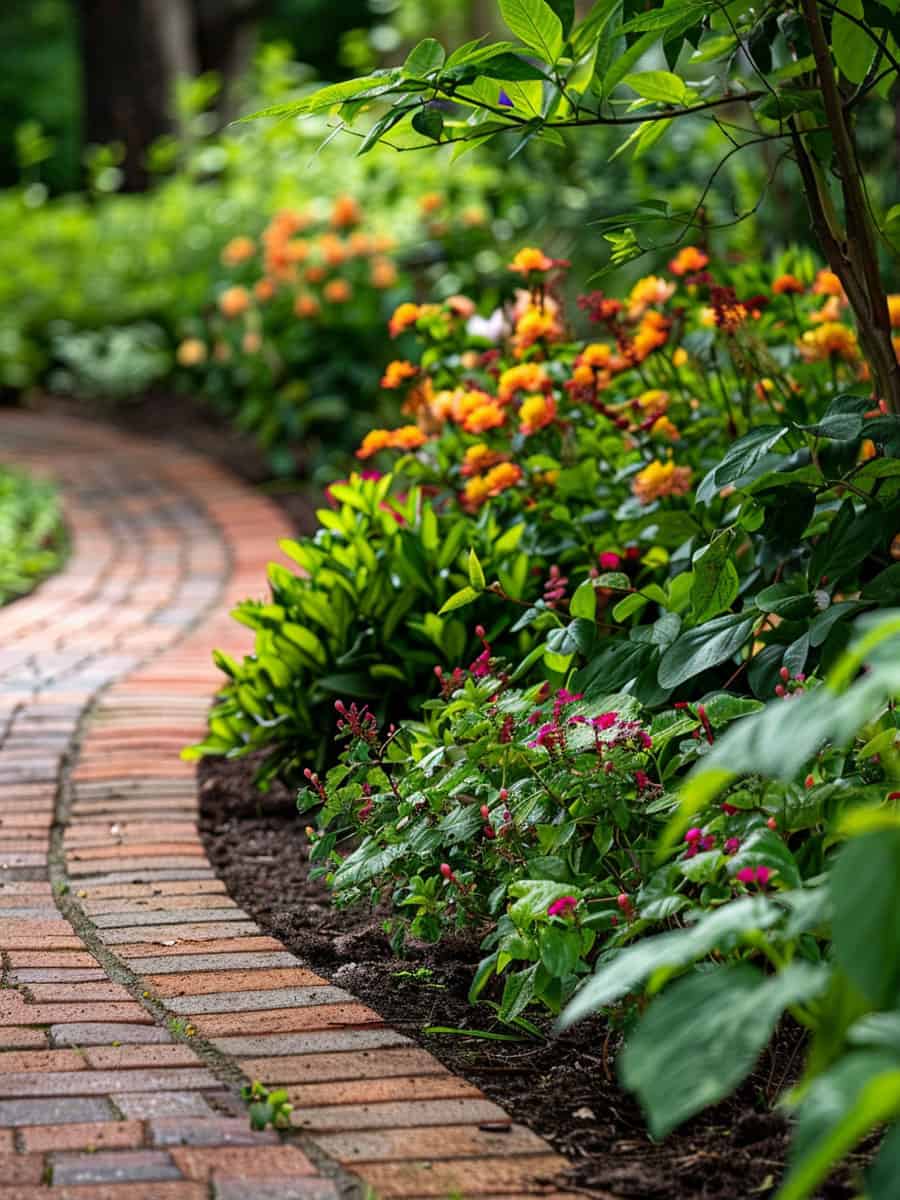
Simple Clean Look
Simple rectangular bricks are a great way to separate a flower bed from the rest of the yard. The red clay color also adds an element of visual intrigue against the green grass.
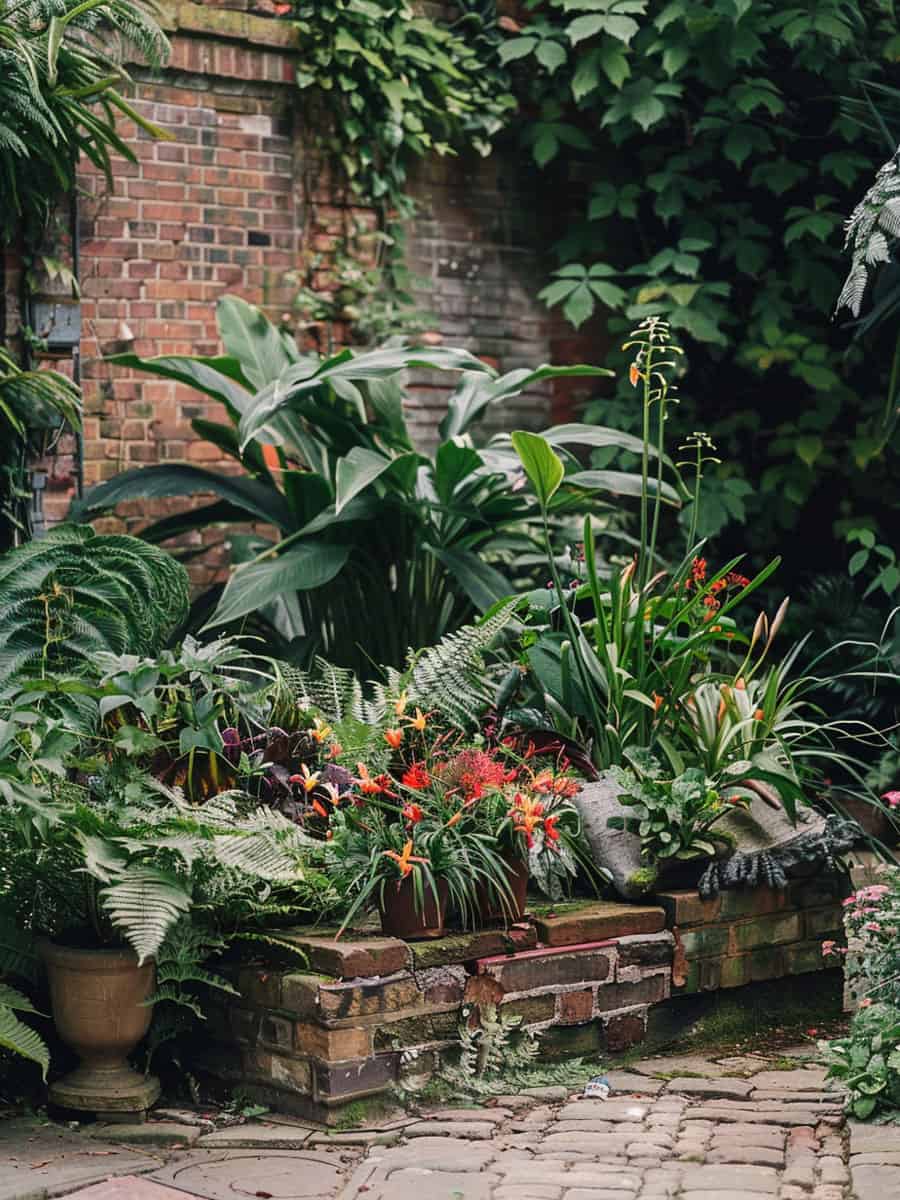
Repurposed and Rustic Aesthetic
These old bricks have been repurposed into a creative garden edger. The staggered pattern is a unique aesthetic accent that will make your garden stand out.
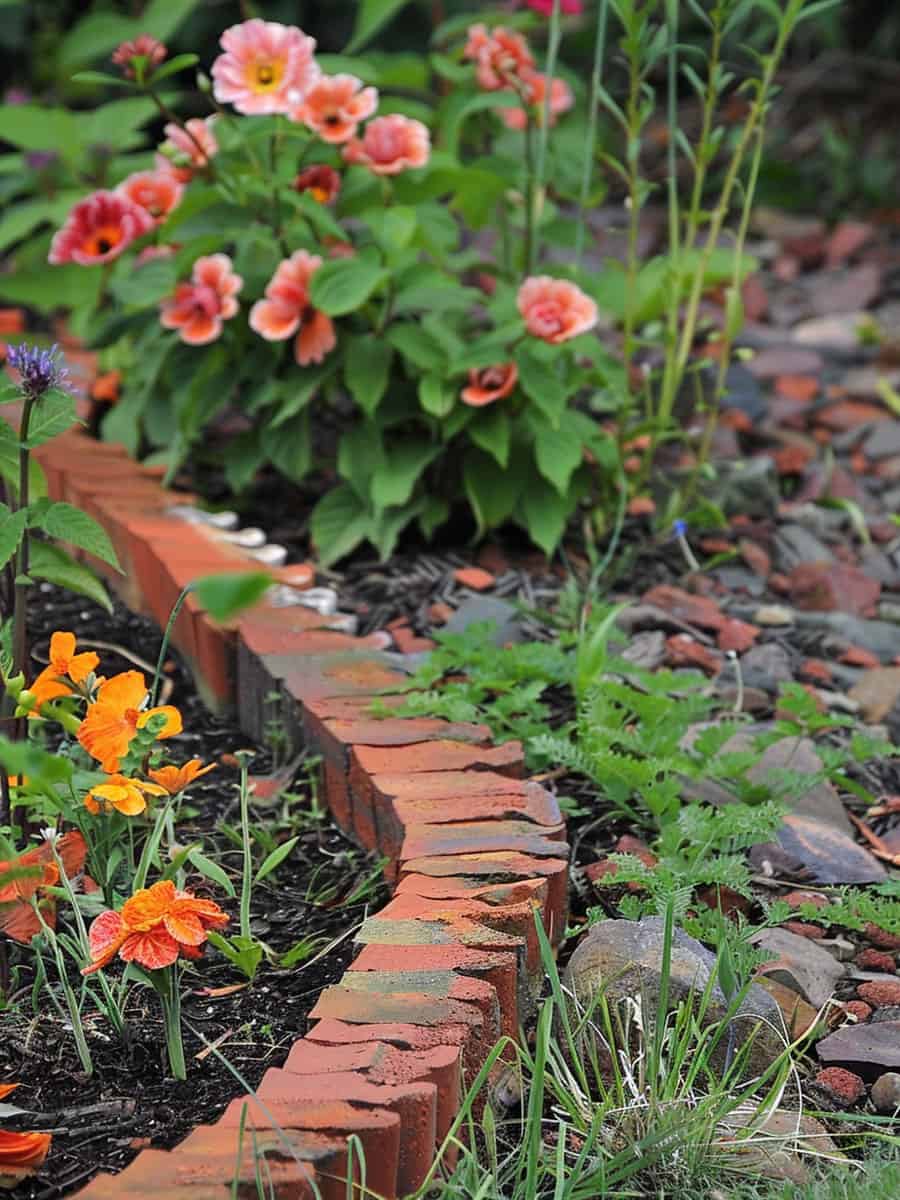
Unique Scallop Scheme
A common misconception about bricks is that they can only be oriented horizontally. This could not be further from the truth, and this concept proves it. Orienting bricks at an angle like this is a sure way to make your flower beds pop.
Long Lasting Brick Edging Solution
Bricks can even be set in more permanent solutions like concrete, and the installation process is remarkably simple.
Raised Scalloped Flower Bed
This concept makes use of bricks in a whole new way. Stack bricks on top of each other at an angle to introduce some unmatched creativity into your garden.
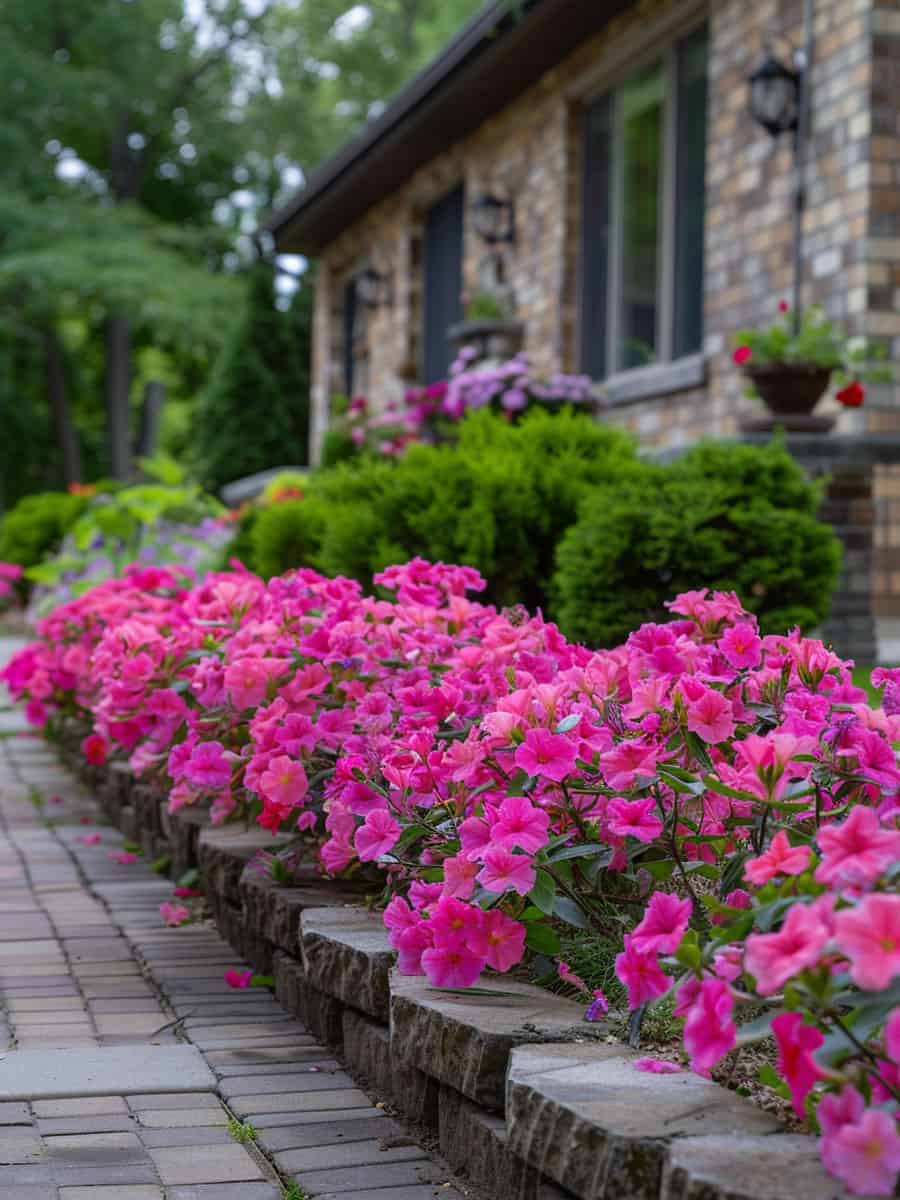
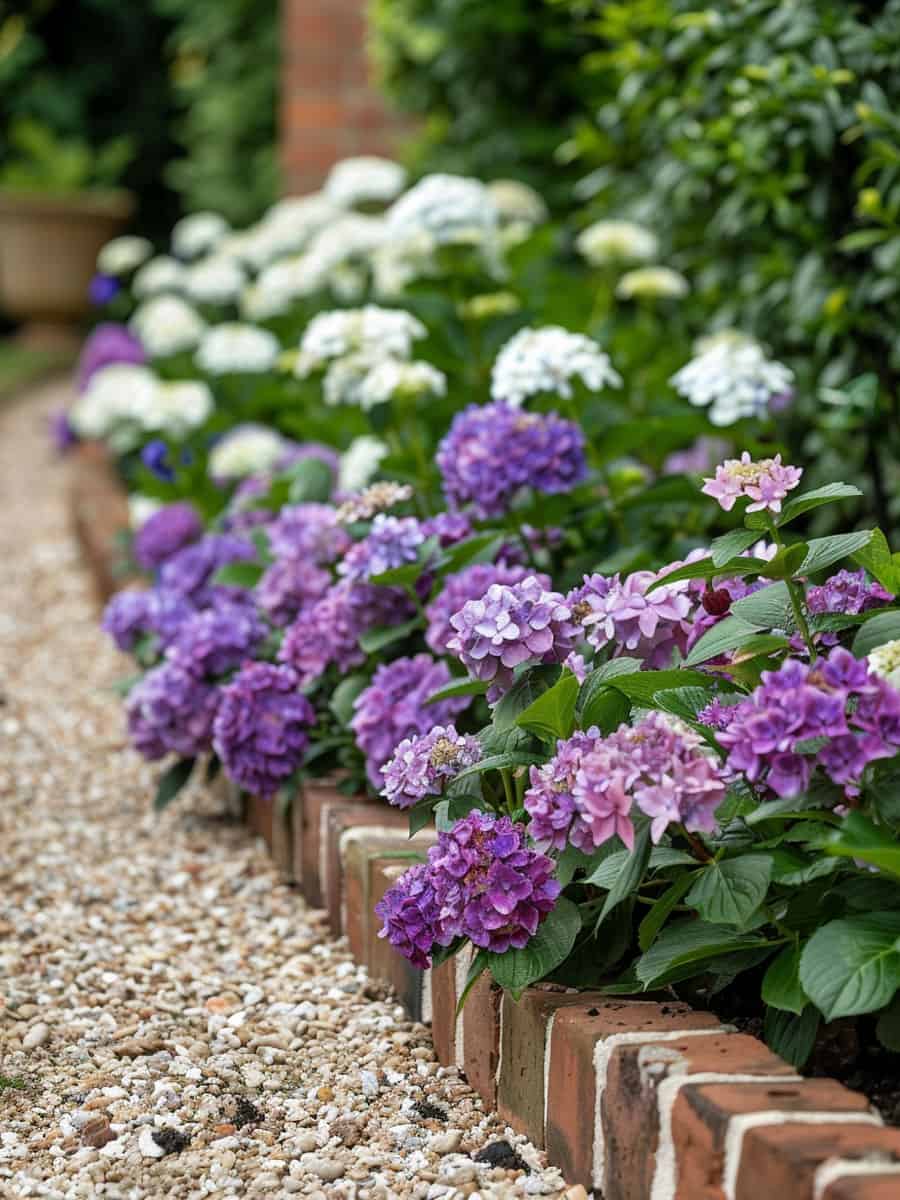
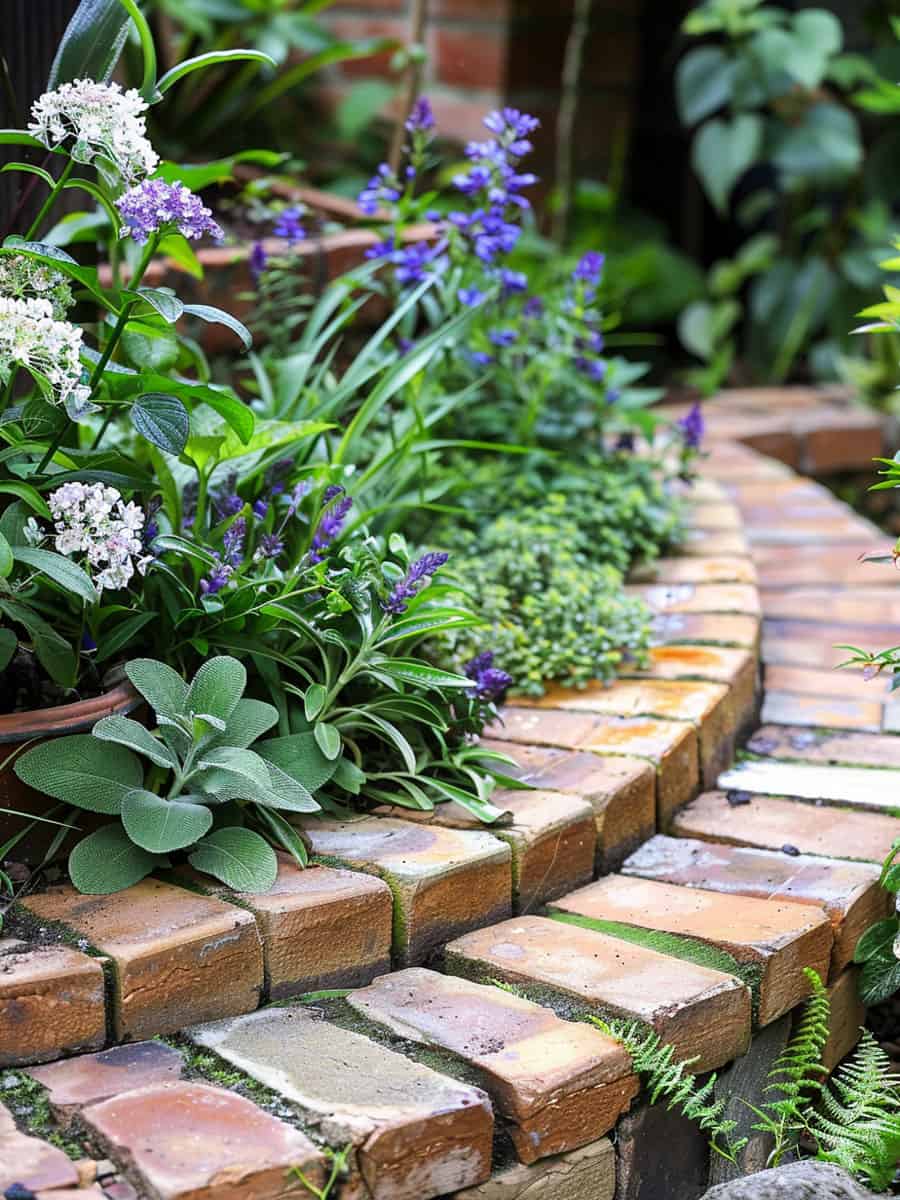
Simple and Dainty Brick Garden Edging
Simply making two or three stacks of bricks is a simple way to make a small flower bed look dainty. Coupled with vibrant green foliage and bright blooms, the soft red of the bricks is a great accent.
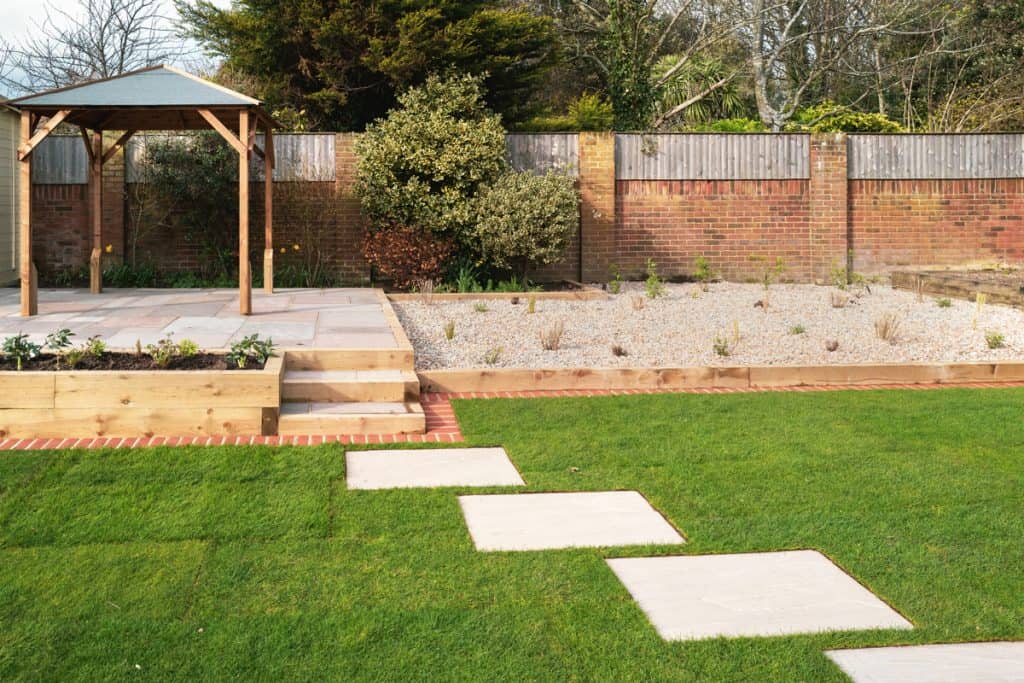
Neutral Gray Brick Color Scheme
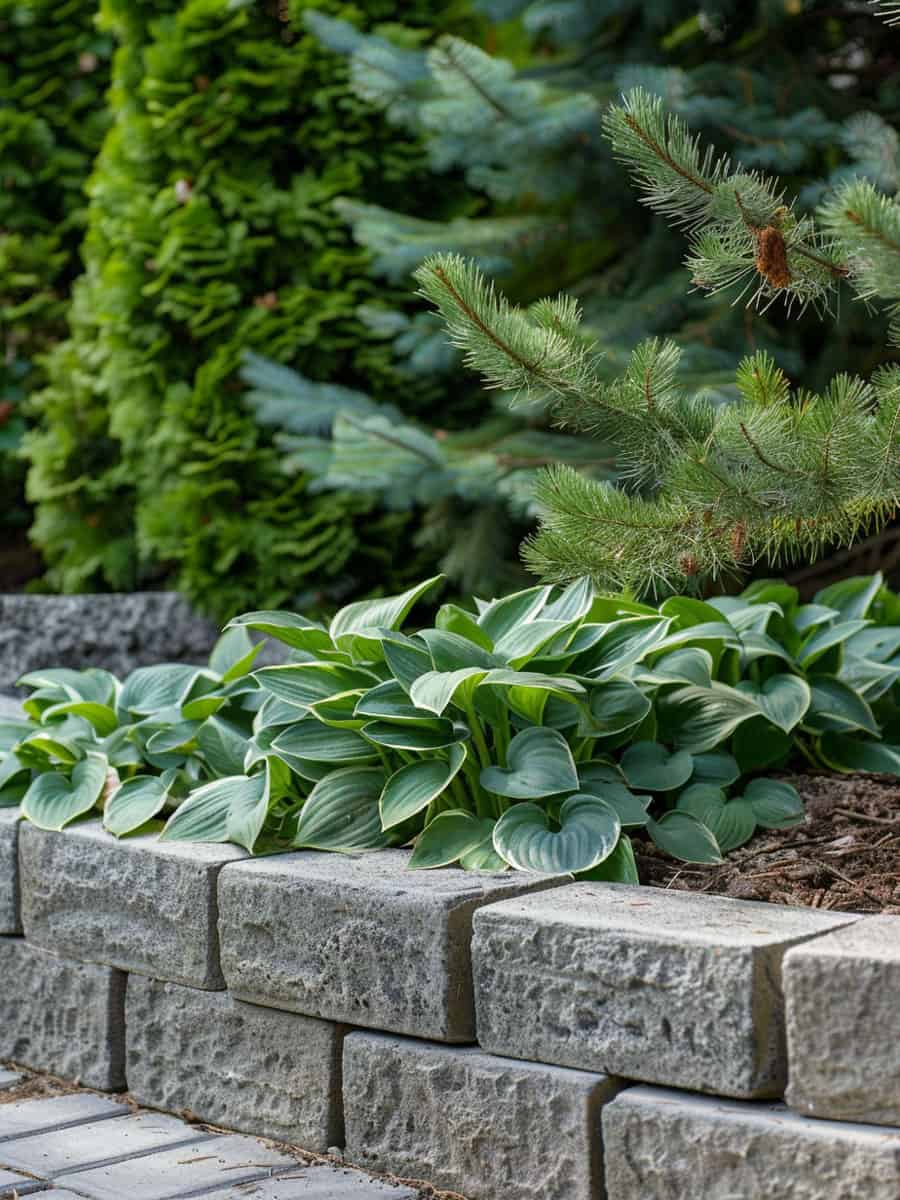
Neutral colors are definitely not a bad thing. This setup demonstrates that simple gray paver stones can truly complete a scene when paired with dark mulch and vibrant greens.
Clean Edge
Two lines of bricks stacked in different orientations add aesthetic value and utility. From a structural standpoint, the horizontal bricks reinforce the vertical bricks.
This setup will not only make your garden look amazing, crisp, and clean but also guarantee that it will last for a long time.
Thick Brick Retaining Wall
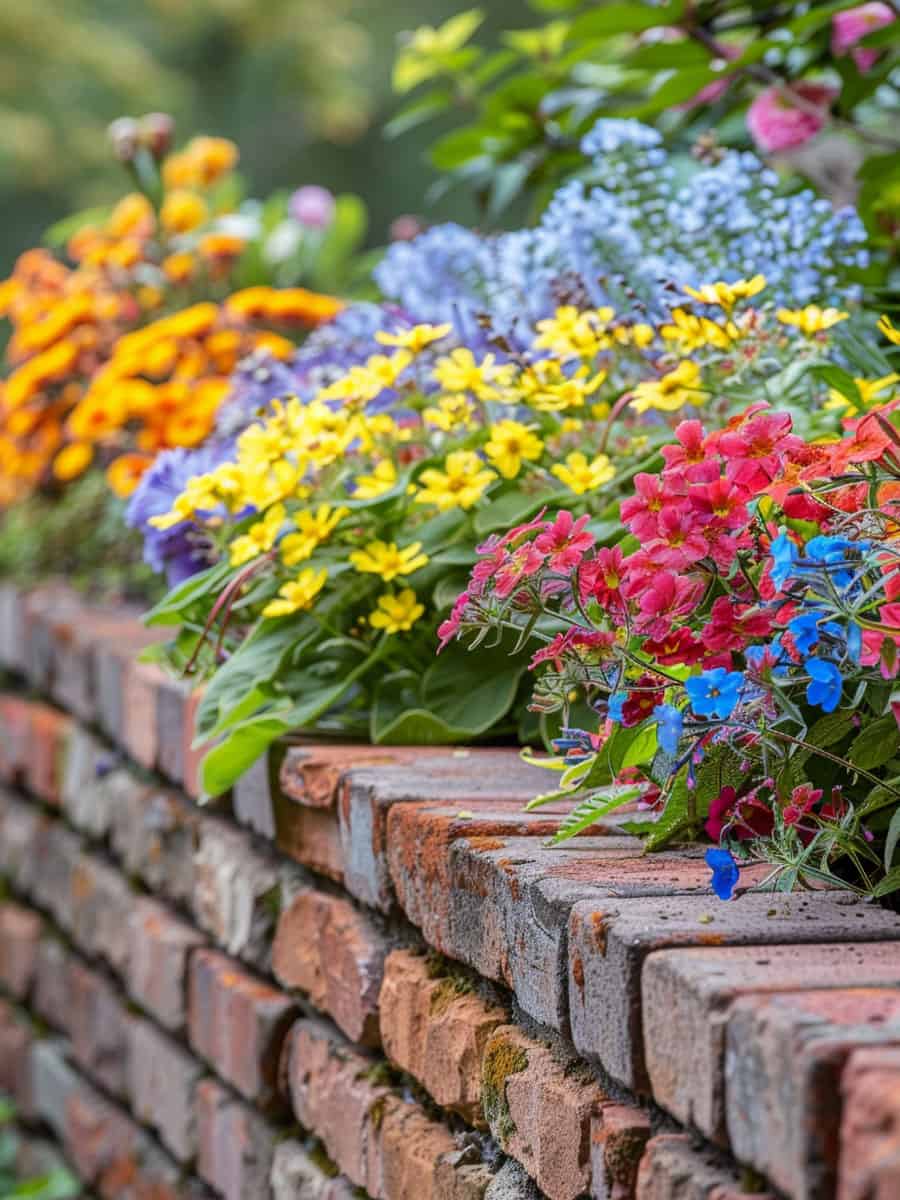
When set in concrete, bricks can make a strong yet beautiful retaining wall. This is ideal for large flower beds, especially flower beds that are elevated above the surface of the yard. This concept looks great, and it will stand strong for decades.
Know more about garden edging! Here's a post about Types of Edging for gardens.
![Brick Garden Edging [Ideas, Tips and Pictures!]](https://gardentabs.com/wp-content/uploads/2019/11/garden-brick-edge-pin.jpg)