
The wisteria plant is a sight to behold with its stunning flowers. However, seed-raised wisteria is a notoriously late bloomer, and you might wonder if it’s possible to air-layer a matured it to produce another vine for you to place in your garden.
Luckily, we've done some digging and have the answer below!
Yes, you can air-layer wisteria. It’s a preferred method by most nurseries as seed-raised wisteria can take up to 15 years before bearing its first bloom. A few things you’ll need are sphagnum moss, a sharp knife, and rooting powder.
Once you have everything on-hand, the steps to air layer your wisteria are as follows:
- Select a healthy branch.
- Trim leaves off the branch.
- Remove the bark by forming a "wound."
- Add rooting powder to the wound.
- Cover the wound with sphagnum moss.
- Wrap the moss with plastic wrap.
- Cover with black plastic or aluminum foil.
- Leave to root for 6 to 10 weeks.
- Unwrap once the roots are visible through the plastic.
- Remove the new plant from the parent wisteria.
The steps seem relatively simple to complete. However, a lot more goes behind accomplishing the task. Keep reading to learn more about the facets to air layering your favorite plant.
Air Layering Wisteria Explained
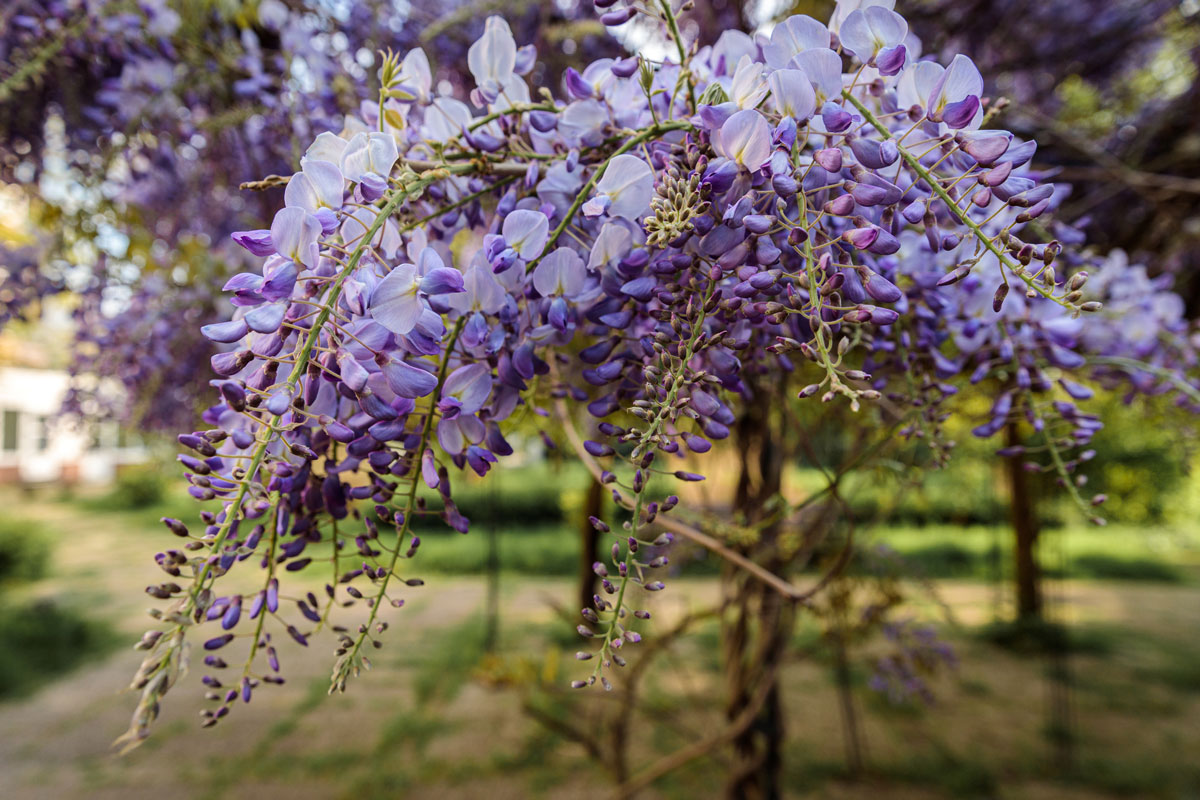
As a fragrant woody vine from the pea family, wisteria has iconic purple flowers that are breathtaking. But it can take a significant amount of time before it reaches this state.
Its first bloom usually occurs within 3-5 years after planting and can sometimes reach 15 years. Hence, the popular option is propagating the plant through grafting or air layering.
But first, we’d like to review a few things you should consider when deciding to air-layer your wisteria.
Air layering wisteria allows you to take a branch of the parent plant and transform it into an identical, independent plant. Being independent does mean that your wisteria will thrive with its root system.
The independent plant stays attached to the parent plant as it develops a new set of roots and remains this way until the new plant is ready to be removed for potting.
How Do You Air Layer Wisteria?
Now that we’ve covered the basics follow these steps to get started on air layering your wisteria. Don’t forget to put on some gloves!

See these nitrile gardening gloves on Amazon.
1. Select A Healthy Branch
Begin by picking a branch. This will be the area you’ll be working with, so ensure you'll pick up one with recent vigorous growth.
Keep in mind that younger growths have a higher chance of developing new roots. That's why you need a branch with visibly active growth, especially if you're doing air layering in the summer.
2. Trim Leaves Off The Branch
On your chosen branch, trim off any new leaves near the base. This will leave you with an exposed stem for you to work around.
3. Remove The Bark
Locate a leaf node or the slight bump from where you removed any leaves. Cut an inch-long vertical line below the leaf node using a sharp knife.
This will allow you to easily peel off a ring of bark and expose the branch's inner green tissue or cambium. You’ve now created the “wound” for your air layer.
By doing this, you disrupt the natural flow of auxin, the hormone in plants that is responsible for regulating growth. Auxin will begin accumulating around the wounded area, and this buildup will help stimulate new roots.
4. Add Rooting Powder
To further encourage root formation, smear some rooting powder on the exposed green tissue of the branch. Just a smear will be enough. You won’t need to coat the entire wounded area.

See RootBoost’s Rooting Powder on Amazon.
5. Cover The Wound With Sphagnum Moss
Sort of like a bandage; cover the wound with sphagnum moss. Be generous and make sure the wound has good coverage. Keep in mind that the moss you’ll use needs to be moist.
Before this, place the moss in a bucket of water, but ensure to squeeze out any excess water before covering the wound.
This step is vital for air layering as it will help create a healthy environment for new roots to grow.
6. Wrap The Moss With Plastic Wrap
Once you’re happy with your moss, it’s time to secure everything. You might need another hand to help make sure your moss bandage stays in place for this step, so have someone nearby to assist you just in case.
Start by wrapping the moss bandage with clear plastic wrap several times to keep the moss tight around the branch but not too tight for it to form another wound.
Secure the plastic wrap with some garden ties.

Click here to see garden ties on Amazon.
7. Cover With Black Plastic Or Aluminum Foil
You want your moss to stay moist. Do this by covering the air layer with black plastic or aluminum foil and securing this extra layer of protection with garden ties.
This step will give you air layering work shelter from the sun and prevent your moss from drying. This will also act as a precaution against algae growth in the damp conditions of the air layer.
8. Leave To Root For 6 to 10 Weeks
Rooting time can vary from plant to plant. We recommend you leave your air layering work to root for 6 to 10 weeks, occasionally checking the state of your moss.
If your moss gets crunchy, you can open one end and add warm water to remoisten the air layer. We recommend doing this as soon as you see signs of dryness, as an air layer needs to be moist for it to work.

9. Unwrap Once The Roots Are Visible Through The Plastic
It’s time to unwrap your air layer when its roots are visible through the plastic or penetrating the aluminum foil.
10. Remove The New Plant From The Parent Wisteria
Once the wrapping is removed, you may now cut your new wisteria from the parent wisteria. We recommend you do this just below the new root formation to ensure it does not damage.
Watch this YouTube video for a step-by-step guide:
What's The Best Time To Air Layer Wisteria?
You’ll want your parent plant, or in this case, the mature wisteria, to be actively growing when starting the air layering process.
We recommend that you begin the procedure during your wisteria’s blooming period, such as spring or summer, to ensure you get favorable results.
This is because it’s best to start after your plant’s rest from winter, and it will ensure healthy root growth for the coming months.
To learn more about your wisteria's health, check out our post: How To Know If Your Wisteria Is Dead.
Where Does Wisteria Grow Best?
There are native and non-native species of wisteria. In the USA, it’s best to consider using native wisteria as your parent plant for better results. Here are the hardiness zones where a few varieties ideally grow:
![kentucky wisteria blue moon macrostachya park, Can You Air Layer Wisteria? [Yes! Here's How!]](https://gardentabs.com/wp-content/uploads/2022/12/Can-You-Air-Layer-Wisteria-Yes-Heres-How.png)
Hardiness Zones 5 Through 9
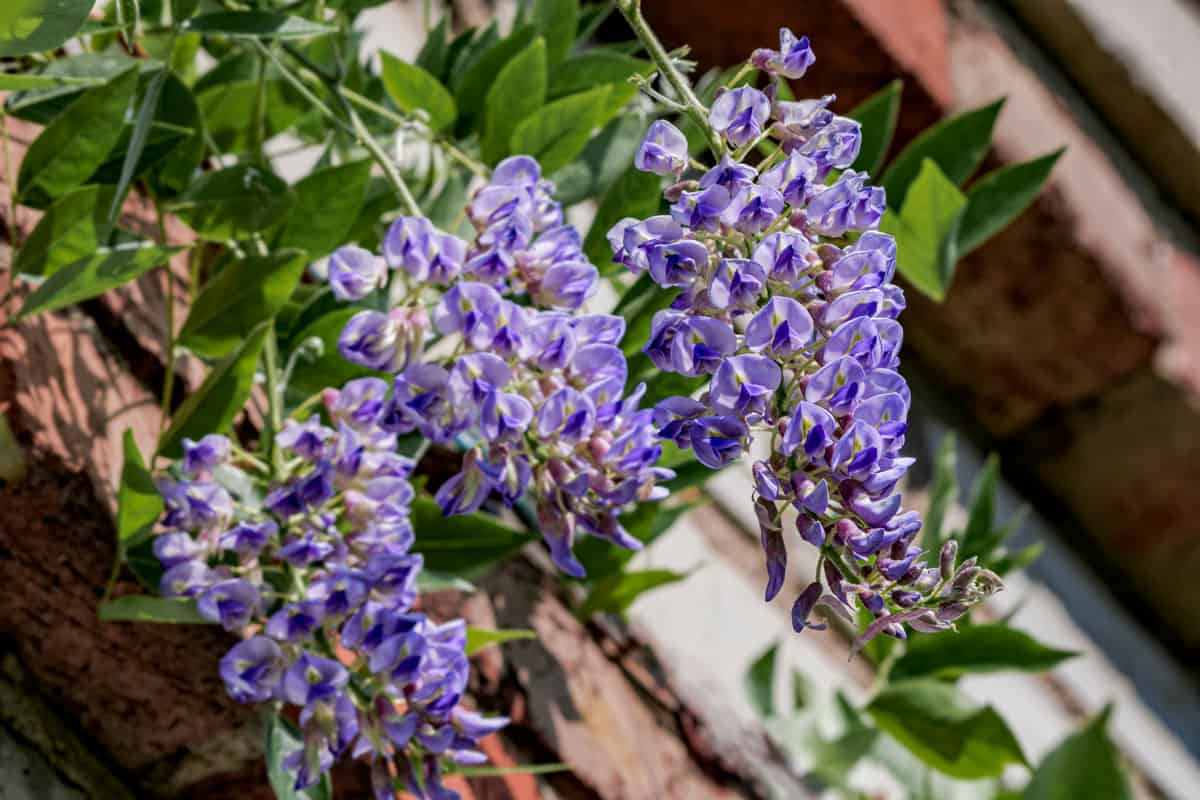
American wisteria or Wisteria frutescens is a native species that grow in hardiness zones 5-9. A few states they're native to include Virginia, Texas, Florida, New York, Iowa, and Michigan.
They bear dark-green leaves and lilac or purple-blue flowers. Another notable characteristic is they aren’t as heavily scented as the Asian wisteria species.
Hardiness Zones 4 Through 9
The Kentucky wisteria, or Wisteria macrostachya, is similar to the American wisteria. They thrive in hardiness zones 4 through 9.
Aside from their bluish-purple flower, they are also known as the fastest wisteria species to bloom after growing for only 2 to 3 years.
A notable variety of Kentucky wisteria is the Blue Moon. This species is characterized by its silvery-blue clusters and is cold hardy to -40 °F (-40 °C).
To Finish Up
Remember to wound your wisteria branch until you see the inner green tissue.
A few pointers include using black plastic or aluminum foil for your air layering, regularly checking the moistness of your sphagnum moss, and keeping your patience high if you want to take on a wisteria air layering project.
While wisteria may be a plant that likes to take its time, the results you get from the care you give your plant can come back tenfold. They're genuinely something worth anticipating!
Made it to the end? Check out these related articles: